Whether you’re looking to shave some money off the (sometimes startling) expense of your own wedding, or you’re a crafter who is looking to expand your offerings into the world of floral design, DIY wedding flowers are a completely doable option if you have the right time, resources, tools, and talent.
The time and resources are fairly easy to sort out, but what about the talent? If you’re wondering if you’ve got the necessary skill, all you can do is test it.
The best way to get into DIY floral arranging is to jump right in. Here’s a list of supplies (sans flowers and fillers) that will make your wedding flower floral arranging a snap:
Time – This is the most important resource of all (okay a little talent and the flowers themselves are pretty important too), but those flowers aren’t going to arrange themselves. You need to set aside at least a full work day’s worth of time to buy, prep, and arrange the flowers.
A cool work space – Flowers will wilt in the sun and droop in the heat, be sure you’ve set up your work space in a climate-controlled room that absolutely doesn’t get any hotter than 70° – the cooler the better.
Buckets – Utility buckets are essential for keeping your flowers in buckets. You don’t need anything fancy, just clean 5-gallon buckets that are water tight and few smaller containers for short-stemmed pieces.
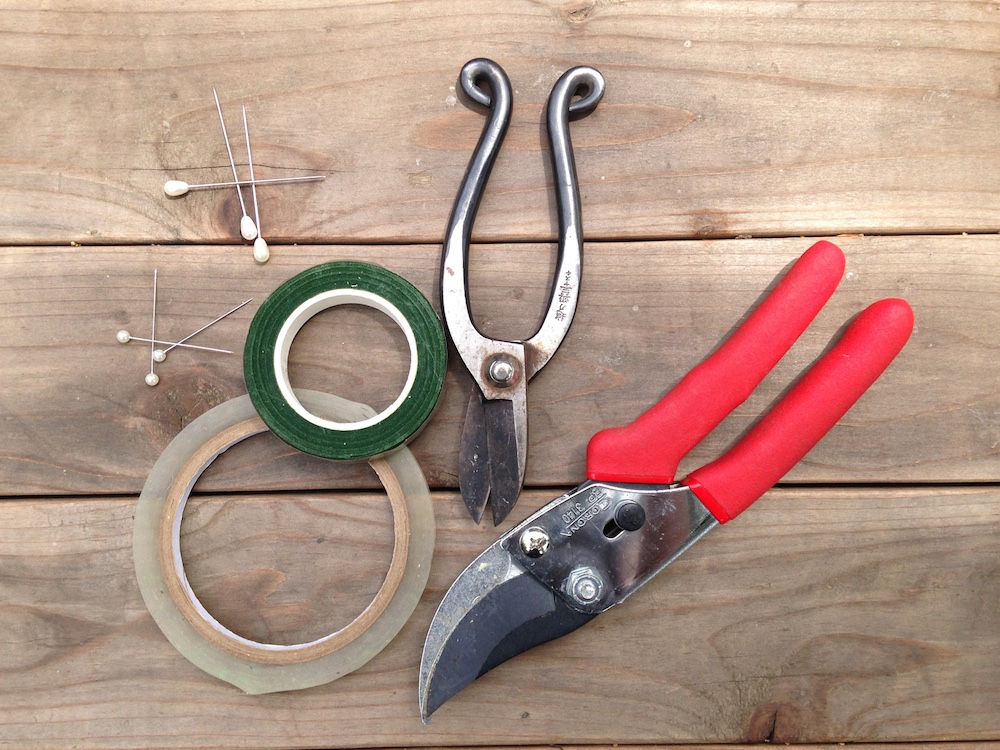
Snippers – Kitchen scissors aren’t going to cut it and your gardening sheers are almost certainly too bulky for most stems (though they’ll come in handy for the woody ones). Invest $10 bucks in some floral snippers. They are easy to handle and give you clean cuts.
Waste bins – You are going to make a lot of green waste. Most of the leaves on your flowers should be removed because they won’t hold up as well as the blooms and they’ll overwhelm your arrangement. You are also going to trim lots of stems, so be prepared to toss them in the green waste bin. You are also going to end up with lots of rubber bands and cellophane wrappers, so you’ll need to a have a separate bin for those items.
Floral tape – Floral tape is that green tape that doesn’t get sticky until you gently stretch it to adhere to itself. It is essential for bouquet making and might come in handy for corsages as well.
Clear floral bowl tape – You are going to be so glad you read this blog post! Bowl tape is a thin transparent tape that is used to make grids for floral design. While it is not a requirement it certainly helps to stabilize things and prevents you from using a lot of greens to keep things upright. It also ensures that your arrangements stay in place during transport.
Ribbon – You’ll use ribbon on bouquets to cover the floral tape and ensure the bride’s and attendants’ hands don’t get sticky. It’ll also add polish to the boutonnieres and corsages. So pick up wide and thin ribbon for the different tasks.
Hot glue – Unless you are awesome at making petite knots and tucking, hot glue is how you are going to secure that ribbon. There tends to be a lot of hugging and dancing at weddings and you need hot glue to keep ribbons secure. WARNING: Do not use hot glue on flowers, buy specialized floral glue if you plan on gluing floral material.
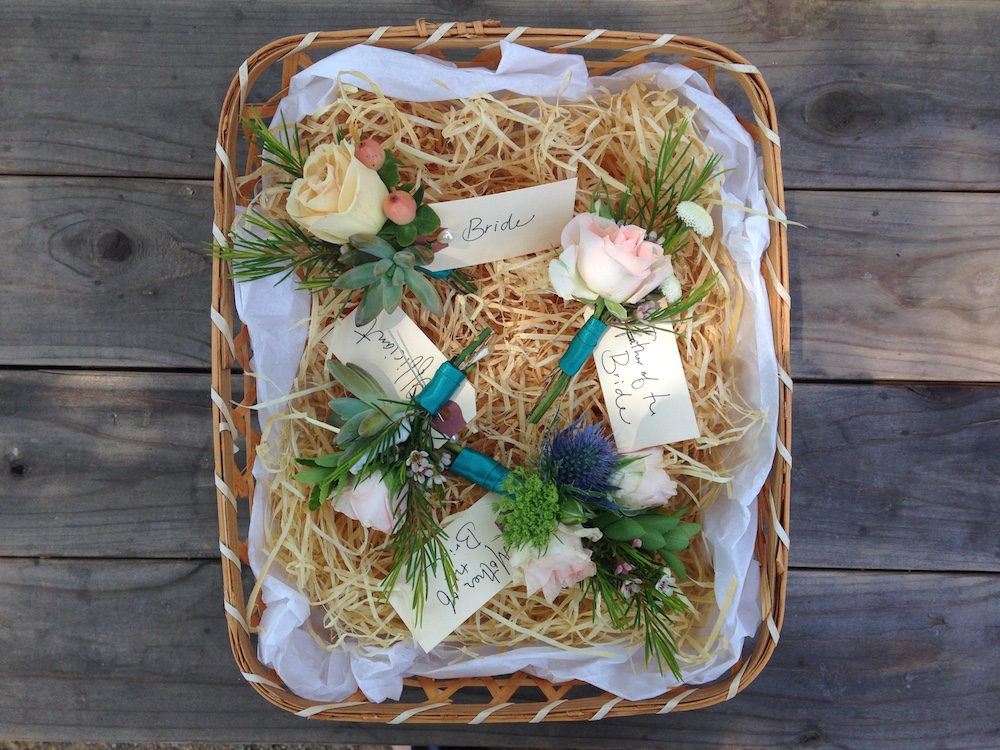
Corsage pins and decorative straight pins – Corsage pins are long, elegant, and strong and exactly what you need to pin flowers to lapels. The straight pins can be used in lieu of the hot glue for the ribbon on the bride’s bouquet – just make sure they are pinned up and at an angle so they don’t poke out. Straight pins can also double duty for boutonnieres.
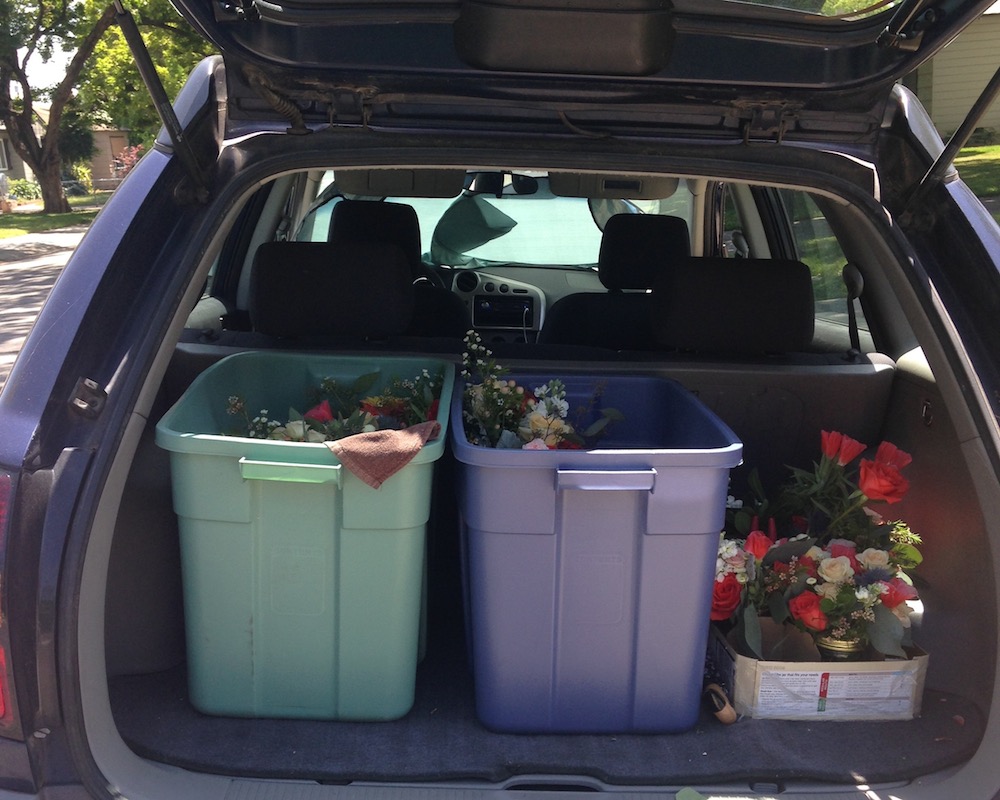
Transport tubs and tissue paper – Wedding flowers are arranged 1-2 days before the big day so they are almost always off-site which means you need a transport plan. You can buy bankers boxes or use plastic storage tubs, just be sure to have ample space for every arrangement because you don’t want your arrangements getting crushed or tipping. Crumpled tissue paper or newsprint can help you create space and secure them in place.
Towels – These are handy to have around in case of a spill and to ensure you have a safe, dry workspace.
Watering can – Water weighs a ton so you won’t want to transport your flowers filled to the brim, but the more water, the happier the flowers, so bring along a watering can to fill the arrangements once you have them in place – just be sure you keep the table linens dry and drip-free.
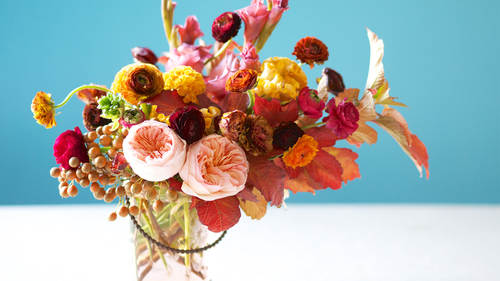
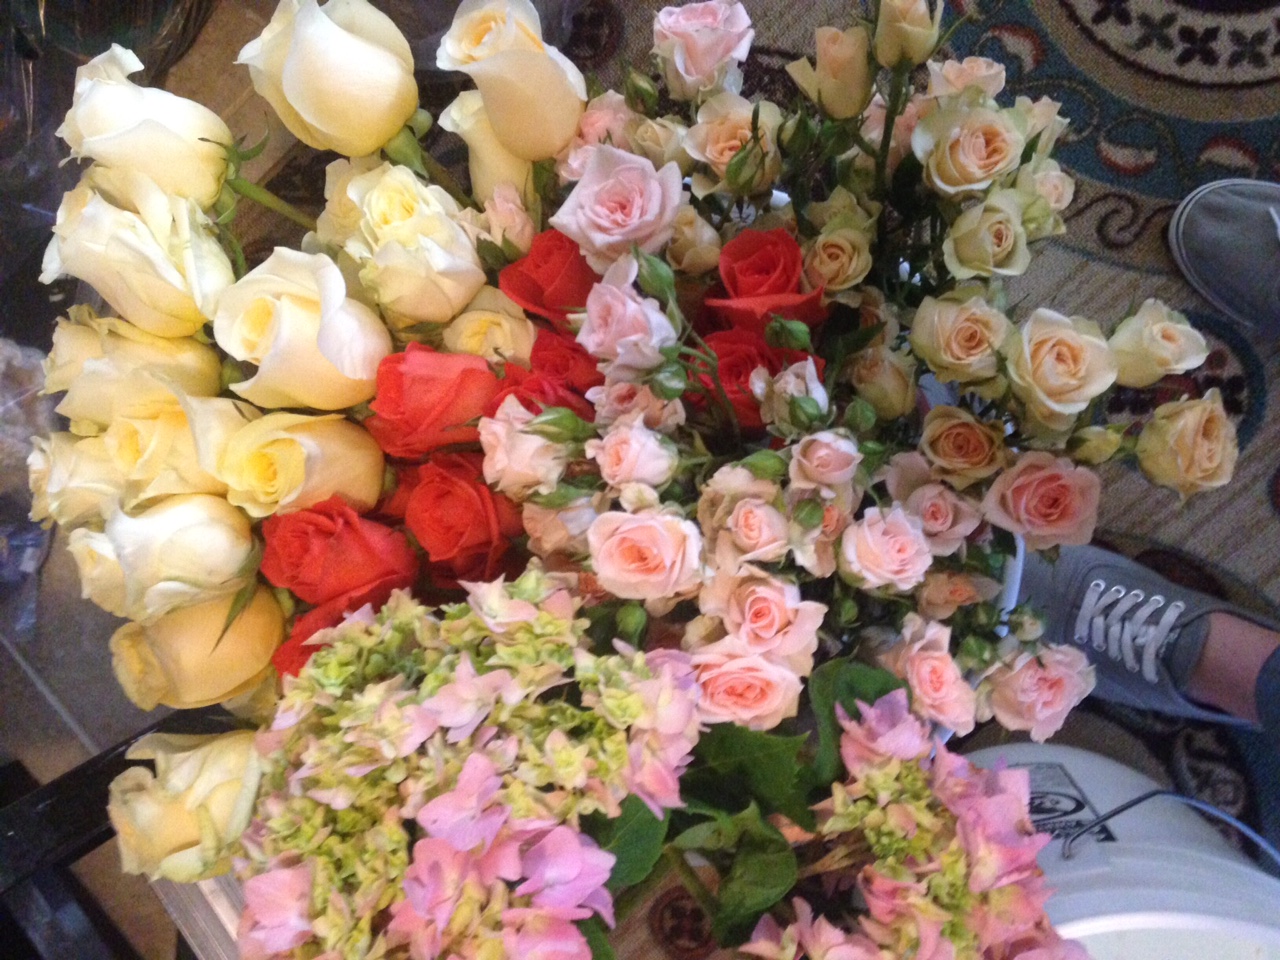
If that gear list sounds like something you can handle, it’s time to try your hand for real. The best way to do it is to buy a couple of market bunches and arrange the flowers in your wedding vessels (here are some tips for finding what’s in season and a few ideas for trendy vessels).
Are you happy with what you see? Great, go for it! Not-so-much? It might be time to contact a professional. Those wedding flowers tend to sneak into every reception shot and you don’t want to bemoan your decision to DIY it until death do you part.
There you have it! Not exactly easy-breezy, but if you are adequately prepared, its a much more gratifying (and beautiful!) experience.
Now do you need to know where to pick up those flowers? Check out our class clip from the fine folks at Farmgirl flowers for tips on sourcing locally: