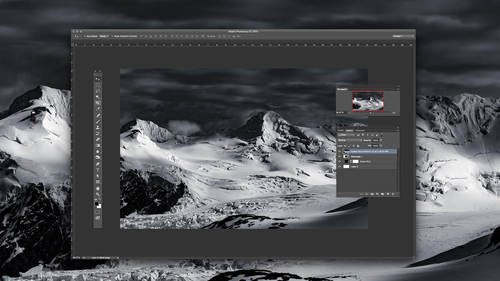
Photography is not a perfect science. Every image will undoubtedly yield a problem or two – and that’s on a good day. These on-camera issues are why so many creatives embrace the wide array of post-pro tools like Photoshop.
In his CreativeLive class, Photoshop for Beginners, Ben Willmore created a comprehensive list of common problems that photographers are likely to encounter while editing their images in Photoshop, and the retouching tools that can fix them.
Color Coordination
There are a number of fairly common ‘global’ issues that can cause your images’ colors to be thrown off. Whether the photos are blown out with too much light or over-saturated, Willmore explains that the problem may not be as complicated as one might think. By focusing your attention on the areas that are white or gray, you can adjust your White Balance Sliders to compensate for any color cast that should not be there. Use the White Balance Eyedropper tool on any area that should be white or gray, and any additional colors on the image will be easier to spot.
If your image, instead, has one color that needs a tweak while the others look fine, Willmore suggests you take a look at the HSL Panel (Hue, Saturation, Luminance). This way, you can alter your colors in three different ways. It’s not unusual to have one color that needs that extra punch or that needs to be toned down, so using the Luminance or the Saturation sliders can help you create that perfect color balance.
Unintentional color problems, such as stains or skin issues (suntan or sunburn), can also be fixed. After finding the Color Sampler numbers of the two points in the image that you want to match, you can then input those numbers in a Curves Adjustment Layer. By changing the Red, Green, and Blue values of the color you want to change, you are eliminating that mismatched color and making the image blend.

Blacks, White, and Everything in Between
Contrast is a key attribute to an image. A photo lacking contrast can be uninteresting, but that’s a problem that can easily be improved upon. Creating a new Levels Adjustment layer will show you a graph charting exactly what contrast your image may be lacking. Not enough blacks or whites? By simply adjusting the sliders underneath, you can bring back any richness that your image might have been missing.
On the other side of the coin, there’s an easy fix if your image has too much contrast. The Shadow/Highlight Sliders can help you tone down any shadows or highlights that are too overwhelming. Each slider controls their respective part of the image – the Shadow slider adjusts only the darkest parts of the image, while the Highlights slider only affects the brightest parts.

Rehashing the Past
We all have photographs that have been sitting in boxes for years and years, but you might find that those images have been damaged in their new homes. Willmore has a fixes for a few problems that you might encounter pulling those old photographs out of storage (or any photograph, for that matter).
Luckily, Photoshop can be used to do some pretty magical things. Have an image that is missing a piece? Try the Content-Aware Fill feature. Whether your image is missing a spot or a whole corner, the Content-Aware Fill feature scouts it’s surroundings and attempts to fill in the missing pieces. Changing the blending mode of certain tools can help change the way your tools work. By using the Darken or Lighten mode, your tool will only be able darken or lighten the image, respectively*.
Noise can be a problem, whether it is there from the beginning or starts to occur after using editing software. But using your Reduce Noise filter can make your images look the way they should. Settings are there to help reduce the noise even more, all while making sure your image stays as detailed as intended.
*With the Darken and Lighten blending modes, Willmore reminds us not to forget that you’ve made those changes. The tools will not automatically change the blending mode back to default after you have used it, so double check before you move on.

Essential Retouching Tools
Willmore also gave us insight into his three favorite retouching tools in Photoshop: the Clone Stamp tool, the Healing Brush, and the Spot Healing brush. Though they all deal with copying one part of an image to another, they have their own special attributes. The Clone Stamp tool and the Healing Brush both copy one area of an image to another, with one major difference: the Healing Brush recognizes attributes of the image and blends the surroundings with the new copy while the Clone Stamp tool does not blend. Meanwhile, the Spot Healing Brush creates something out of nothing by looking at the area that you are trying to change and matches it to its surroundings. Though the Spot Healing Brush is a fantastic tool, Willmore points out that it has the potential to get things wrong.


