
Running a successful high volume photography studio without working crazy-long hours (and going totally crazy yourself) is contingent upon a great workflow. The more streamlined and fast-paced you work, the more efficient your studio will be when it comes to editing and delivering images – which means you’ll be able to take on an increased volume of clients without breaking a sweat!
I handle every client’s images in the same way, whether I’m shooting a wedding, a high school grad or an engaged couple in love. Once the shoot itself is finished, I upload the images to three different folders labeled “picks,” “retouched” and “edits.” By separating my images into these categories (I’ll go into the specifics in a moment), I’m able to maximize efficiency during the editorial process so I can jump straight into selling. And guess what? Clients are more inclined to buy big when they’re still on an excited high about their photo shoot!
Picks
As soon as I wrap up a shoot, I immediately head into my office, upload all the images from my session, and place them into a “picks” folder. This folder is for my eyes only –– it houses unedited out-of-the-camera images, and will never be shown to my clients under any circumstances. You might be an amazing photographer, but a self-conscious high schooler doesn’t want to see pictures of themselves with pimples, and they’ll be less likely to buy a large amount of senior portraits if you show them the raw images in your “picks” folder.
Retouched
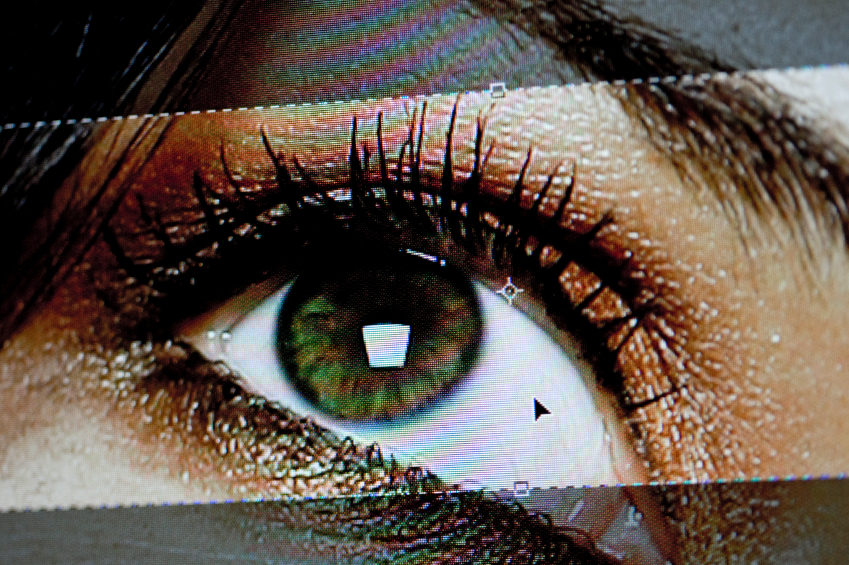
The “retouched” folder houses images from my shoot that have had basic Photoshop retouching. Nothing too fancy, just quick skin-smoothing, blemish eliminations, and maybe some lighting tricks here and there –– work I can easily get done in three minutes or under per image (see my tips for a speedy three-minute re-touch here). My retouched photos are good enough to show the client, but they’re also super helpful to have on hand once I start picking and choosing images to fully edit.
Edits
Images that end up in the “edits” folder have been completely transformed and are ready for my client to print out and hang on a wall. Photos in “edits” have been taken one step further than photos in “retouched” –– for example, I might take a retouched image and give it a saturated Instagram-esque look if I’m dealing with a couple hipster high schoolers. But if I realize too late that my client wants to keep things simple, it’s no problem. I just head back into the “retouched” folder and grab the exact same image unedited and ready to go –– without having to undo my work on the fully edited image. Major time saver.
Employing this simple 3-step system in your own studio will vastly increase your organization, and ultimately make you more appealing to clients. Trust me, they’re more likely to buy your product at an increased volume when you’re able to quickly cater to their needs. When someone asks for their favorite photo in black-and-white and you have it ready a few minutes later thanks to the handy “retouched” folder, you’ve definitely earned yourself a five-star Yelp review.
For more tips, be sure to check out my course on CreativeLive.


