
Why would you use Lightroom over Photoshop? Or why would you use Lightroom over Adobe Camera Raw? Well, while Photoshop is a pixel modifier, Camera Raw and Lightroom work more as image developers, and most of you know they use the same engine to do so. However, Lightroom is also an image file management tool, and it’s the blend of management and manipulation that lends to Lightroom’s success. Its strengths are the catalogue system, and the ability to have presets and how it utilizes them. If you’re not using presets in Lightroom, you’re really letting some of the best in life pass you by.
Learn more from Pye Jirsa in his class How to Build and Use Lightroom Presets.

But, Lightroom for all it’s worth, isn’t a substitute for Photoshop. Photoshop is one of those programs where is you can dream it up, with enough skill, you can execute that mental vision. The virtues of Photoshop for the photographer largely lay with its layers. With layers, you can make your non-destructive edits, control each manipulation with fine-tuned precision, and balance how various layers work together, and the ability to change opacity is a godsend. Lightroom can’t do that, but there are now ways where we can get some opacity control, and that makes global and local adjustments in Lightroom much more powerful.
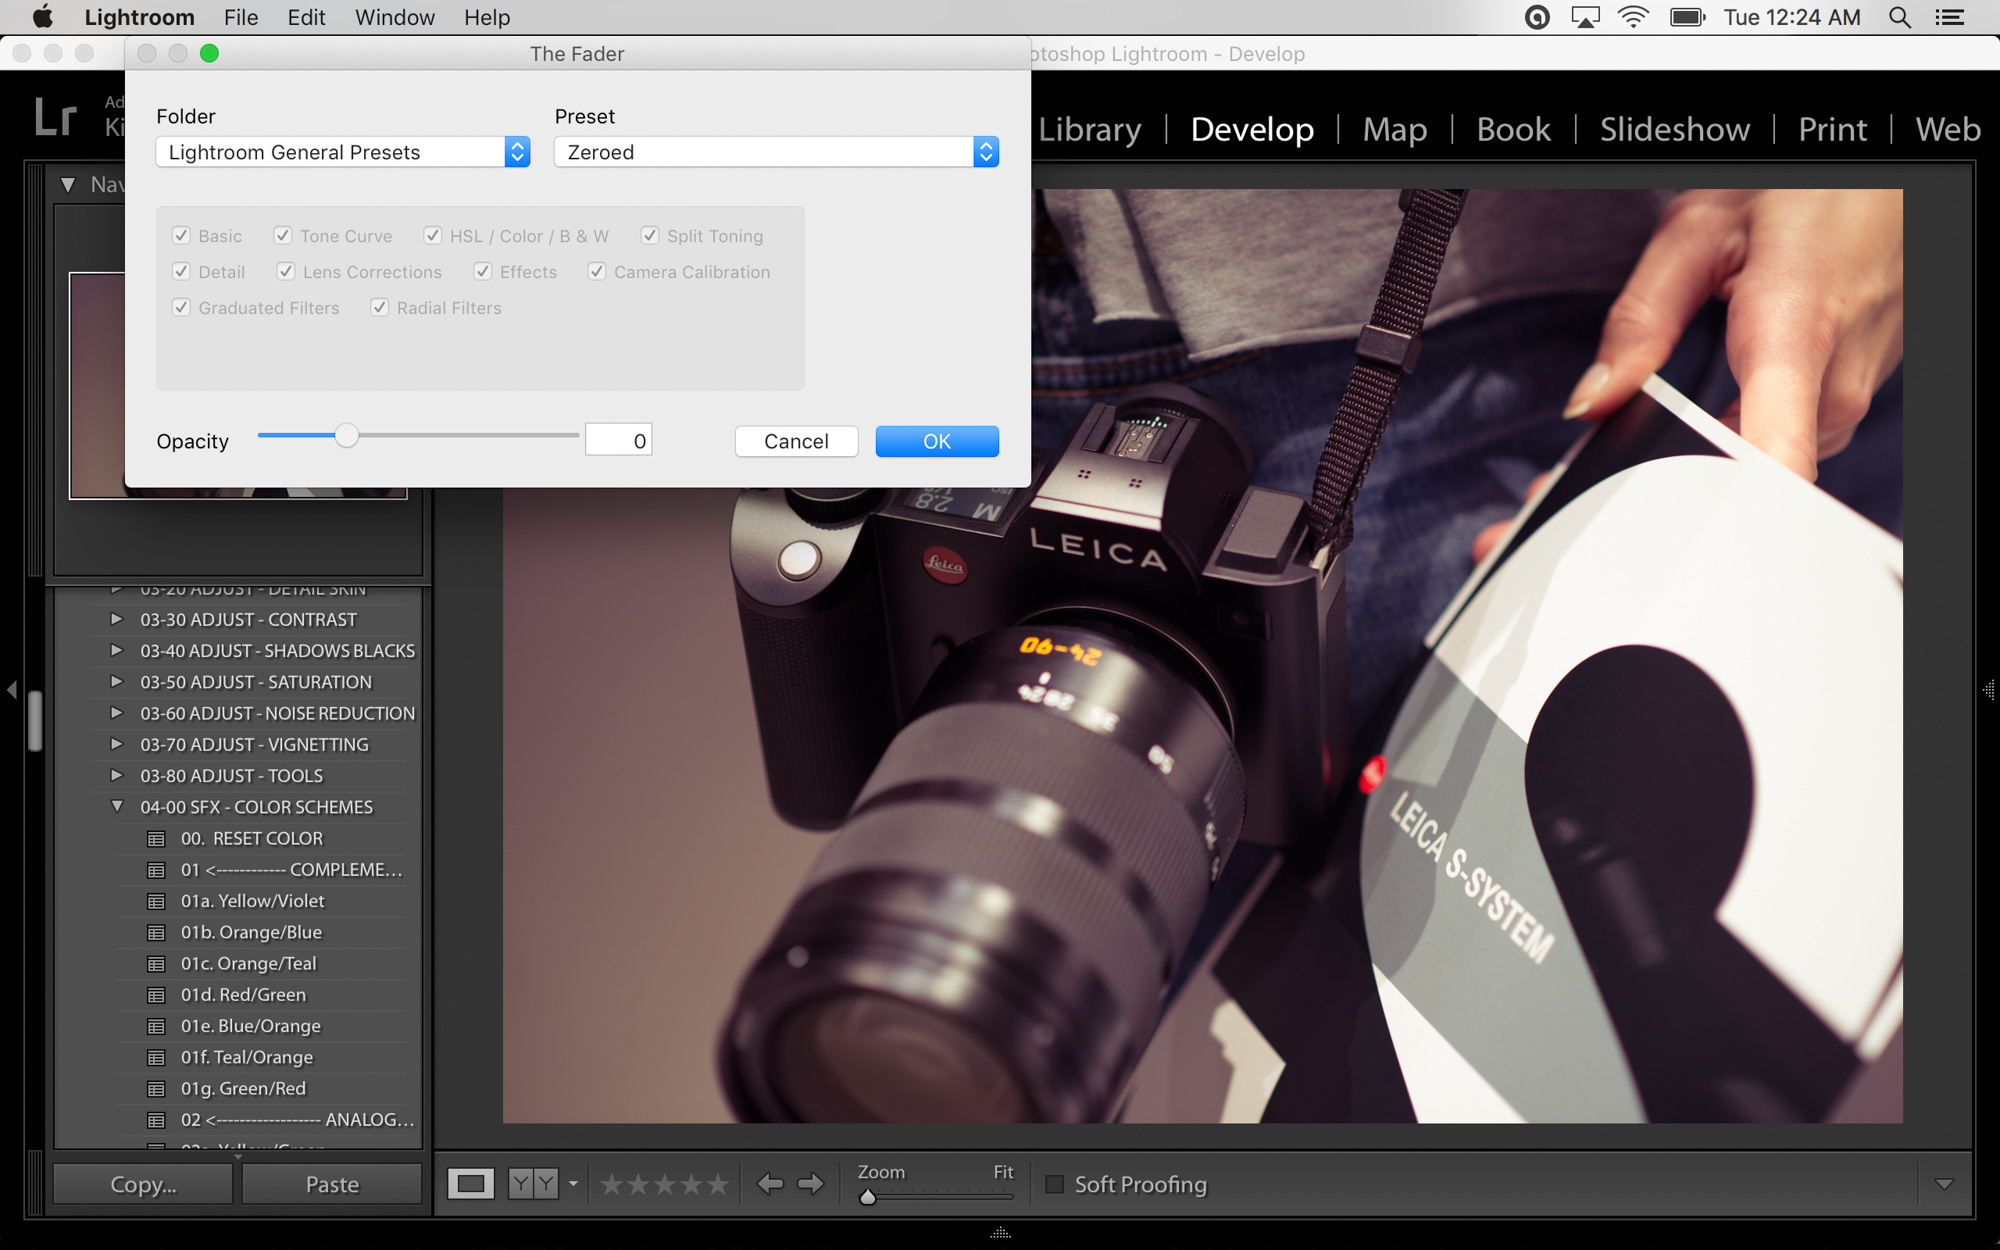
Recently, I wrote about a free LR plug-in called Fader that I was turned onto by my friend Mark of Shotkit. Fader is basically an Opacity Slider for Lightroom. This one tool opens up a whole new horizon of possibilities for your existing presets, allowing you to exaggerate or dampen the overall look via one slider. It’s brilliant, get it. But then in another post, I sang the virtues of the Quick Developpanel which so many seem never to have even noticed, and in that same thread, there’s another tool that many LR users don’t know about that’s worth loving:
THE EFFECT AMOUNT SLIDER
If you’re using the brush tool to create some local adjustments, you generally either select the tool, manipulate the settings like exposure and temp and so on, and then paint in, or paint in and then adjust each setting. But what if you make the adjustments and you paint in the area, and you upon reflection, realize you want it as is, but a little toned down? You’d have to go adjust each slider proportionally, but with the Effect Amount Slider, it’s just that one. Like the Fader plugin, it is essentially controlling opacity, and that adds a whole new level of control to Lightroom.
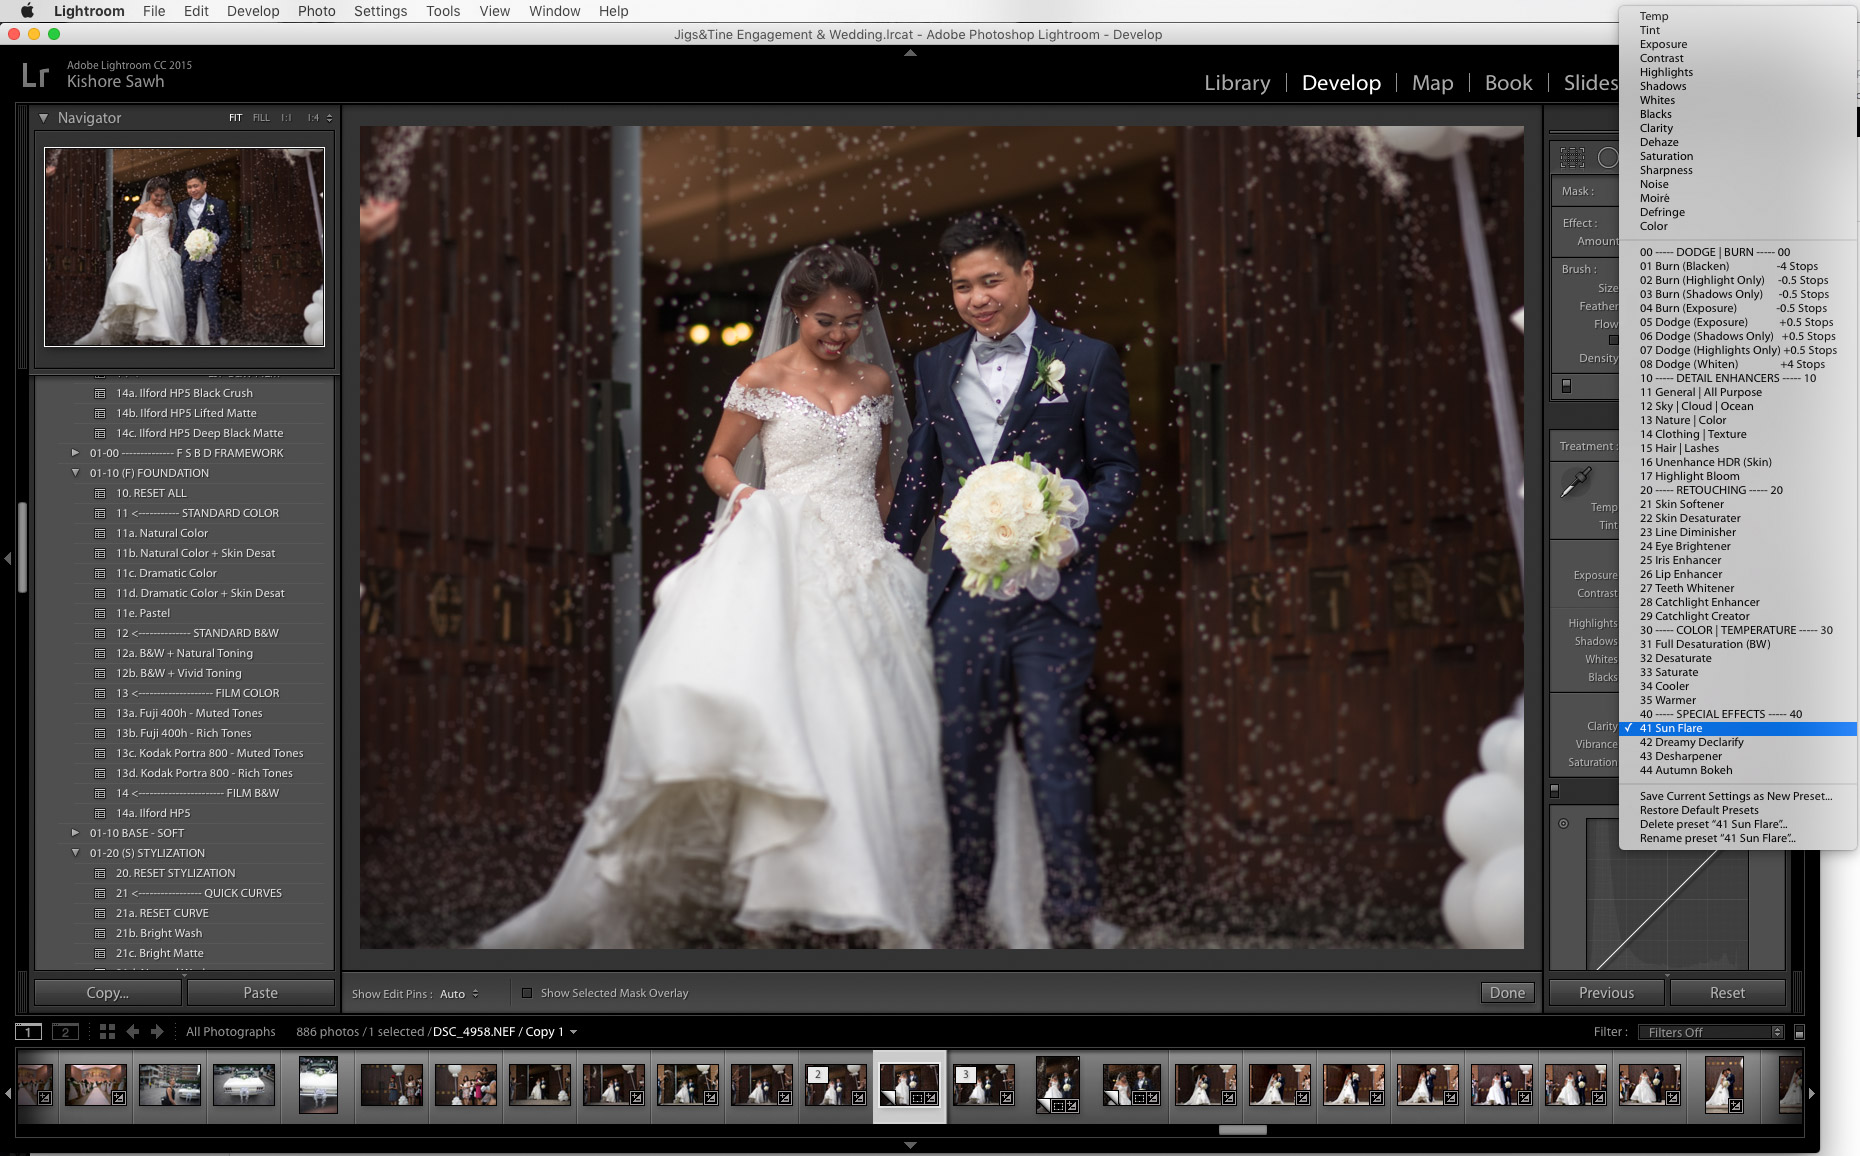
Where this really comes into its own is if you have brush presets, and I know many of you have the SLR Lounge Preset System so you’ll have all 40-odd purpose-refined brushes at your disposal. Whether it’s the Skin Softener brush, or Catchlight Creator, or Sun Flare or Autumn Bokeh, whatever brush you’re using is able to be more completely controlled and applied (Want more information on Bokeh? Check out our Ultimate Resource Guide here).
I’ve often advocated using a pen tablet like a Wacom Intuos line (see review here) for Lightroom work, and it is the combination with this slider that allows and encourages me to do local adjustments right within Lightroom, requiring less time in Photoshop and less time switching between the two.
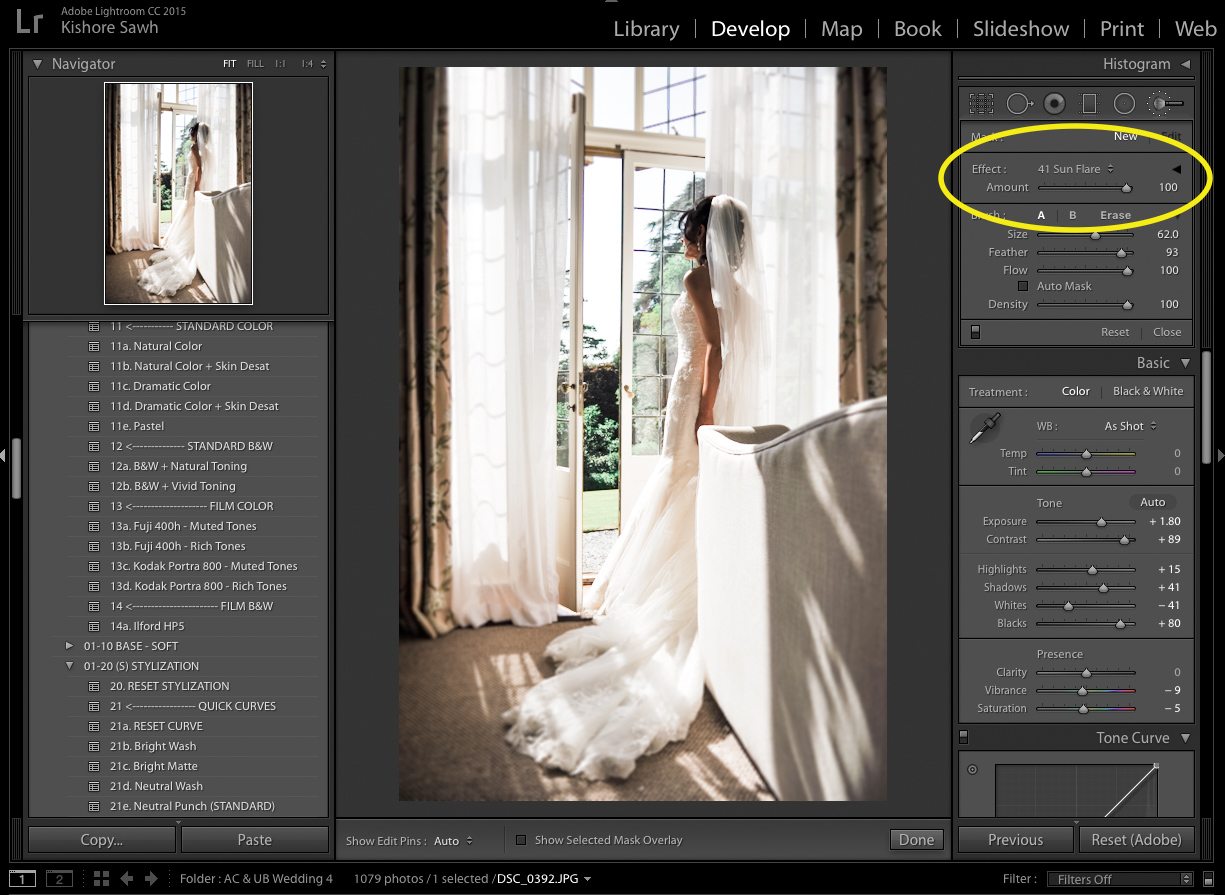
So why doesn’t everyone know about and use it? Probably because it’s a little hidden, so here’s how to access and use it:
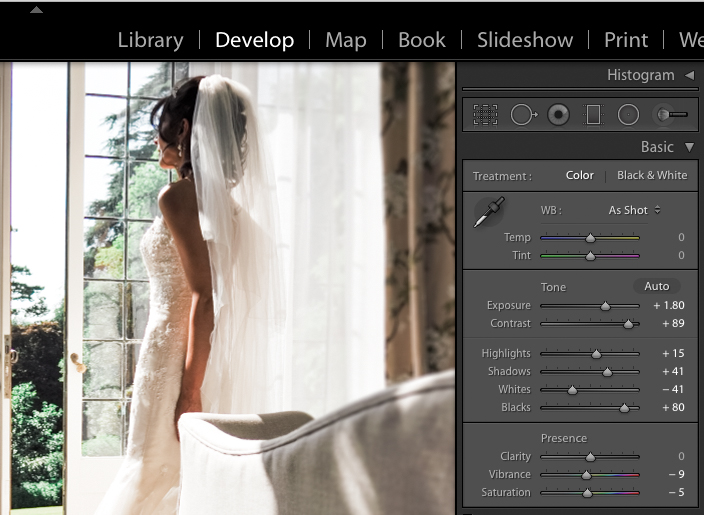
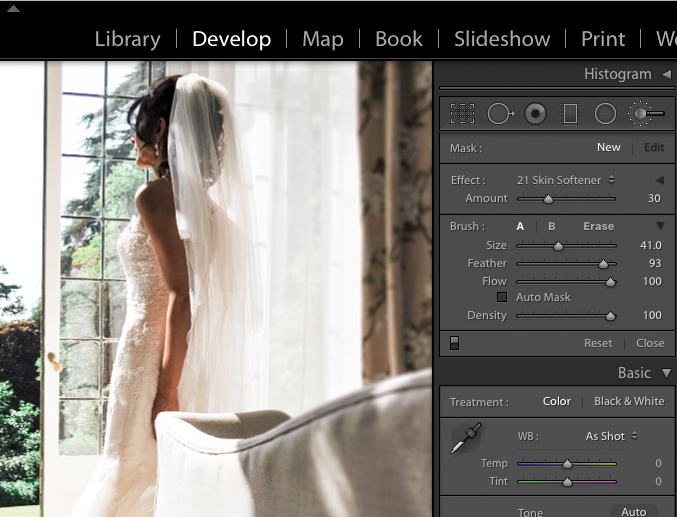
Within the Develop Module, select the Brush tool. Once you have, use any brush preset and make any adjustment to your image. Then, you’ll see a small downward facing arrow underneath the word ‘edit’ by the Brush icon, hit it, and the menu condenses and reveals the ‘Amount’ slider.
[REWIND: How To Set-Up Your Wacom Intuos Pen Tablet For Lightroom]
Move it from side to side as you wish to control the total ‘amount’ or ‘strength’ of the brush strokes applied. It may be just a small thing, but it makes a tremendous difference in LR editing and gives your presets even more power. That simple, that profound. And if you want to know more of the sort, you can check out this past article, and theLightroom Workflow Collection to turn you into a LR power user.
Take your photoshop skills and learn how to market your creations. Learn More from renowned photographer Colby Brown in his course, Developing a Social Media Strategy for Photographers.


