Lesson Info
12. Paths, Lines, and Strokes
Lessons
Introduction to Illustrator on the iPad
06:56 2Create a New Document and Setting Preferences
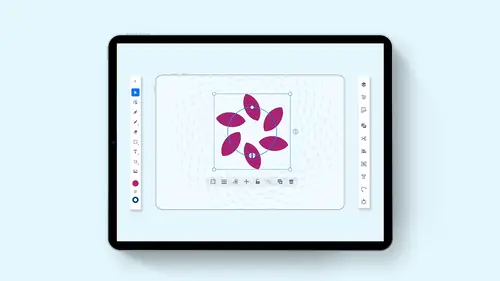
01:17 3Toolbar, Task Bar, Interface and Shortcuts
05:41 4Basic Shapes, Touch Wheel, Contextual Menus
12:01 5Guides, Grids and Smart Guides
03:53 6Direct Selection Tool, Path Features, Editing Points and Joining Lines
04:18 7Pen Tool, Pencil Tool, Blob Brush Tool, Eraser Tool
09:47 8Align and Distribute
05:25Lesson Info
Paths, Lines, and Strokes
I'm gonna go in, and I'm gonna open one of my previous files here that I've been working on. And we're gonna work with this with the properties panel, but I need to finish up showing you all the stuff we could deal with. Paths, go back to my pencil tool. Gonna hold down the center portion of my touch wheel and get a path. Go to my selection tool bump up the line. Wait here and I'm gonna turn off my fill by going to my color picker and saying No, Phil, I'm gonna go ahead and pick a color here other than black by clicking on the stroke and pick an orange or my color here. Great. So how do we get to my other path? Attributes? Well, that's where the Properties panel comes in here. We talked about transforming rotating here, but here you can also do your fill in your stroke and your appearance as well. But we're gonna go down to the stroke here. Here we can have a solid or a dashed stroke here, like we have with the desktop version. We can click on our point weight and also use our little s...
cale up and down right there for that. If we want to do a dashed line, we don't have a Siris of dashed lines here. This is a holdover from the from the desktop version here. And if you've ever wanted to do a dotted line here, that's always tricky. We're gonna show you in a couple of minutes here, but with our path, I could go ahead and control the ends of my path and I get to my blunt ends and I can have my rounded ends, which I call Hot, dogged ends. Why? Because it looks like a hot dog. So you go in around the ends and your hot dog, the ends right here and then we also have our extended caps as well. We also have our different types of line or stroke corners here. This is something that people get a little bit confused about. So I want to show you what a stroke corner is. I'm gonna draw a rectangle and with this rectangle I'm gonna go in and draw this rectangle and you can see when I go in I can have square strokes, rounded strokes or beveled strokes. You notice when I do this. It's on Lee rounding the stroke, not the shape. Okay, the shape is still a rectangle or square, and it's not rounding the inside. It's on Lee rounding the outside. That's what we have now also in my stroke panel. Here I have the ability to take my shape and I can take this shape and I can have the stroke being the center. The stroke beat all on the inside, all all on the outside of my shape, different things that I can dio with the stroke alignment. And that's also part of the desktop. Version two now going in and doing a dotted line. This is the fun part of doing a dotted line. First of all, we have to go in and we have to round are hot dog the ends. I'm gonna click on my little dash line version and then I'm gonna go and click on my dash length, and I'm gonna set this down to zero. I'm going to set the gap to something that's going to be big enough. It has to be greater than the weight of my line right here, which is when I said a greater gap And how does this actually work? Well, a dash line, folks is to half hot dog ends put together with a dash length of zero length. So you have two hot dog ends that come together that form a dotted line. I know, I know. That's what you have. Okay. So kind of cool to be able to do that. So you built this dotted line here, and you want a dotted line or dash line over here, You can go and do this, but then you gotta go back through when you got to set this all back up again, Go in, set your gap. Make sure your gap is a lot larger. Here we go. And hot dog the end to get your dotted line. There you go. Then you got to go back in and set your stroke. Then you gotta go re mess with your lines here. I know. Yeah, it's kind of one of the weird holdovers. Sometimes it doesn't look so good, but anyway, that's what we can dio as part of the properties panel. Get in here a little bit further
Ratings and Reviews
Raina Beutel
This course gave a great overview of the program tools and functions. Definitely a 101 level - best for someone with zero Illustrator experience, which is why I benefited so much from it. Thoroughly explained and perfect pace! Thank you very much! Looking forward to a future intermediate/advanced level class someday, to learn even more tricks and tips. :-)
Sara Chang
This is very helpful and exciting, thank you, Jason!
a Creativelive Student
Student Work
Related Classes
Adobe Illustrator