Lessons
Lesson Info
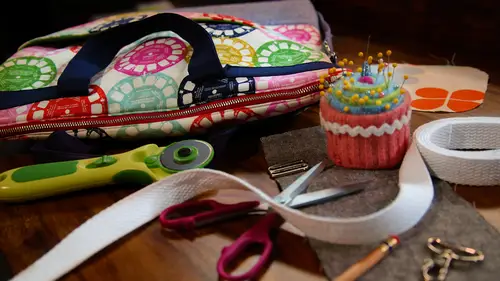
Key Fob
So the key fob is just this little strap that is sewn into the bag with a little clip on the end and that is just really handy for clipping on your car keys or your house key and then the end of it is sewn into the facing and then that way it's up near the top you can just reach in and grab it and then have access to your keys that's a nice little detail you can pretty much add to any bag if the bag you're adding it to doesn't have a facing you could sew it in the side seam or on the edge of a pocket okay, so I have the other lining peace with the facing and um a two by eight inch um piece of fabric cut for the key fob and I also have some stabilizer fused to the back and what we're going to do is fold this and press it so that all the raw edges are on the inside so this piece of feasible interfacing is an inch wide so you just want that to be about half the width of your full strip because if you interface the whole thing it might be too bulky so we'll just start by pressing this in h...
alf and then we're going to fold the raw edges in towards that first crease so because we started with two inches and then or folding it basically in in quarters this is going to be a half inch all right? So then I want a top stitch down the edge of each side of this and that'll be at eighteen inch ok, so now we need to find her little snap hook so this is called a snap hook or a swivel clip and this has a half inch um it's not diameter it's a half inch wide as happens opening for you for the half inch strap so what we're going to do is you can see on here we've basically double folded it and stitched across the end on this part doesn't have to be specific in any way um there's no exact measurement to this so I'm basically folding about a half inch in and then again and I don't have to worry about finishing the end of the strap because it's going to be all enclosed in there ok, so I've stitched that end and then I'm going to stitch really close to the ring you may want to put your zipper foot back on for this part, but I feel like I can I can get in there okay with this foot somebody's going to try and of course you don't want to so over the metal hardware so just make sure that your next to it and I just go over it twice because they figure it's going to get some tension on it and just to reinforce it I just sewed over it two times all right so now we have that and we just need to sew into are facing scene so I'm going to place that about three inches from the side because you know, our our seem allowance is going to eat into this a little bit but I don't want it dead in the middle of the bag so we'll just put it right about there and then I'm gonna put my facing um actually I'm going to machine based this first just tow attack it in place so machine basting is just, um a quick uh I guess temporary it's basting in case you wanted to move it but just a quick way to hold something that you're saying witching between layers just to keep things from shifting okay that'll make this part easier to so all right so then I'm gonna take my facing and just flip it down so it's right sides together under my lining piece and again if you're selling this to a bag that doesn't have a facing you could just have that go right up against the side and then when you said the side seem a little attach it there okay? So they most of across here with a half inch steam allowance ok then we'll just give this seem a quick press all right? So there we have our keep bob attached to our lining
Class Materials
Bonus Materials with Purchase
Ratings and Reviews
Liz Hanes
I loved this class! Betz is very relatable and she explains what she is doing and why she is doing it! I think that it's really important to know why something is done the way it is. I think anyone who is considering bag making or wants to improve their bag making skills should take this class! Thanks for offering it and thanks to Betz for teaching it
Judi Nicholes
I love this Build Your Own Tote bundle and the totes she makes. I am in the process of making them all! Her instructions are excellent and as a result, my totes have turned out great!
Christine See
Excellent course! Explains, in detail, many techniques for sewing bags. This includes different types of pockets (inside and exterior), adding hardware, etc. Very thorough explanations with up close shots of how it all goes together. A great class to learn how to make your bags look professional!