Lesson Info
17. Review Light Painting Library
Lessons
Class Introduction
01:47 2Safety And Scouting
01:28 3Photo Pills App
03:45 4Civil Twilight Image Prep And Test Shots
12:40 5Setting Intervalometer And Capturing Cityscape
04:04 6Light Painting: Equipment Overview
03:20 7Light Painting: Composing The Scene
03:14 8Light Painting: Setting Sky Exposure Ambient Light
08:06Light Painting: Color And White Balance
05:12 10Light Painting: Mixing Warm And Cool Light
14:58 11Review Cityscape Library
02:01 12Opening Images In Lightroom And Moving In Photoshop
19:29 13Cityscape Image: Layers Theory
07:56 14Cityscape Image: Selections And Mask Theory
05:48 15Cityscape Image: Selection Using Color Range
08:27 16Cityscape Image: Altering Masks
05:36 17Review Light Painting Library
03:01 18Light Painting: Opening As Layers In Photoshop
11:00 19Light Painting: Layer Masks
12:05 20Light Painting: Edit Review
07:59Lesson Info
Review Light Painting Library
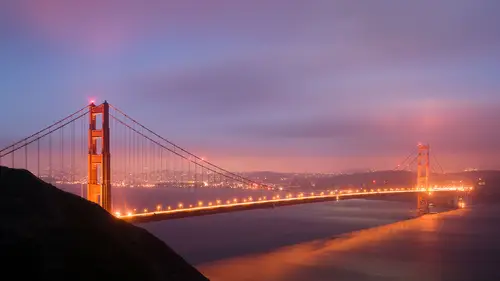
Well now that you've seen how we can blend exposures together to create new and interesting images, let's look at what we can do with light painting. Light painting is one of my favorite things to do. And while I try to capture as much as I can out in the field, invariably I'm doing some work back in Photoshop. And that may be anything from you know, brightening up this area back in here, which didn't have enough light painting or maybe darkening down a railing, to something like using the moonlight back here of one image and the other image in here. I've shot it when it was dark and I was just popping a flashlight with a red gel. Blending all these different images together really makes, Photoshop really makes it a lot easier. Here's a great one from the neon boneyard that I love. And in this case, I really enjoyed painting the lights up on these areas but the back areas were different levels of illumination because I could not control where the city lights were coming in. So there wa...
s bright areas and dark areas and so this one really comes out because I was able to control the background light through Photoshop while controlling the painting light out in the field on the signs. Same thing here. Although I love how orange these arches are in Arches National Park and this blue of the sky, it didn't really look like this when I first started off and that's because the sky tends to go a little bit warm when you shoot it for long periods of time unless you change your white balance and if you change your white balance, that alters the color of your flashlight. And so what I had to do in Photoshop on this was select this entire area and warm it up and then select this area and cool it down to get that color separation. Again, that warm and cool separation often adds quite a bit of drama to your scene. And then lastly here, this was a really funny thing that I was out in this garden, under a full moon and we were lucky enough to get some fog moving in but the fog also showed blue sky. And so the base exposure was simply for the sky and for the clouds and you can see the gentle moonlight across the meadow here and this was completely pitch black and I just walk through here and use my flashlight to illuminate the different areas of this pagoda again using warm and cool to separate those. But, it needed a little Photoshop work to bring out some of the detail in here, just to highlight that, sharpen it up a little bit and also brighten up the areas out here in the meadow. So I'm always starting in Lightroom and always going into Photoshop so let me show you guys how we're gonna work on our light painting images that we captured last night.
Ratings and Reviews
Phillip Ziegler
This course, along with the others by Tim Cooper, are outstanding. His demonstrations and explanations are so clear and easy to follow. I've been out doing long exposure night photography using what i learned from Tim and and delighted by the results.