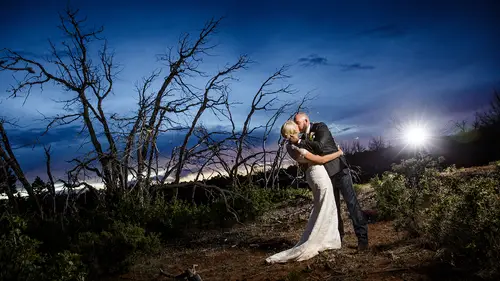
How to create a film look using tone curve in LR
Lesson 5 from: Adobe Lightroom 5 Develop Module In-DepthJared Platt
How to create a film look using tone curve in LR
Lesson 5 from: Adobe Lightroom 5 Develop Module In-DepthJared Platt
Lesson Info
5. How to create a film look using tone curve in LR
Lessons
Adjustment Panels in LR Develop Module
12:30 2Basic Adjustments in LR Development Module
15:39 3Vibrance vs Saturation
06:41 4How to Use Drastic Tone Curves
08:14 5How to create a film look using tone curve in LR
04:25 6Black and White Mixing in LR
02:46 7Using Luminance, Saturation and Hue for better color in LR
03:22 8Split Toning Explanation
05:49Lesson Info
How to create a film look using tone curve in LR
So I'm going back to my tone curve now and watch what happens on a turn off these shadow on highlight warnings I think that's a pretty nice looking image already let me first go the rgb here and let's not have this quiet so contrast e because I don't want the highlights to be so overblown and I'm going to take out the ability for white to be purely white that's done by doing this see that that point right there that says white equals white all right, it's just a graph white equals white let's just flatten this curve again so I want white see, I'm pulling white down so I want white to equal maybe a light gray so that it becomes a much more subtle black and white and so we're forcing white to never hit pure white and we're going to force black to never hit pure black so it can never get too pure black then we're going to add our little curve of the last curve again, but now look how beautiful that is it's like a soft black and white it's like that old school, black and white that everybo...
dy loves these days, you know, with that thin film he look, I have just given you the detail on how to create a beautiful film look without having to use film, right? This is the curve if you can get white not equal white and black, not two equal black on, then add your curve in between you now have film and how close, how far up or down these go depends on how much film it looks like and how much pushing and pulling you've done there. We know what pushing and pulling on film is if you don't there's probably a film class on creative live that you can take to learn about pushing and pulling film, but a film in the old days, we would shoot it, we would over expose it and then underdeveloped, or we would under develop it and over expose it depending on you know what our situation was, so if I didn't have sixteen hundred film, I could make eight hundred feel like sixteen hundred, but it would get thin, or it would get contrast, depending on how I shot it. And so this is the way that you determine what film you shot and how much you've pushed and pulled it, right? Ok, so we've got this going. We've got a beautiful, beautiful, like rich, but yet subtle black and white. Now I can go into my rg bees see how it's still a flat curve now I can independently play with that one, so watch what happens when I take the read out of it it starts to turn kind of scion so I can decide I want the shadows to be more science but I want the highlights to be back to normal you see that now I've got these sigh in areas in the shadows and now I'm going to go to the green area I don't want it to look to green, so I'm gonna pull the green totally out just a little bit I just need to come down just a tad so it's not too green in the shadows and then I'm going to go to the blue and the blue I'm going to pull that out just a little bit too because that's going to make it yellow, which yellow is that warmth that we want and like a c peotone type of thing so I'm gonna pull the blue out just a bit and mostly in the highlights I want the blue to come out, but in the shadows I want the blue to still exist, so that feels kind of cool in the shadows and now look at the difference between the original black and white and now I'm gonna turn off the entire curves layer remember curves is where we're adding our color, not necessarily in the split tone and we're doing a split tone in the curves, so watch what happens when I turn this off and on huge difference. And it was all done in the curves. Now I've done these curves, and I want to never have to go through that painstaking process again. So at that point, I would go over to the left hand side of frame, and I would go up here to the priest, that area that hit, plus, make preset, and we'll talk about making an effective pre set in a little while.
Class Materials
bonus material with purchase
Ratings and Reviews
Bill Frye
A very informative course dealing with an important module within Lightroom. Significantly improved my comfort with and capabilities in Lightroom.
Raquel
Thoroughly enjoyed this package. I learned a lot and found everything Jared explained very useful to me. I'm new to using Lightroom. Thank you!
a Creativelive Student
I am only half way thru and I love this class! I knew there was more to LIghtroom and what I could accomplish and Jared did that for me! Big thumbs up for me!