Lesson Info
10. Image Processor in Photoshop
Lessons
Class Introduction
01:45 2Color Sharpen Techniques in Photoshop
10:12 3Batch Retouching Photos in Photoshop
07:20 4Resolution, Sharpen, and Magnification in Photoshop
10:42 5Retouching and Adjustments in Photoshop
17:26 6Color Correction and Adjustments in Photoshop
10:43 7Color Modes in Photoshop
16:03 8Spot Healing Brush in Photoshop
07:53Lesson Info
Image Processor in Photoshop
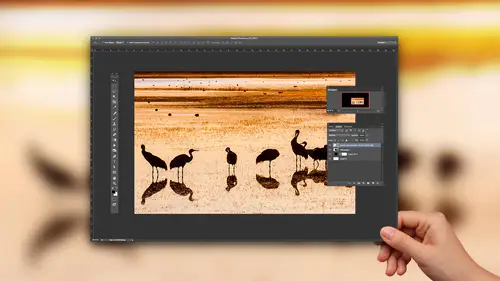
inefficiencies. If you have 30 images, then you need delivered. A client client says I need them to be 10 24 pixels wide. Don't open every single picture and scale them down to that size and individually save them. Select your images and Enbridge go to the Tools menu. There's a choice called Photo Shop, and you have something called the Image Processor. What people never seen it, but it's under tools Photoshopped image processor, and when it comes up, it looks kind of complicated. Most of it you can ignore this part of the very top toe. Totally ignore it. The part below that just says, where do you want to save it? Either in the same folder? Or you can tell it a place If you hit select folder mindset to the desktop and then down here, you can tell what file format did they ask for? Did they want a tiff? Did they wanna J. Peg? I'm gonna say J. Peg right there is your quality setting and over here resize to fit, even tell it to scale it down. I really wish you could choose inches in type...
in a resolution setting, but you can't but it's nice that we have it here. Make sure you have this check box at the bottom turned on called include I C. C. Profile. That means make sure the colors look right when it gets to them because it includes enough info and we hit the run button. It will automatically open all these images. It will automatically scale them to fit within this size and automatically saving this J pecs. You could do it to 250 images and then just go. Lunch is it opens every image, scales it down and saves its shape, but used the image processor also in efficiency wise. If you need a scan, a bunch of images, you got your family photos you want to get in your computer, don't scan and one at a time scandal in batches like this, and then you can go to the file menu. Might take me a moment to find it. It's either under automata you hear this, but back him. Put him as many as you can fit on your scanner, hit the scan button, and when you're done, go to the file menu. Choose automate, and there's a choice called cropping straightened photos. When you choose it, it will investigate that image. It will discover where each images it will rotate them to make them straight. And then when you click through, you'll have. Here's my original, and here's 1234 separate images. It could be six or 10 or 12 or 14 but gang him up there and then use a little intelligence about it. And that is file automate, cropping straight. We go on all day about all these things. There's so many ways you can screw up in photo shop. Most of the ways are not. Your fault is just. There's some technical thing going on behind the scenes where it's less than ideal, and it's just good to learn about them so that, you know you can prevent those problems. And so I hope that this session is giving you some of that information that will help you in the future. Some things that may improve your efficiency, but a lot of things that improve your quality and mainly reduce your frustration. That's ah, what I'm here to do.
Ratings and Reviews
a Creativelive Student
I loved this class - Ben is a really good teacher and the class is full of great easy to follow advice.
Bonnie
First off, the title cracked me up. The course was very good, easy to follow and Ben's a great instructor.
user 12004e
Excellent! Much better than I thought it would be. Invaluable.