Color is a powerful tool inside any art, but photographers are limited to just the colors they see — or are they? Using Photoshop on a mac or windows, it’s actually quite simple to change colors — for example, to turn a red car blue. Changing colors and getting realistic new colors is tricky, but, using a new adjustment layer (image>adjustment), the process actually only takes a few minutes. Watch the video tutorial above as Ben Willmore demonstrates how to change colors in Photoshop with both a quick method and a more accurate technique.
You can create a impressive professional assets using Adobe Stock. Learn how it’s done.
How To Replace Colors in Adobe Photoshop: The Quick Method
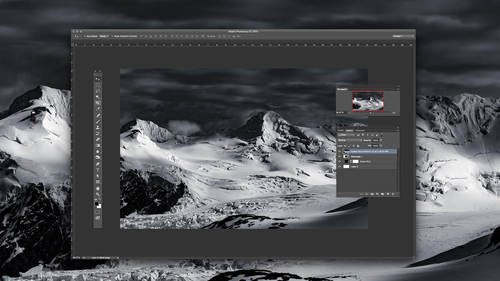
Adjustment layers allow for non-destructive photo editing (since you create a new layer), but they also make it simpler to apply changes to only portions of the image. To swap out colors, start with a hue/saturation adjustment layer by selecting the half-filled circle at the bottom of the ‘Layers’ window and selecting hue/saturation from the menu. (Don’t see the layers panel? In the top menu, select Windows, then Layers.)

Creating a hue/saturation adjustment layer brings up a new window with different color options. To swap out colors, first you need to tell the computer what color you would like to adjust. The simplest way to do that is by selecting the hand tool within the adjustment layer panel, then clicking within the photo on the color you would like to swap before you click OK. You’ll see some of the color options change as you click — the drop down menu at the top will select a color channel, red in this case, and the colored slider at the bottom will also automatically adjust.

With the color selected, use the hue, saturation and lightness sliders to adjust the color. Hue will make complete color changes, while saturation effects how vivid the color is and lightness adjusts the shade of that color.

If the changes are applied to more than the object you wanted to change, don’t worry — once you are done with the color adjustments you can use a layer mask to choose what areas see those color changes.
Take beautiful photos and grow your business — for less than $20. Shop all CreativeLive Photo & Video classes today.
How To Replace Colors in Adobe Photoshop: The Advanced Method
But what if the hand tool didn’t select the entire object? Using the colored slider at the bottom of the hue/saturation adjustment layer, you can fine tune what shades are selected if the initial quick method cannot get them all, Wilmore explains.

The gray brackets in between the rainbow-colored sliders at the bottom illustrate what colors you have selected. By dragging the ends of the bracket, you can adjust what colors are included. The middle section of brackets are for the main color, while the outer brackets pick up a bit of the surrounding colors.
Tip: Make an extreme adjustment with the hue slider so it’s easy to see what you’ve selected. Once you have the correct color range selected, you can then use the hue slider to adjust the color.
While dragging the brackets is one method, using the eyedropper tool is often simpler. First, drag those gray bars to make the color selection as small as possible. Right above the color slider, click on the first eyedropper tool and use as a color picker to identify the main color you want to isolate, just like you did with the hand tool in the first method. Then, use the plus on the eyedropper tool to add other shades that you want to be adjusted (you’ll see those color selection bars get wider) and the minus if you selected too much.
Using the colored sliders and eyedropper tool makes selecting and adjusting a colored object simple, but what if the object in your photo is not a solid color, and you only want to change one specific color? Since you started with an adjustment layer, you can paint over any areas of the photo with the brush tool where you don’t want to apply the adjustments.

With the adjustment layer highlighted in the layers panel, select the brush tool and make sure you are painting with black. Then, simply paint over the areas where you don’t want that color change.
The hue/saturation adjustment layer makes it easy to adjust and alter any color in a photograph. Along with changing the colors of an object, understanding how to use adjustment layers for color correction is also helpful for things like reducing skin redness or downplaying a distracting object in the background.
You can create a impressive professional assets using Adobe Stock. Learn how it’s done.


