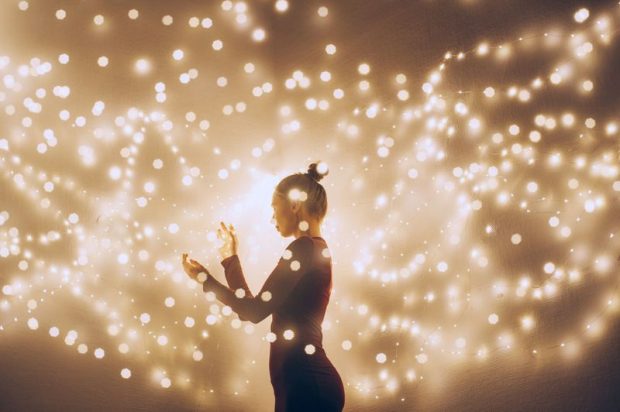
 That background blur effect you see in photographs? You know, the one where the background is smooth blobs and the subject is in sharp focus?
That’s aesthetic quality is called bokeh effect. More specifically, bokeh is the photography term used to define out of focus light sources that simply look like neat circles in the background of the photograph, like this:
That background blur effect you see in photographs? You know, the one where the background is smooth blobs and the subject is in sharp focus?
That’s aesthetic quality is called bokeh effect. More specifically, bokeh is the photography term used to define out of focus light sources that simply look like neat circles in the background of the photograph, like this:
 Bokeh originates from the Japanese word boke which means 'blur.' While bokeh looks (and sounds) like a complex task, creating the bokeh effect is actually pretty simple to do. Here’s a quick three-step bokeh effect tutorial that will help you create beautiful bokeh effects (and hopefully help you stop calling it “that one blurry effect”. Also, if you need a more complete guide to create the bokeh effect, check out our Ultimate Resource Guide here).
Although you can create the bokeh effect in post-processing with software like Photoshop or apps like Bokeh Lens, here are a few tips to achieve those out-of-focus highlights (or pleasing bokeh affects) with your camera.
Bokeh originates from the Japanese word boke which means 'blur.' While bokeh looks (and sounds) like a complex task, creating the bokeh effect is actually pretty simple to do. Here’s a quick three-step bokeh effect tutorial that will help you create beautiful bokeh effects (and hopefully help you stop calling it “that one blurry effect”. Also, if you need a more complete guide to create the bokeh effect, check out our Ultimate Resource Guide here).
Although you can create the bokeh effect in post-processing with software like Photoshop or apps like Bokeh Lens, here are a few tips to achieve those out-of-focus highlights (or pleasing bokeh affects) with your camera.
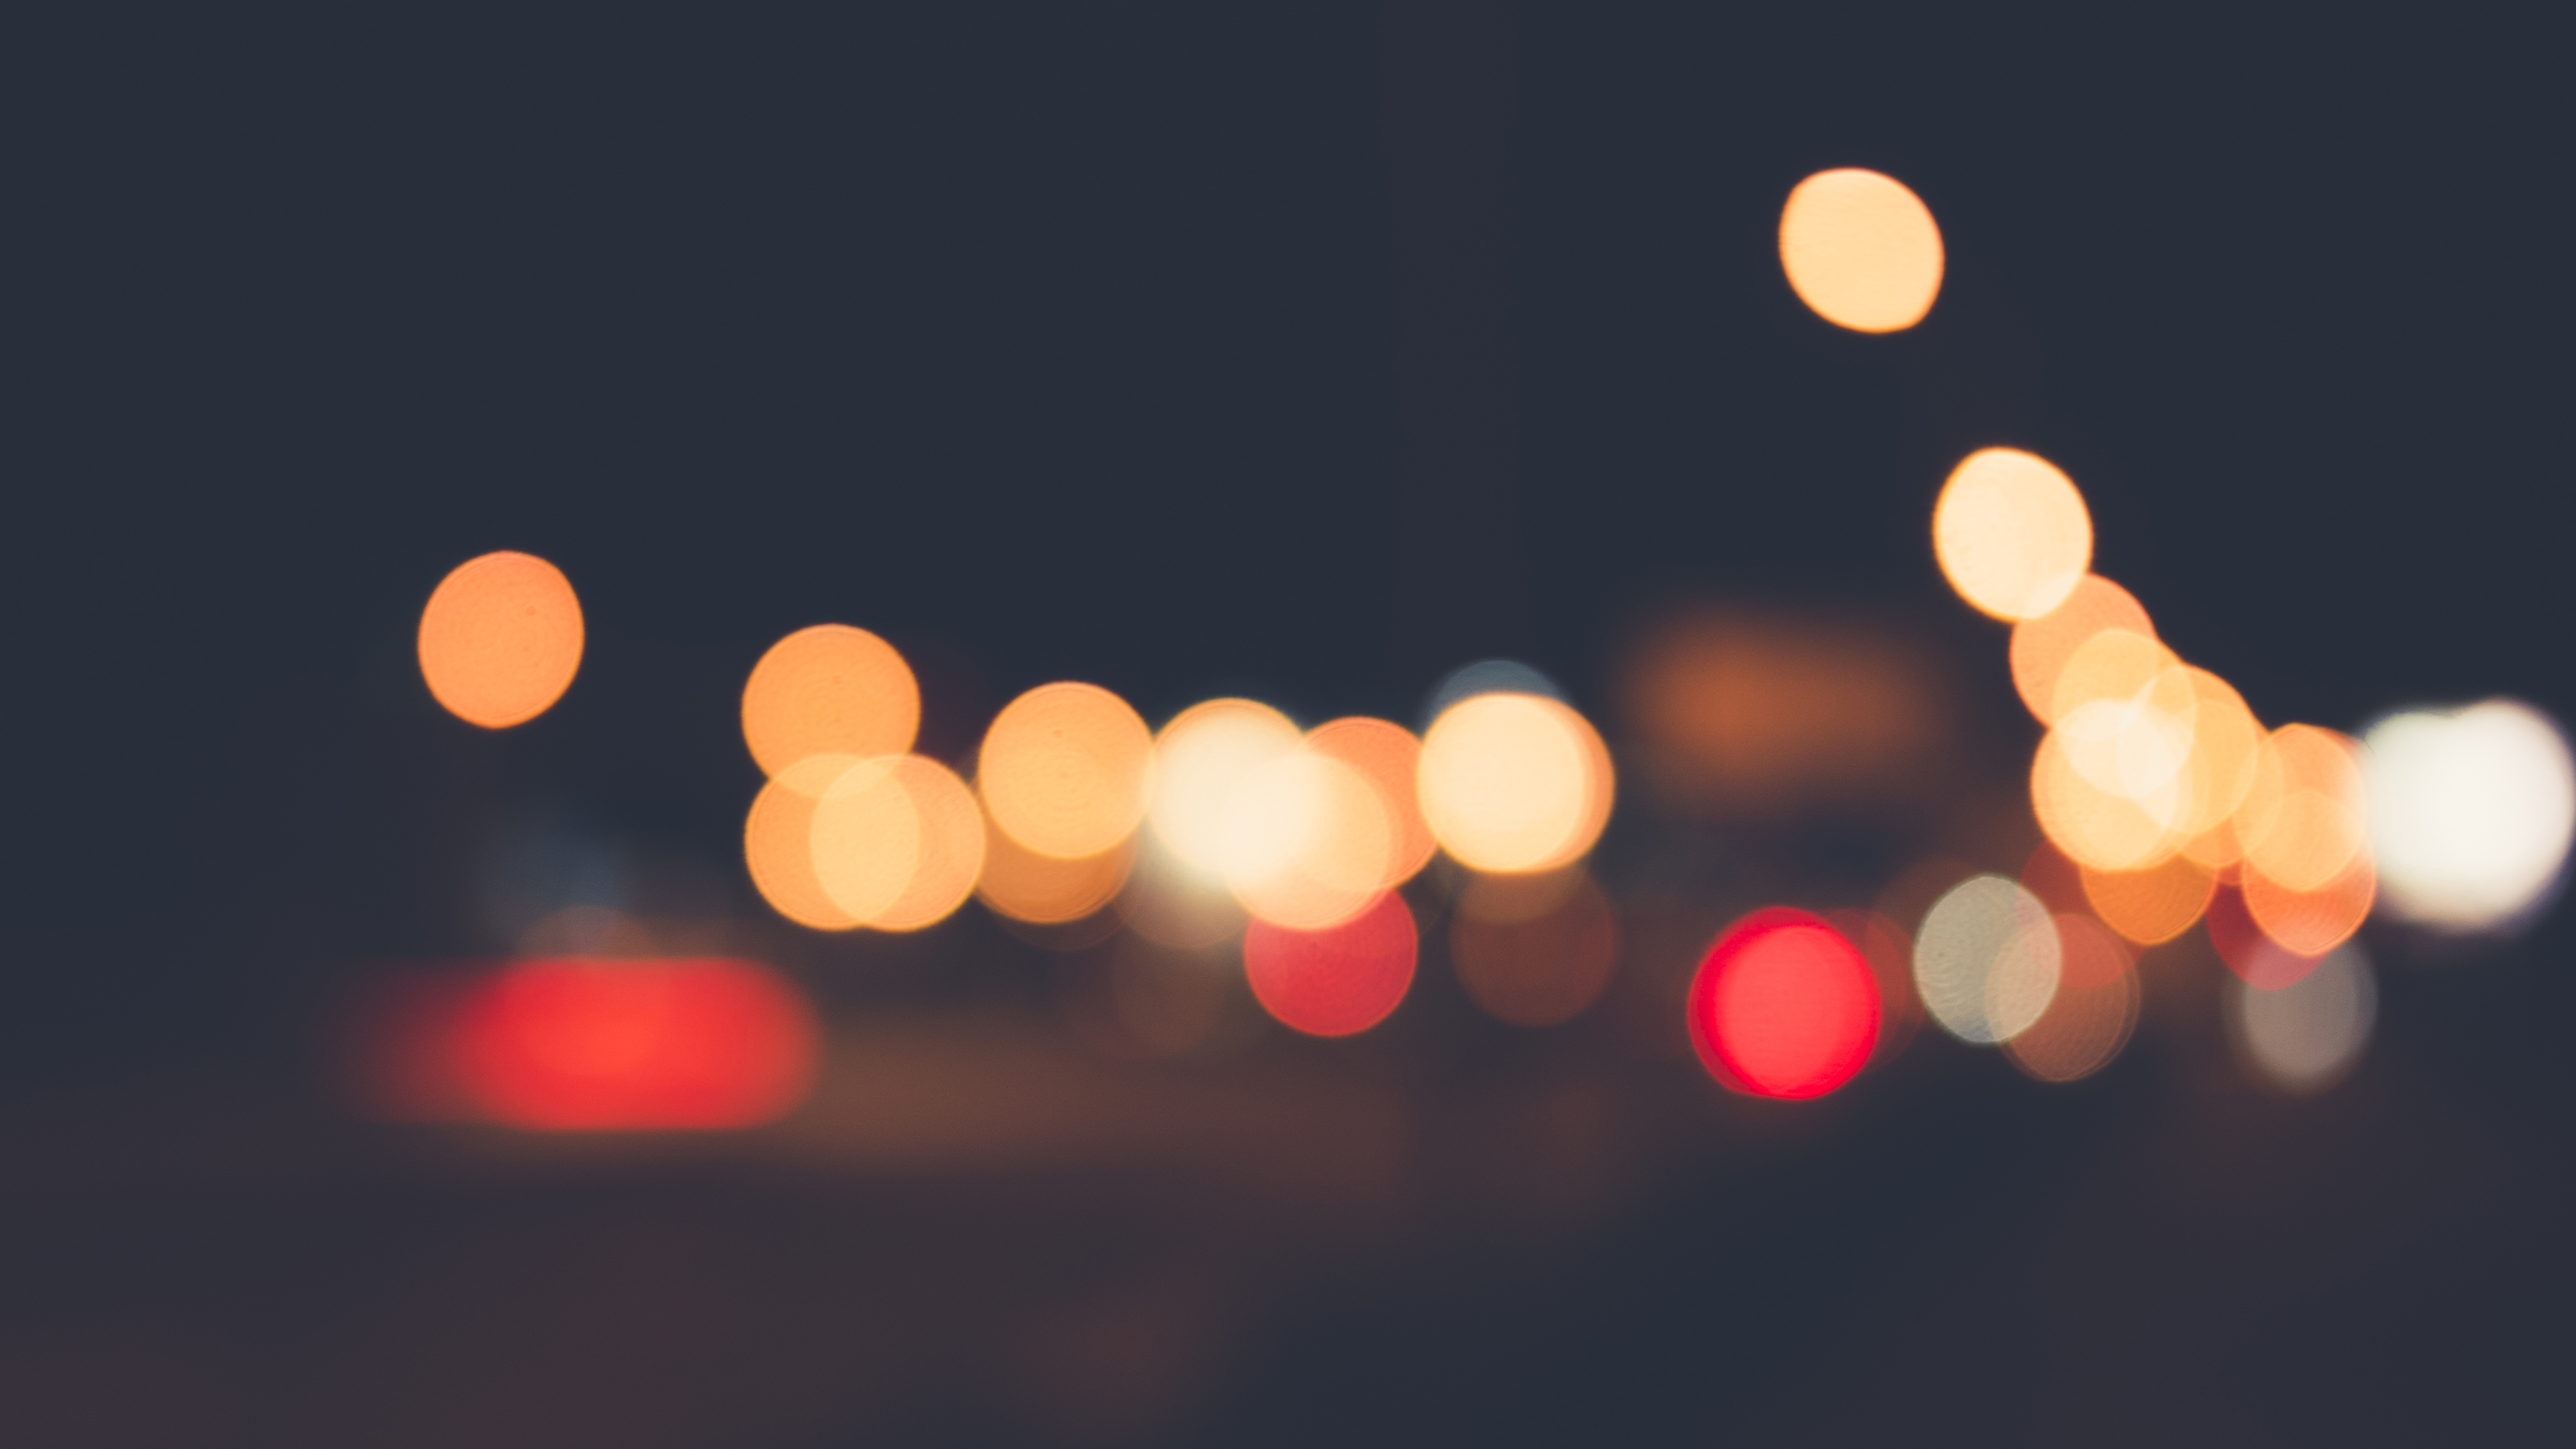
Step 1: Find a light source.
The true definition of bokeh isn’t just a blurred background, but blurred lights.Get actionable tips for photography beginners in Khara Plicanic's top selling Crash Course! $19 Today Only (exp. 1/30/19 @ 11:59pm PT)

Naturally, that means you have to find a light source. Christmas lights are an easy way to achieve that out-of-focus blur and add good bokeh to an image any time of the year, but they certainly aren’t the only option. A cityscape at night or evening sun filtering through some trees works too. You can even crinkle up some tinfoil and put a light in front of it for some great bokeh. The best light sources to create bokeh are small, and it’s usually best to have a few of them. The sun won’t create a bokeh effect itself, but small patches of sunlight coming through leaves will. Outside of finding small light sources, keep in mind the color of the light source will show up in your photos too.
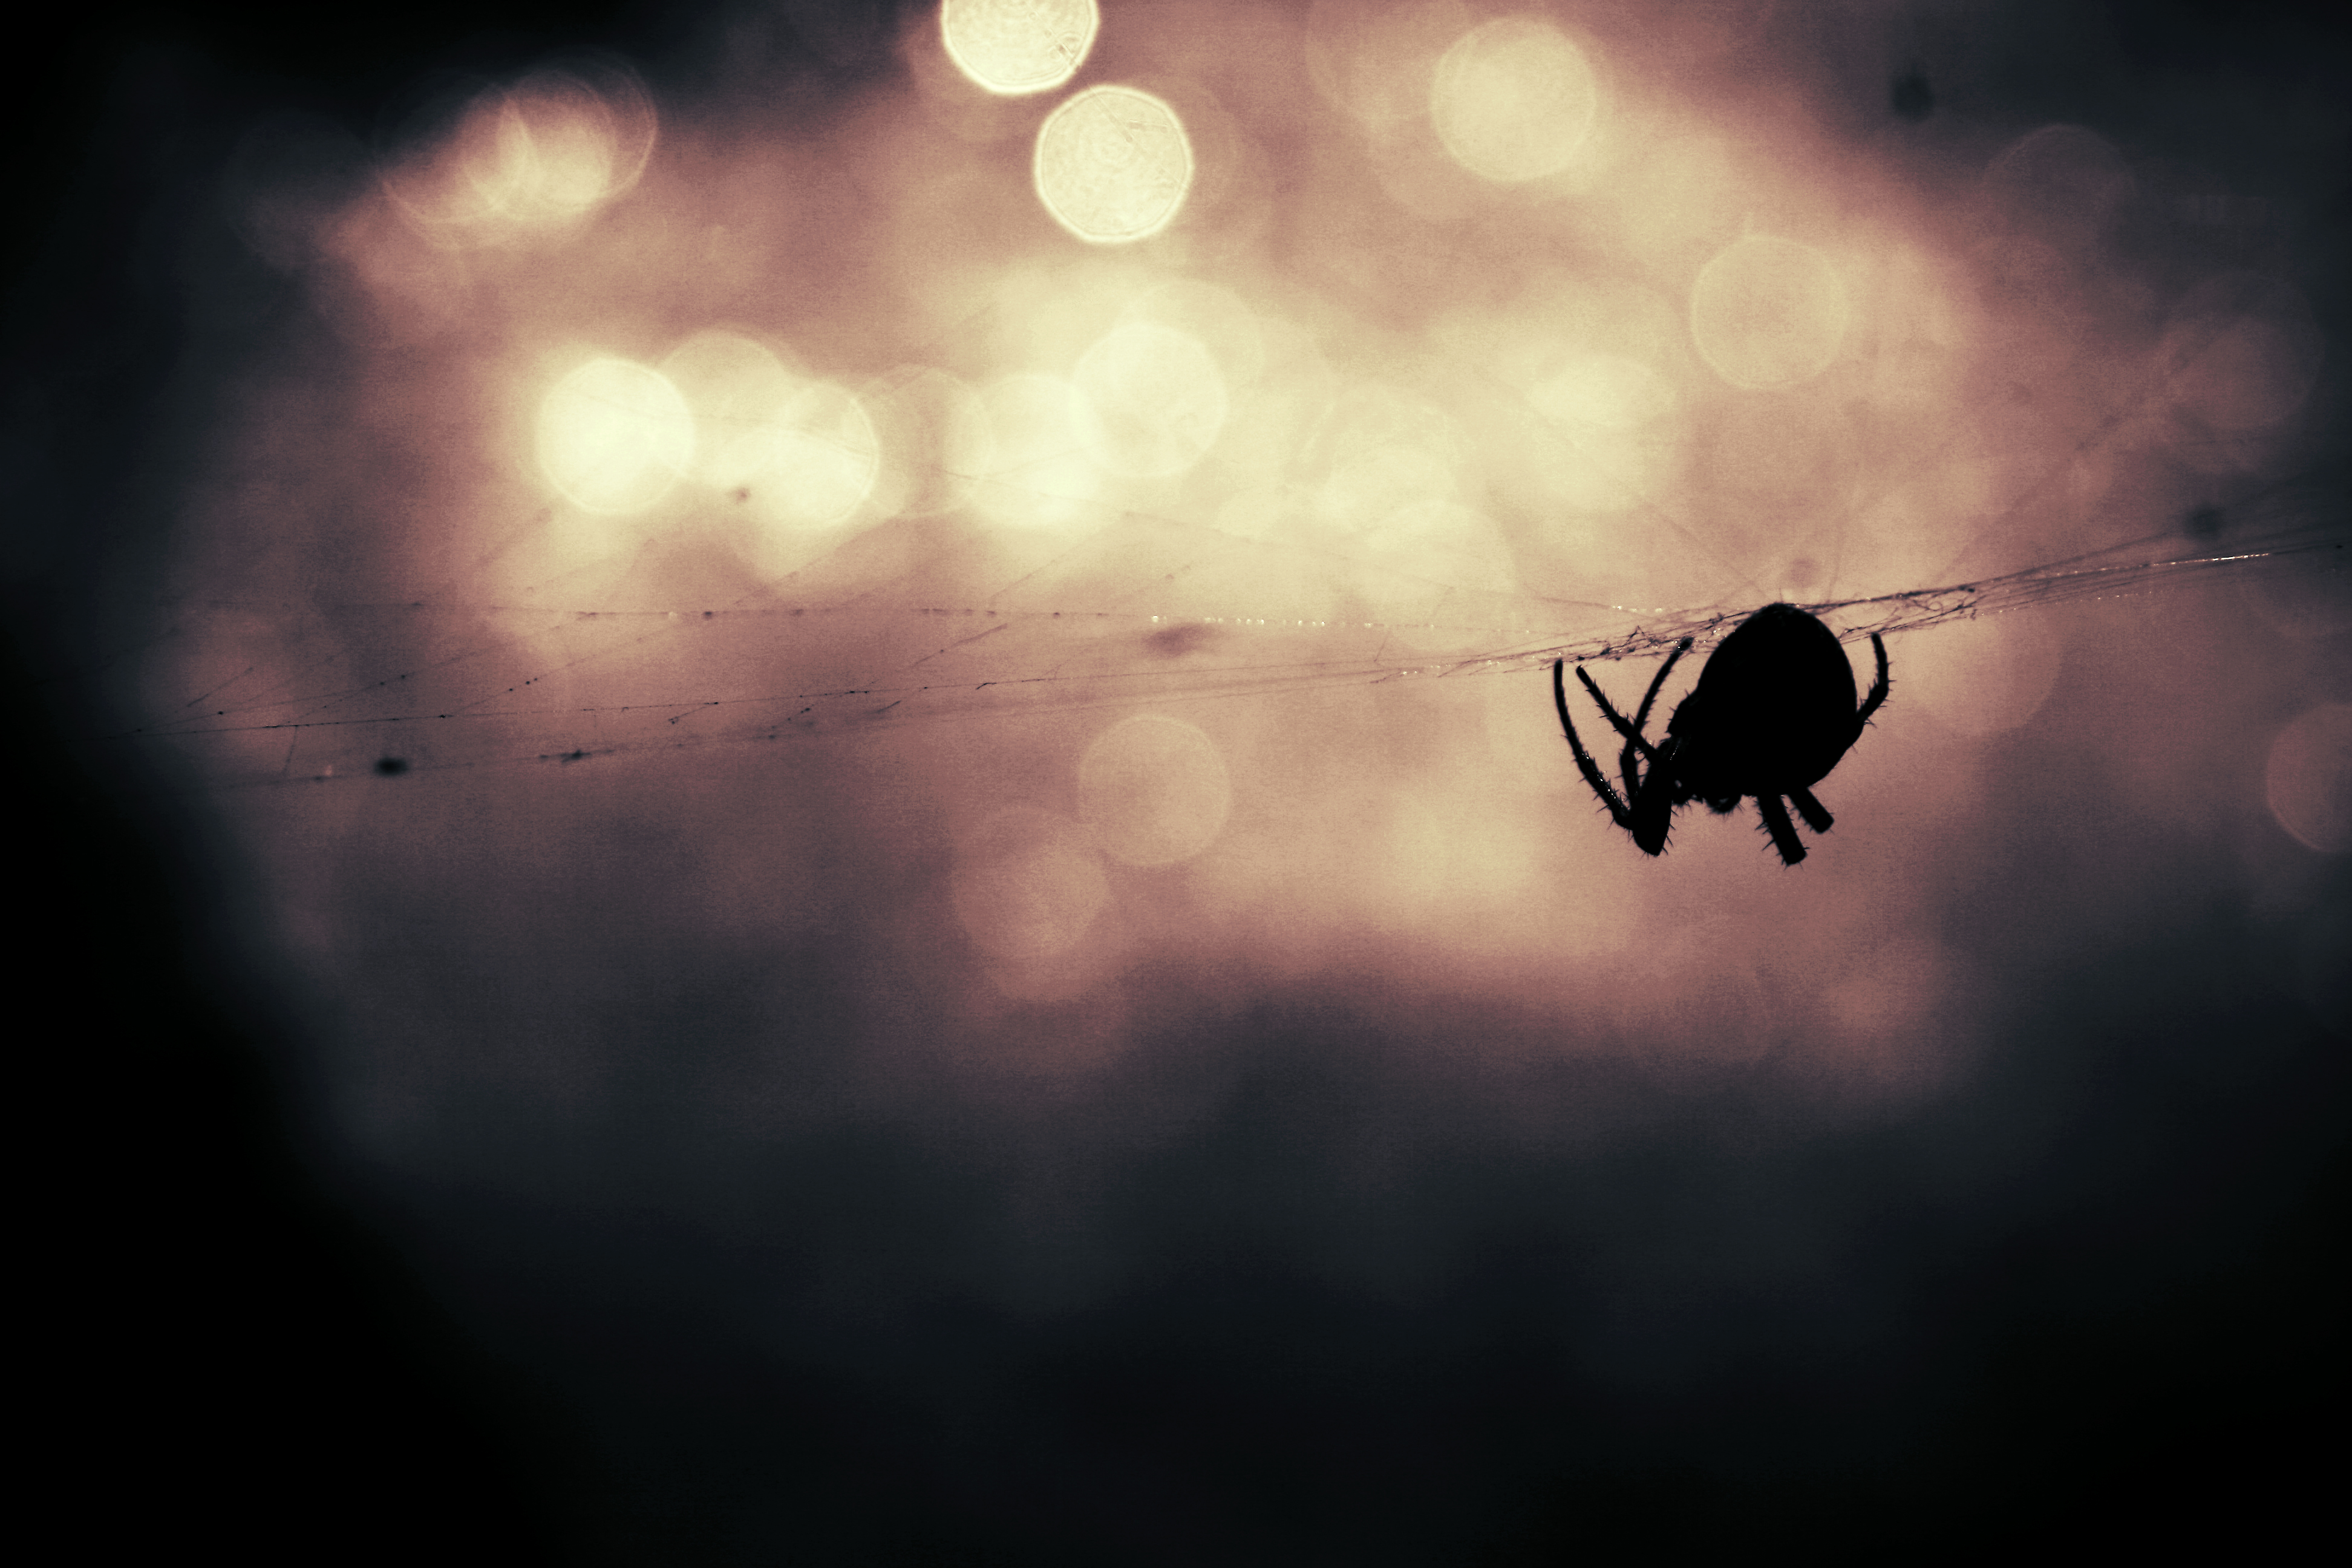
Step 2: Position your subject...far from the light source.
Novice photographers often put their subject directly in front of the background, or even leaning up against it. But, the farther your subject is from the background, the blurrier the background will be. To create good bokeh, the background needs to be blurry, so make sure to position your subject at least a few feet in front ahead of the light source. If you don’t have a camera with manual modes (which we’re talking about next), you’ll want to get even further away.The CreativeLive class Composition Basics will arm you with effective techniques for composing better photos, including the rule of thirds, frame-within-a-frame and more. $19 Today Only! (exp. 1/30/19 @ 11:59pm PT)

Outside of using distance to blur the background, the distance will affect how big those light orbs appear. So, if you want larger orbs of light, you’ll need to place the subject a little bit closer to the light source. For smaller circles, put even more distance between the subject and the background. The more shallow depth-of-field, or further away your background is, the more blurred it will be. (Remember, too, whether you have a Canon, Nikon or Sony, a camera lens with longer focal lengths will increase the depth of field even when the distance between the camera and the subject doesn't change.). Tip: If you don’t want to photograph a subject but just want a photo of only bokeh (they make great desktop wallpapers), switch to manual focus. Adjust the focus until the lights are completely out of focus and bam! Great bokeh!

Step 3: Adjust your aperture, then take the shot.
Distance will help blur out the background (so don't get too close-up), but so will aperture. (If you haven’t brushed up on photography fundamentals yet, aperture is how wide the opening in the lens is). A wide aperture, or smaller f-number, will blur out that background even more. If you set your camera to one of the widest apertures like f/1.8 will really blur out that background for a great bokeh effect. Set your camera to Aperture Priority mode and choose a low f-number, then you are ready to take the shot. Tip: If you don’t have Aperture Priority Mode on your camera, try the portrait scene mode.In Natural Light with Sue Bryce on CreativeLive, learn to take photos confidently in any type of light without a hefty investment in equipment.

You can use both aperture and distance to control the bokeh in the background. If you don’t want to use a super wide aperture because you need more of the subject in focus, or don’t have a lens capable of a super wide aperture, simply use compensate for the narrower aperture by adding more distance between the subject and the light source. With a bit of experimenting, you should be able to capture a bokeh effect by using both distance and aperture to blur the background.
Troubleshooting
While the bokeh effect is simply to achieve, a number of issues can pop up, depending on where and what you are shooting. Why is my subject is too dark? With the light source behind the subject, chances are, your subject may appear a bit dark. Toss a little light back on the subject by using a low powered flash or reflector as a fill light. Or, you can adjust the metering mode to spot metering, though this switch will make your background appear a bit lighter. Why are the artificial lights “blinking” in my pictures? When I photographed my kids in front of the Christmas tree last year, I was frustrated when I looked at the pictures because in several of them the lights didn’t appear at all. I didn’t change my settings or the lights between shots, so, what gives? Artificial lights are actually sent out in surges—they aren’t always on, though they appear that way to our eyes. The photos with the lights “off” simply caught one of those surge moments. That’s simply a timing error. While you can’t see the surges to adjust your timing, if you use a shutter speed slower than 1/60 you shouldn’t have the same issues. Since I was photographing active kids, I chose to keep my shutter speed high and just took more photos for a better probability of missing that surge. Bokeh can create some amazing backgrounds, without detracting too much from the subject. The key to capturing good blur quality and a great bokeh effect is to find a light source, position your subject several feet away from the light source, and use a wide aperture. Want more photography tips for creating great bokeh? Our Ultimate Resource Guide on Bokeh will help you take your images to the next level. Read it here.Ready to focus? The CreativeLive class The Photography Starter Kit for Beginners will train your eye to locate what’s important in your photos in no time.