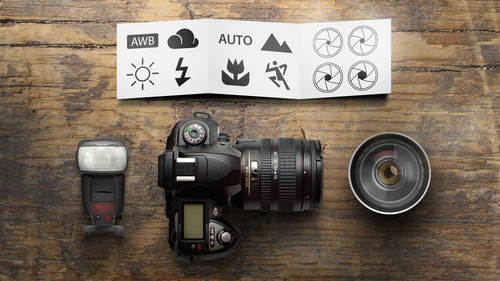
RAW files are not processed within the camera, which means they’re essentially a huge chunk of data for you to mold. Think of them like raw materials found in nature, just waiting to be used for any number of purposes. In the world of technology, the larger your data file, the larger the canvas and the more choices you have.
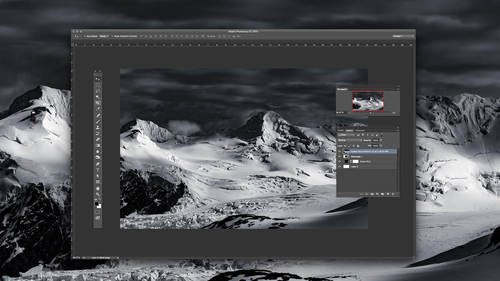
To help beginners navigate the breadth of options available, here’s a quick and easy Adobe Photoshop tutorial for beginners to help get you started.
When you first open your RAW files within Photoshop, using Adobe Camera Raw you’ll be able to make the first adjustments to your photos. Under the layers panel, you can begin with nine easy adjustment layers to edit your original image.
1. Exposure
This tool adjusts the overall brightness of the photo. Exposure is a great place to establish a baseline tone for your photo before you begin to make more specific edits.
2. Contrast
Control the relationship between the bright and dark areas in your picture with this tool. A low contrast will make the two look closer, where a higher contrast will separate the light and dark areas while maintaining a ratio between them.
New to photography? John Greengo’s top-rating beginner photography class will give you actionable steps to improving your shots right now. Learn More.

3. Highlights
Highlights only affects the light parts of your photo, while leaving the darker areas untouched. Here you can make the light areas stand out more vividly.
4. Shadows
The exact opposite of Highlights, the Shadows slider will only affect the dark areas in your photos. This is a great tool to use shadows to create a more dynamic photo.
5. Whites
A step above highlights. The Whites slider (in the black and white adjustment layer) only affects the highest spectrum of light colors, meaning you can affect only the brightest portions of your picture.
6. Blacks
The most true-to-name slider of the bunch. This only affects the blacks in your image. This is a good place to experiment adding some black if there isn’t any in the properties of your photo. Creating some black can add a greater richness and depth.
7. Clarity
The clarity slider manipulates the detail contrast in an image by affecting the different textures. This is different from the color based Contrast option previously, so have fun experimenting.
8. Hue/Saturation
The Hue/Saturation adjustment impacts different colors in your image equally. Be careful using this tool as adjusting everything together can make already colorful sections of the entire image overpowering or unbelievable.
9. Vibrance
This tool only affects the areas of an image which are not very colorful, to begin with. This is a great tool to make all the colors in your images pop out without making the photo look unbalanced.
After playing with these settings, you can cancel the changes or click ok to save. In this way, the adjustments panel is a great way for non-destructive editing. Take the time to study these image adjustments and set yourself up for creating great photos.
New to photography? John Greengo’s top-rating beginner photography class will give you actionable steps to improving your shots right now. Learn More.


