

I consider myself somewhat of a photograph gunslinger. I take shots from the hip, no look shots, hanging-out-of-the-window-of-a-moving-car shots. Some of them turn out great. Some of them don’t. Some just need work. For the images that aren’t solid gold straight out of camera, these three steps are the first and most important issues that I address to improve my photos. And luckily, it doesn’t matter if I’m editing in Lightroom, Photoshop, or even on my phone— any editing application worth it’s salt can help you with these three techniques.
Expose for the Subject
I believe that every picture should have at least one clearly defined subject. Whether it’s a person, a group of people, a sunset, or a plate of food; it doesn’t much matter. The subject is the star of your photo and it is the most important part of your image to have properly exposed.
I generally edit my photos in Lightroom and the quickest way I’ve found to get a decent exposure is to open the image in the Develop module (d) and use the (+) and (-) keys to respectively raise and lower the overall exposure of the image.
Here’s an image that I took, straight out of camera. It looks a bit dark. Take notice of how bright her face looks, specifically. Her face is the subject of the photo. Her face is the exposure priority.
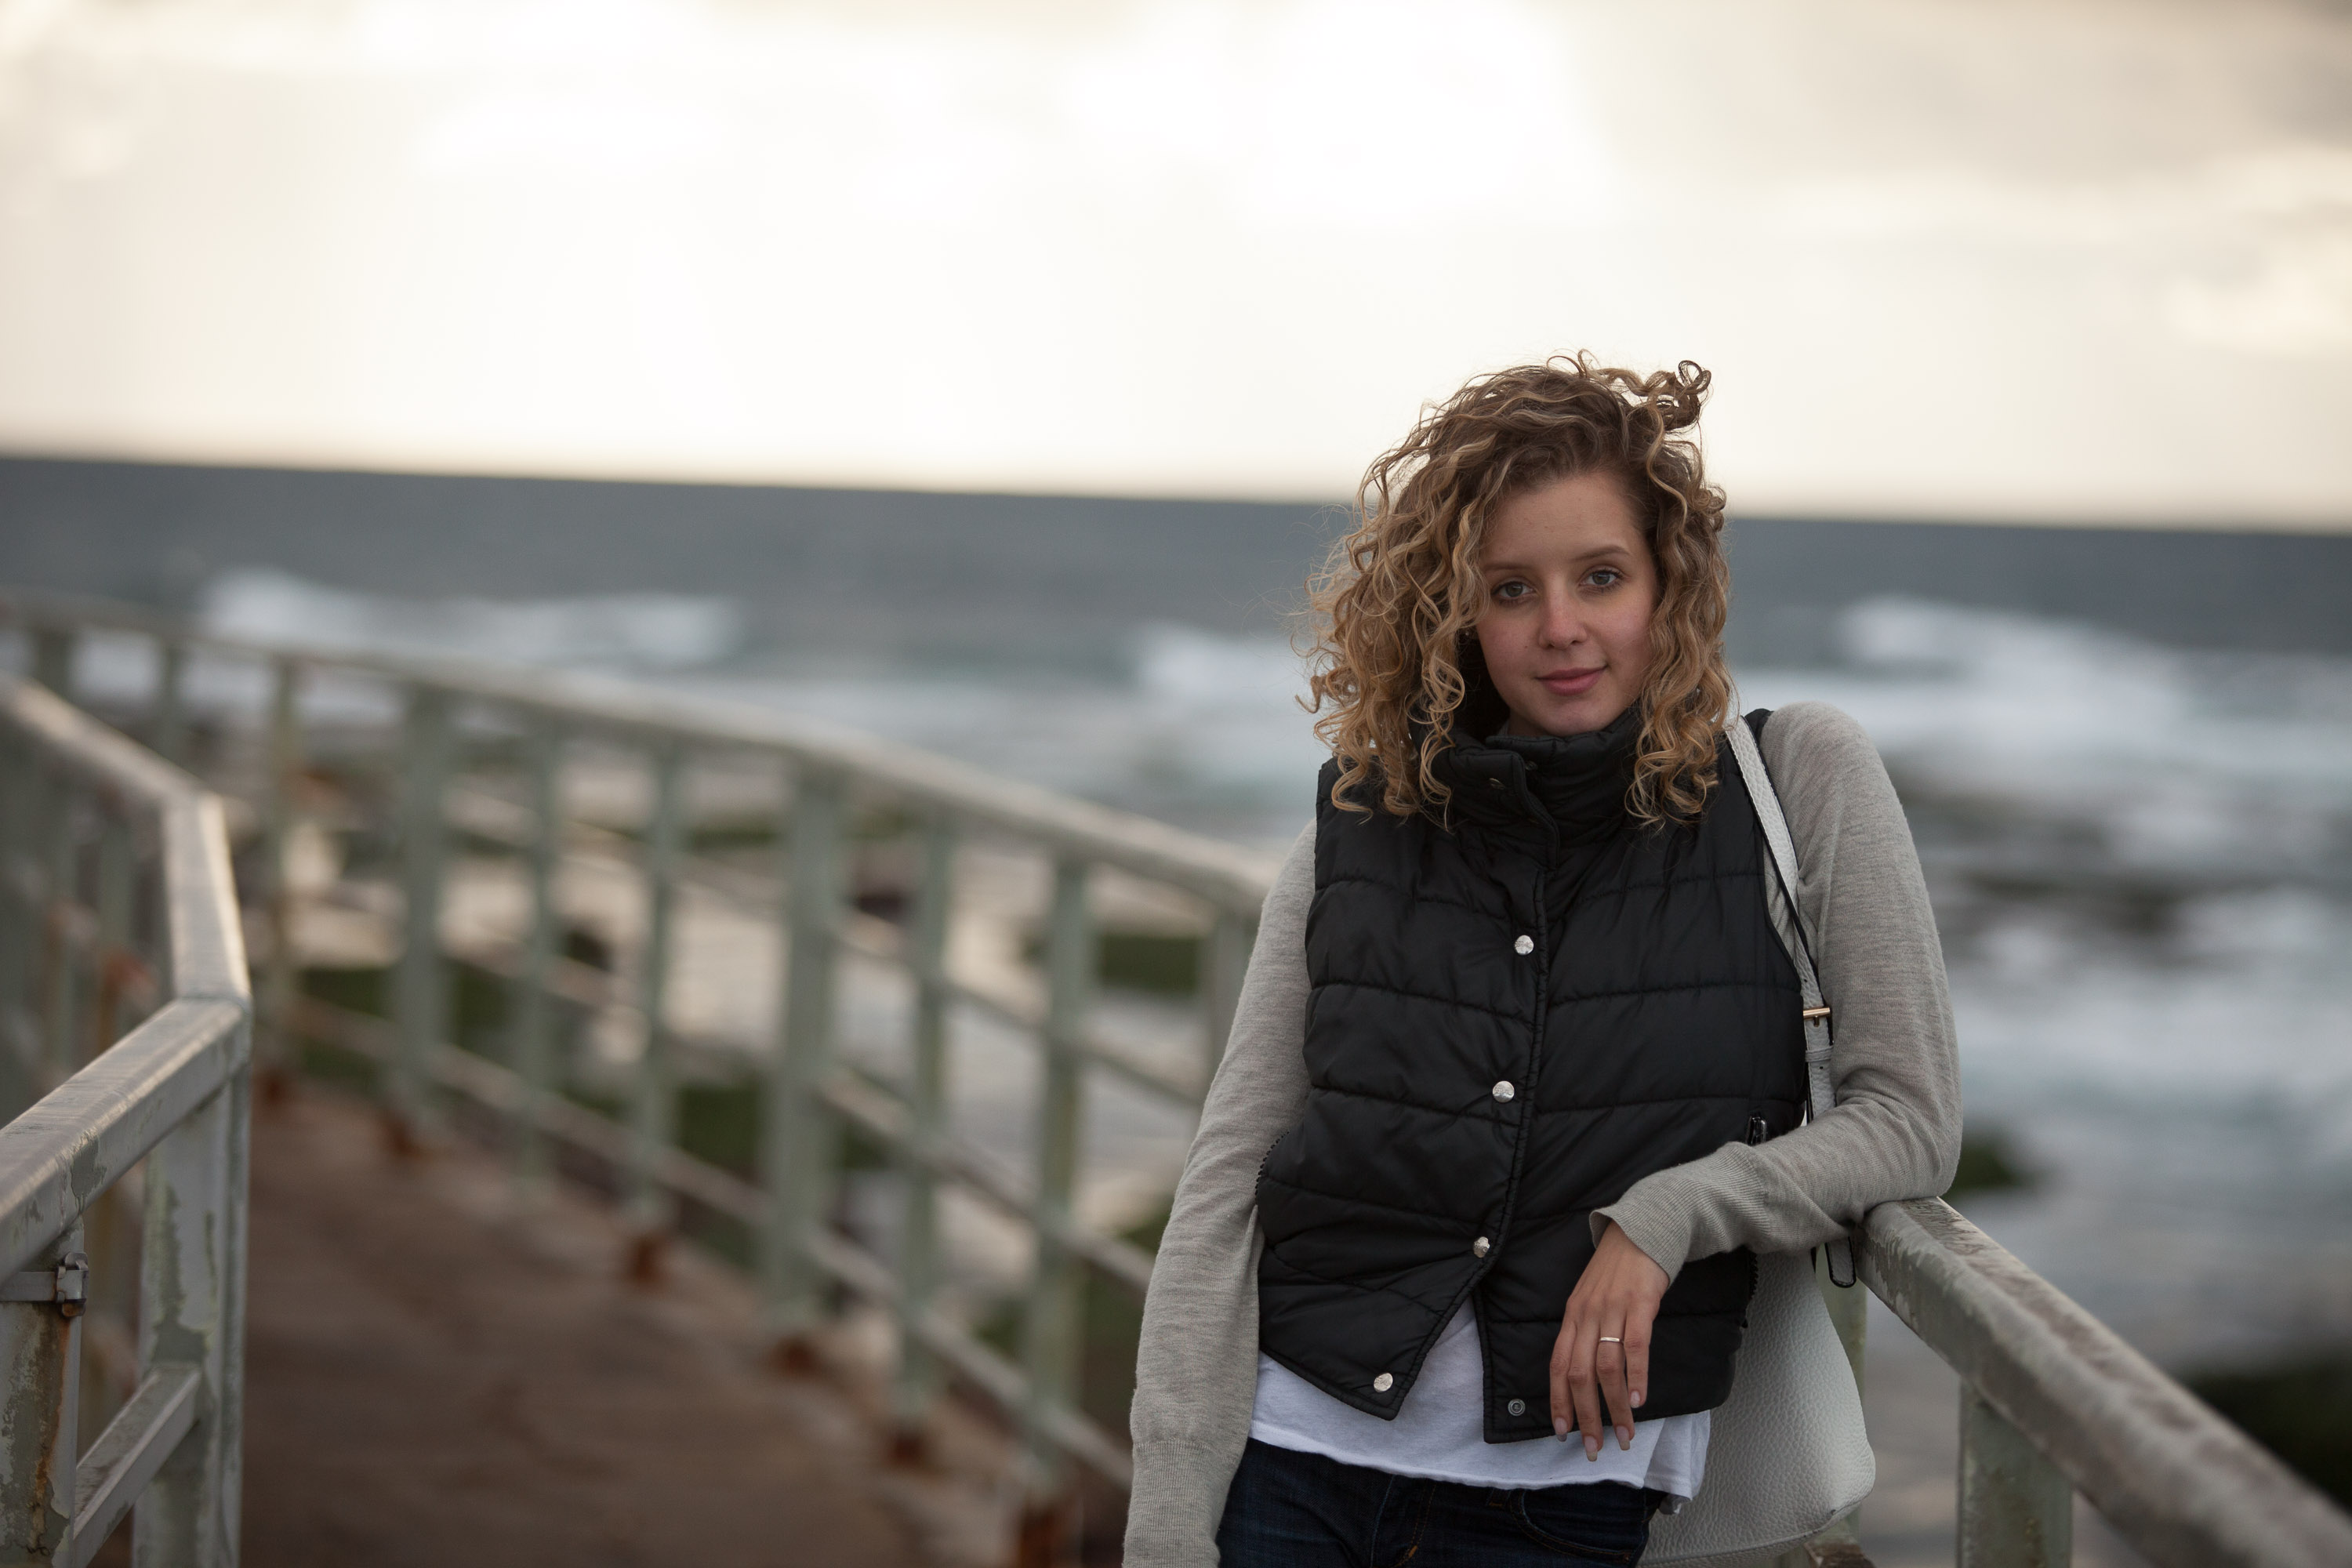
Here’s the same image, after raising the exposure. I ended up bumping the exposure +1.5. It’s starting to look better already!

Level the Horizon
What do you notice about the photo that might seem just a bit off? Are you tilting your head ever so slightly when you look at it? Me too. So, what’s the problem? The picture is crooked, and especially apparent because of the perceived tilt of the horizon.
Want to learn more Photoshop techniques and tricks? Learn all the best shortcuts today.

My favorite way to level the horizon is to open my photo in the Develop module (d) of Lightroom and go to the crop tool (r.). From here, the fastest way to fix the horizon if you can see the horizon line is to hold (command) and draw on your horizon line. I’ve attached a quick video showing what this move looks like.
Here’s that same photo with a straight horizon.

Crop Out Distractions
In my mind, whatever is distracting your eyes from the subject of the photo needs to go! Sometimes this is easier said than done. But minimizing visual noise is a paramount objective in my editing process.
In most cases, our eyes are drawn to the brightest part of an image. If there is something on the edges of your image that is drawing your eye away from your subject, try cropping it out.
The bright edge of the handrail on the left side of the photo catches my eye. I’m going to try cropping it out to see if it helps the image quality.

It sure did!
From here, I might go on to add a bit of contrast, adjust the colors, or make other minute changes, but these three steps- adjusting exposure, leveling the perceived horizon of the photo, and cropping to remove distractions and create a balanced frame- get me about 80% of the way to a finished image.
Here’s a video of my entire editing process, start to finish.
It doesn’t matter if you use Lightroom, Photoshop, or even your phone to edit photos. These steps are the fundamentals of editing photos, and they are the fundamentals because they are so simple and effective! You can use these three editing principles to improve any photo.
Want to learn more Photoshop techniques and tricks? Learn all the best shortcuts today.


