 As a software Capture One has been around for some time. It is, similar to Adobe's Lightroom, a program that allows you to edit and fine tune the RAW images captured from your camera. While many of it's features are similar and may overlap with Lightroom, CaptureOne has a few tricks up it's sleeve and is considered by some a better solution for their post processing.
1. Raw Conversion
Capture One (for a long time) is widely regarded for its quality of RAW conversion. It is known for its exceptional handling of color. Thanks to our custom camera profiling, every RAW file shines - straight from the camera. Whether you seek creative color grading tools or want to ensure natural colors in your images, Capture One Pro delivers powerful and precise tools to achieve your vision.2. Customization and Shortcuts
Capture One Pro is designed to accommodate your way of working. You can customize and build workspaces that support your workflow - Tools, viewer, thumbnails and icons can be hidden, moved and resized for your convenience. Create the workspace that works for you, and not the other way around! Equally, nearly all the functions can be driven with Keyboard shortcuts (an essential tool to work efficiently) which can also be edited to your preference.3. The Color Editor
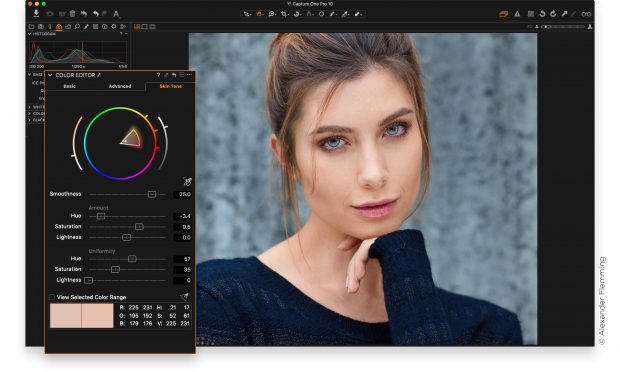
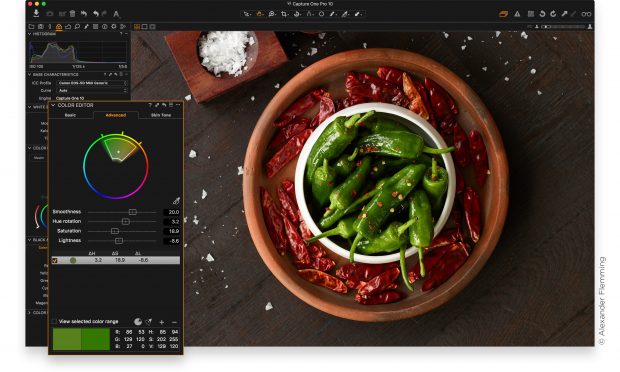
The main tool for editing Color in Capture One, is not surprisingly the Color Editor! Its allows extremely precise selection of color ranges and the ability to then edit those colors. What’s more, the color range can also be transformed into a Local Adjustment Mask.4. Local Adjustments
Local Adjustments give a “layer-like” feel to working directly on the RAW image. Used to Layers in Photoshop? Then the experience is similar in Capture One. Work non-destructively on up to 16 layers with multiple RAW adjustments5. The Color Balance tool.
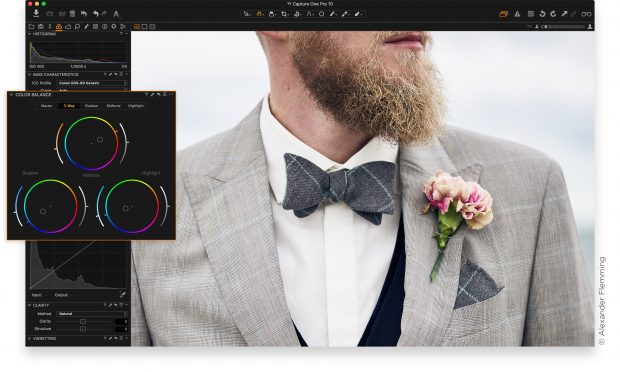
The Color Balance tool is all about toning or ‘grading’ an image. With cues from the video editing industry, the Color Balance tool gives you an extremely simple way to set the mood or look for your image. Anyone can use it with instant rewards!6. Curves
Curves are a long-standing way to adjust contrast, color and tone in an image. Capture One has a multi-faceted Curve tool not only allowing for a standard RGB correction, but also for individual channels, Luminosity (Luma) only and also with Local Adjustments. The Luma mode is particularly interesting as it allows precise contrast changes whilst leaving the hue and saturation of the image untouched. A limitation of an RGB curve is that contrast adjustments unwillingly affect color and saturation.
7. Tethered Capture
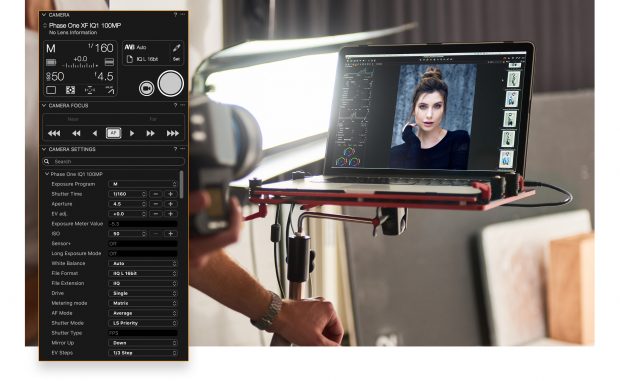
If you want to capture directly to your workstation, then Capture One is the only sensible choice. Supporting Canon, Nikon, Sony and of course Phase One cameras it is packed with tools to make on-set collaboration, composition and camera control a breeze.8. Process Recipes
Multiple Process Recipes can be defined and run concurrently to produce your final image outputs. Once defined it is a one click process to set these recipes running and your final output files delivered to multiple locations, even with automation possibilities.9. Three Stage Sharpening
Extensive sharpening tools provide full control of the process even beginning with diffraction correction for optics. Next comes full control over everything from Amount to Halo Suppression. Adding additional usage dependent sharpening to your Process Recipes, for example Screen or Print output, makes sure your images look the very best, regardless of size.10. Recipe Proofing
Take the guess work out of final image output by being able to accurately see in Capture One the effect of Output sharpening, JPEG compression, ICC Profile Conversion and Scaling. What you see, is what you get.Become a better photographer and RSVP now for David Grover’s class Creating Your Workflow in Capture One.


