Who doesn’t love a new throw pillow?!?
In celebration of National Sewing Month, I’m excited to share this simple, beginner-friendly sewing tutorial you can use to make a graphic patchwork pillow featuring horizontal stripes of your favorite prints.
This project is so easy to customize – I’ve arranged four patterns from one of my favorite fabric collections in varying widths, with narrow bands of solid fabric in between each one to keep it organized and neat, but you can keep yours all prints, adjust the width and placement, or use scraps of any and every fabric you like best.
Looking for more simple sewing projects? Check out my class, Simple Sewing Projects for Beginners. In it, I guide you through the basics of sewing and offer some inspiring projects to help you get started.
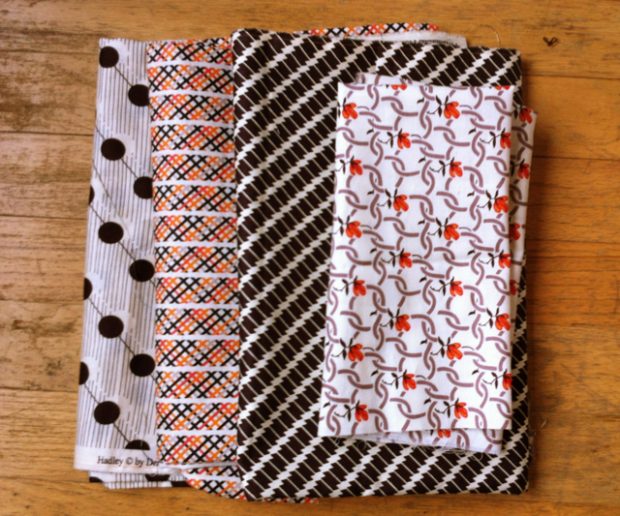
I started my throw pillow project with several prints of Denyse Schmidt’s beautiful Hadley fabric collection in the Chinese lantern colorway with its pretty oranges, deep browns, and calm neutrals. I pared the larger group of patterns down to four prints I really loved together and cut them into strips between 1 1/2’’ and 3’’ wide, choosing two bold geometrics I liked best to be the wider, more eye-catching stripes, and the lower-volume lighter prints to be supporting narrower stripes.
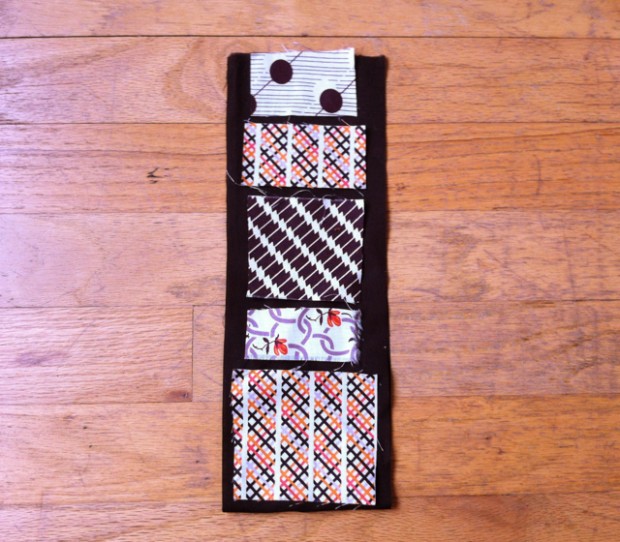
I placed scraps of the fabrics over a piece of Michael Miller Cotton Couture in Chocolate and loved how it harmonized with them. I decided to use a very thin strip of this solid between each patterned stripe, so I cut several 1’’ strips. Then I just arranged and rearranged strips until I liked the color and width mix, taking plenty of photos along the way so I could see those for reference, and repeating three of them within the arrangement to achieve my finished size. This is very personal and it’s a lot of fun to design just the way you like it, whether that’s perfectly symmetrical and balanced, or a mix of widths and colors with repeats here and there.
Once you like your color mix, here’s how to make your pillow! I used a 14’’ pillow form, but simply adjust your dimensions to fit your pillow size.
You’ll need:
Assorted fabric strips (I used seven)
1/8-1/4 yard solid fabric
Pillow form
Batting 2’’ larger than your pillow form (for a 14’’ pillow form, I used a 16’’ x 16’’ square of batting)
Muslin the same size as your batting (16’’ x 16’’ for mine)
Invisible zipper
Fabric 1’’ larger than your pillow form for backing (I used a 15’’ x 15’’ square of one of my prints)
Thread, sewing machine with 1/4’’ foot and invisible zipper foot, iron, rotary cutter, quilt ruler and mat, scissors, basting materials, pins
1. Cut your varying-width patterned strips and thin solid strips to the dimension of your pillow form, plus 1’’ – for my 14’’ pillow, I cut each of mine to 15’’ wide. You can always bring your pillow cover in to fit more snugly if you like. For my 14’’ pillow, I used seven patterned strips, ranging between 1 1/2’’ and 3’’ wide, and six 1’’ wide solid strips to go between them.
2. Using a 1/4’’ seam allowance, begin stitching the top patterned strip to the first solid strip along one long edge, right sides facing. You can pin or just hold them together so the raw edges are aligned. Press to one side.
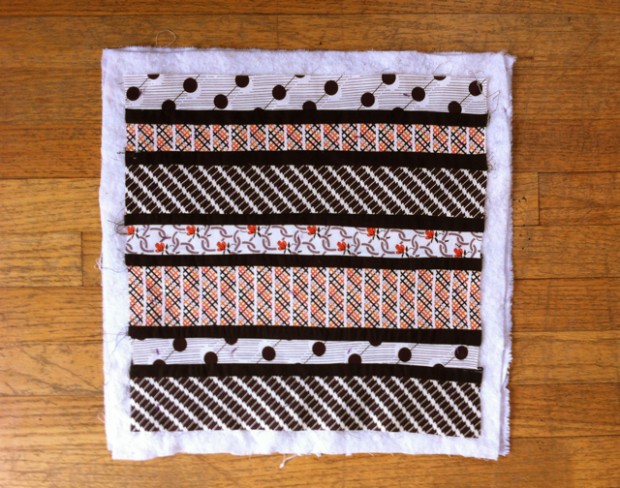
3. Repeat step 2 to continue building your patchwork block, alternating between a patterned strip and solid strip, and pressing all seams to the same side. Continue until you have an approximately 15’’ x 15’’ block and press it again back and front.
4. Align your finished block over your batting, right side up, and then align those two layers over your muslin. Smooth it out neatly and baste your “quilt sandwich” together – I used Quilt-Tak tags, but curved safety pins or your favorite method is great too.
5. Quilt your patchwork as desired – I chose to echo each of my seam lines across the horizontal plane of my pillow, which is very easy for beginners, but you could choose any geometric, straight-line, or free-motion design you like best. Finish by stitching around the perimeter of the block and then trim away the excess batting and backing to square up your pillow top, making sure it’s the same size as your backing fabric.
6. Add an invisible zipper at the bottom – I love Katie Pedersen’s method, which she explains beautifully on her blog. Finish stitching around the perimeter of the pillow, being sure that your zipper is at least 2/3 open, and trim corners.
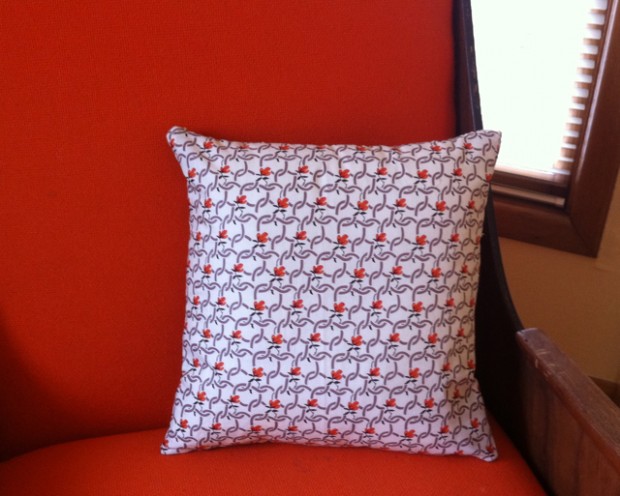
7. Turn your pillow cover right side out and slip your pillow inside! Stitch the sides more closely if it feels too loose, and bring in corners if they are too sharp – it’s totally up to you. Remember, you can always flip it around to the back – I love the way the floral fabric I picked looks on our orange chair, perfect for fall!
More ideas to customize your striped pillows:
-Use a jelly roll (2 1/2’’ precuts) of a favorite fabric collection, and keep them all the original width or trim some down for variety.
-Use all solids in a larger color mix, or all prints in a monochromatic color mix, or any combination that appeals to you!
-Make a set of several pillows in varying sizes, using some of the same fabrics within the different patchwork blocks.
-Make different patchwork pillow covers and switch them out to refresh your living room for the new season, holiday, or just because!
For more easy sewing projects, don’t forget to check out my Simple Sewing Projects for Beginners class!


