
[caption id="attachment_6140" align="alignnone" width="620"]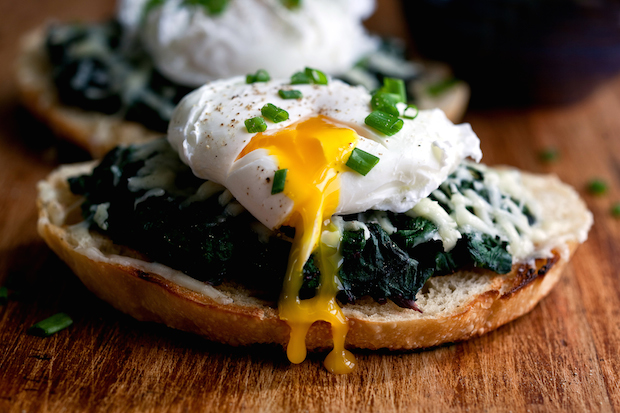 Image via Andrew Scrivani for The New York Times[/caption]
The ubiquity of Instagram and other photo-sharing apps has brought new attention to the medium of food photography, making it more accessible and popular than ever. But not all pictures of food are created equal; shooting food photography, like any photography style, requires a bit of technical know-how, as well as a critical eye. The New York Times food photographer and CreativeLive instructor Andrew Scrivani has helped many aspiring creatives hone their skills, by offering great food photography tips and information on food styling and photo editing in Photoshop or Lightroom.
Image via Andrew Scrivani for The New York Times[/caption]
The ubiquity of Instagram and other photo-sharing apps has brought new attention to the medium of food photography, making it more accessible and popular than ever. But not all pictures of food are created equal; shooting food photography, like any photography style, requires a bit of technical know-how, as well as a critical eye. The New York Times food photographer and CreativeLive instructor Andrew Scrivani has helped many aspiring creatives hone their skills, by offering great food photography tips and information on food styling and photo editing in Photoshop or Lightroom.
 With that in mind, here are a few basic food photography tips for beginners that can really help get the food look you want to achieve and get you on your way to becoming a professional food photographer:
Ready to learn the ins-and-outs of getting into the food photography industry? Join Andrew Scrivani to learn about the Business of Commercial Food Photography. Check it out today!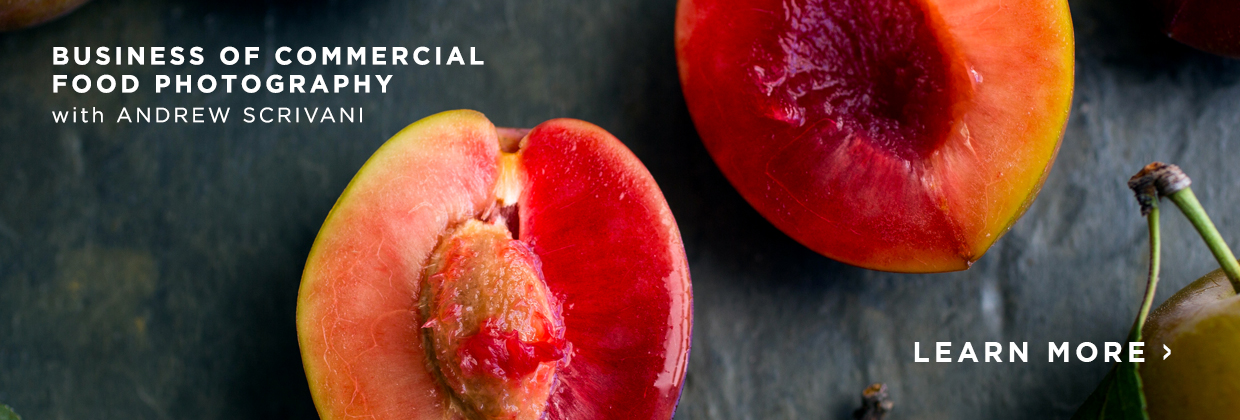
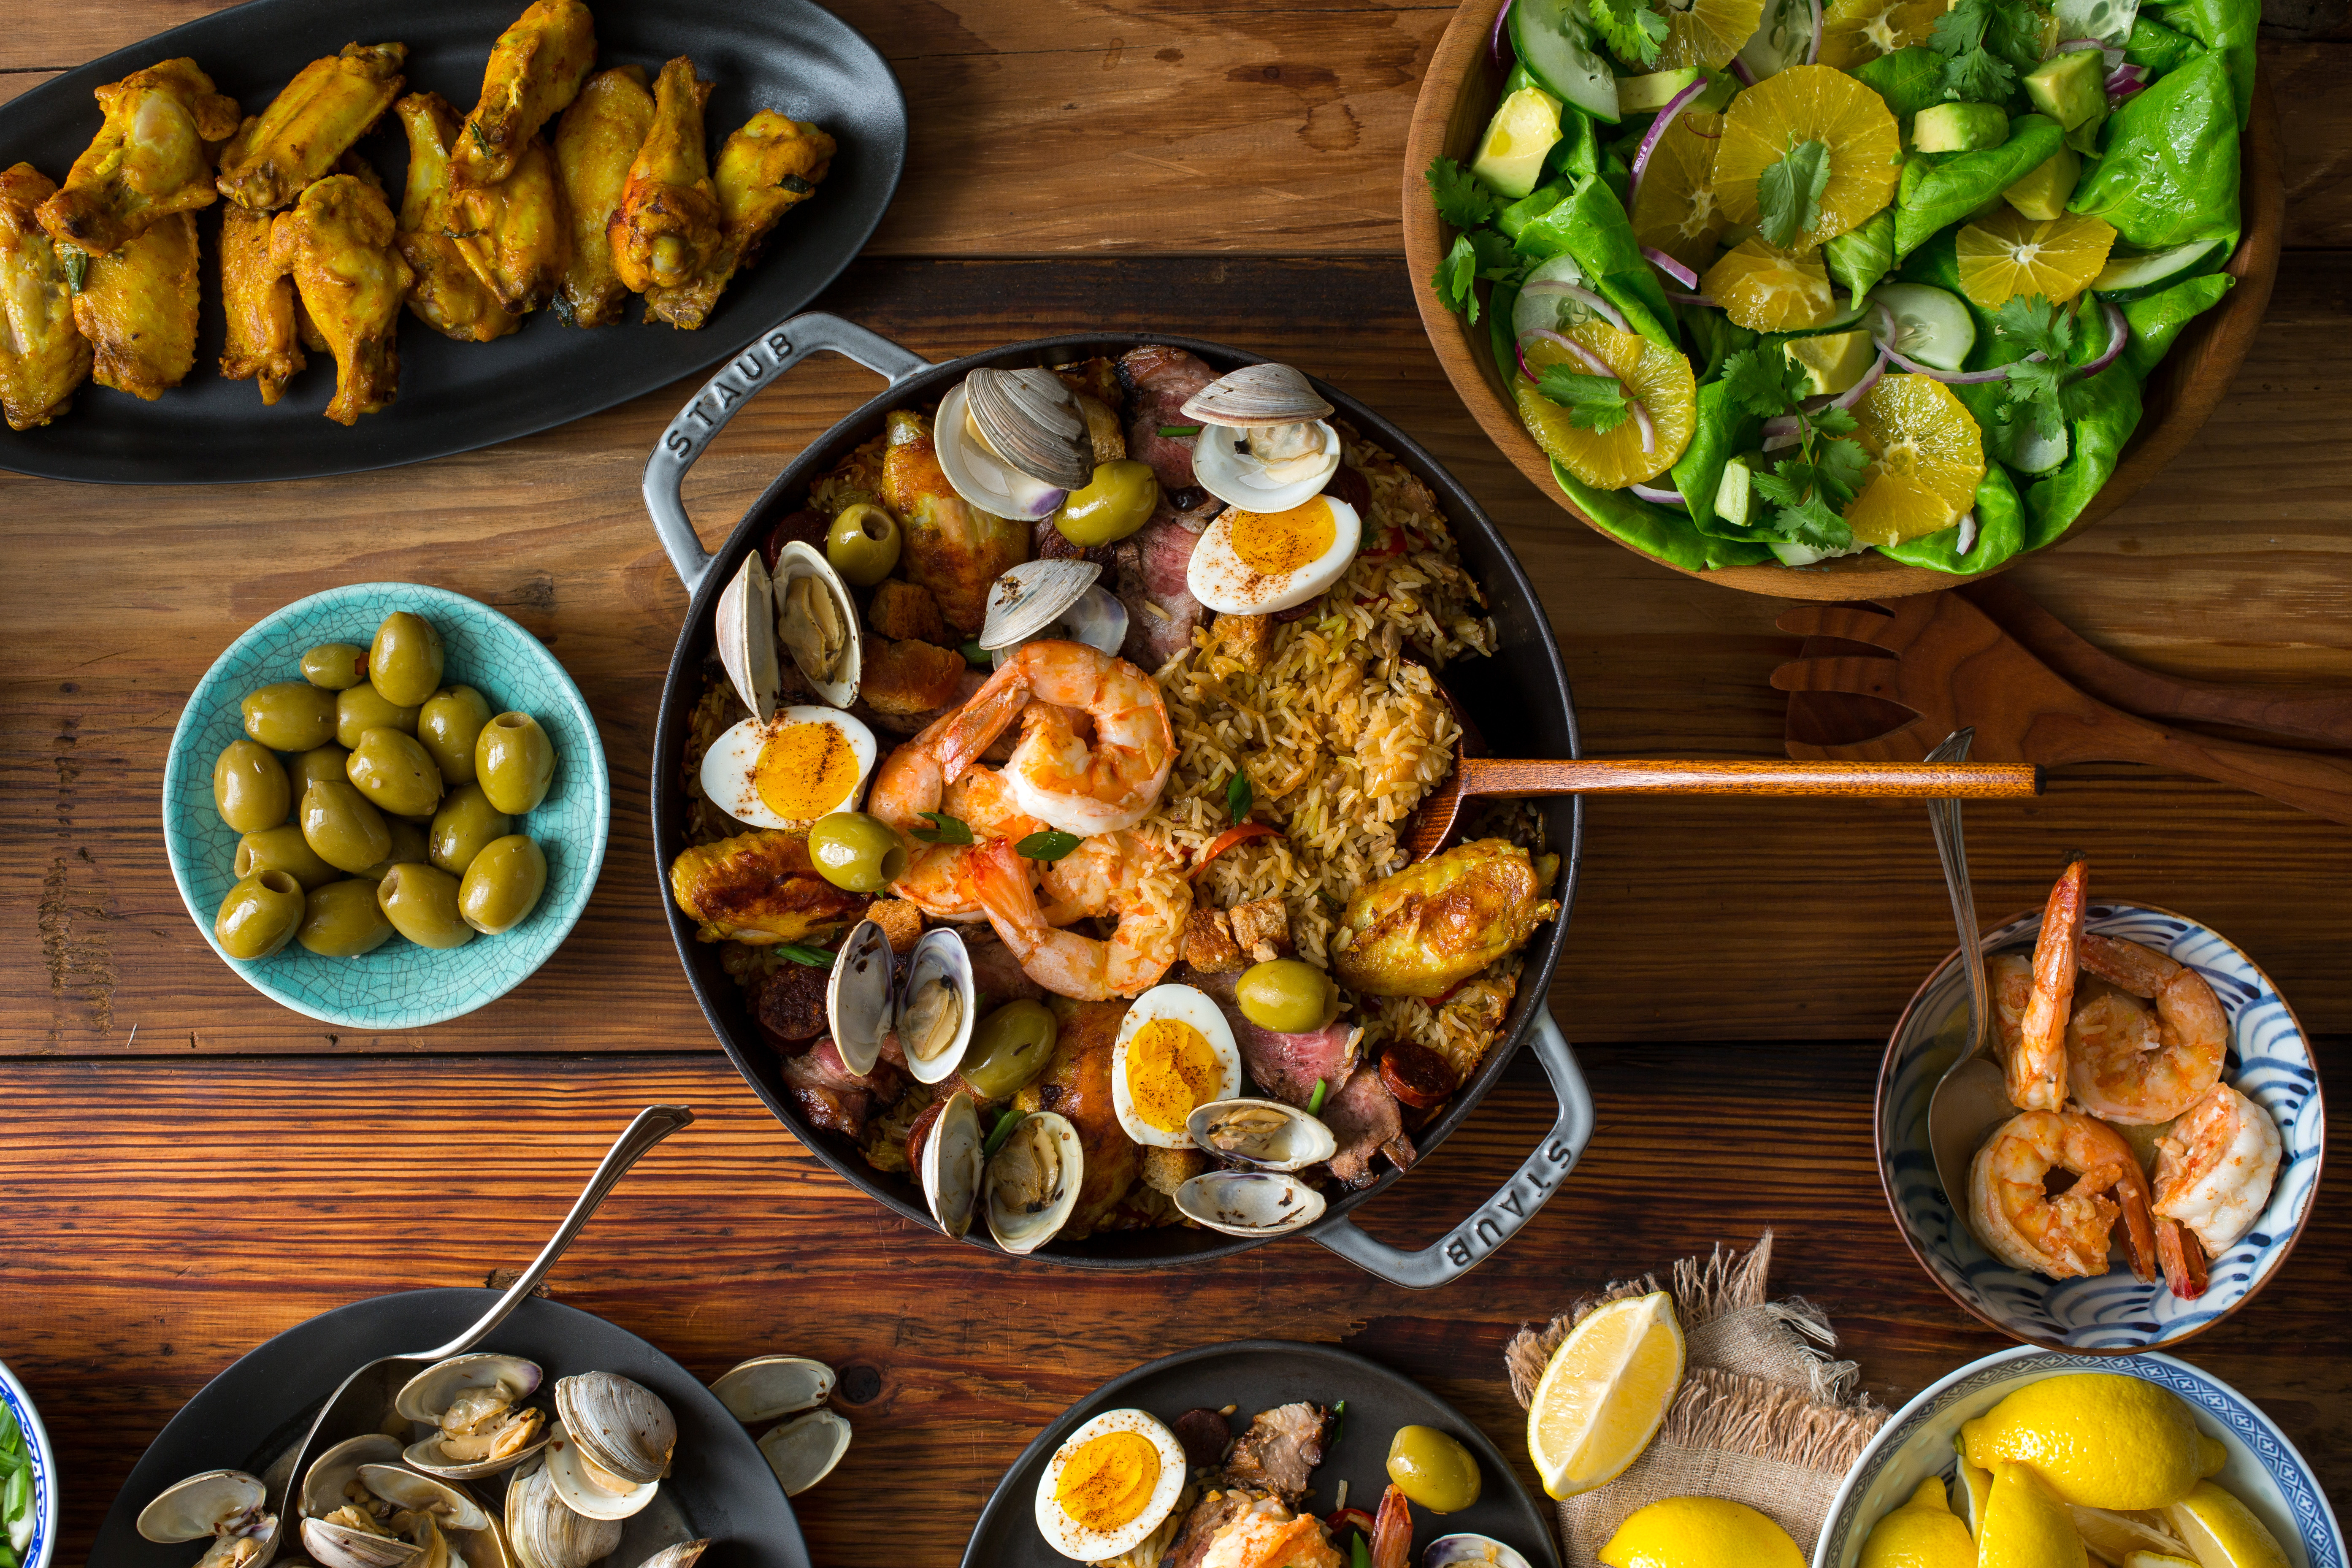
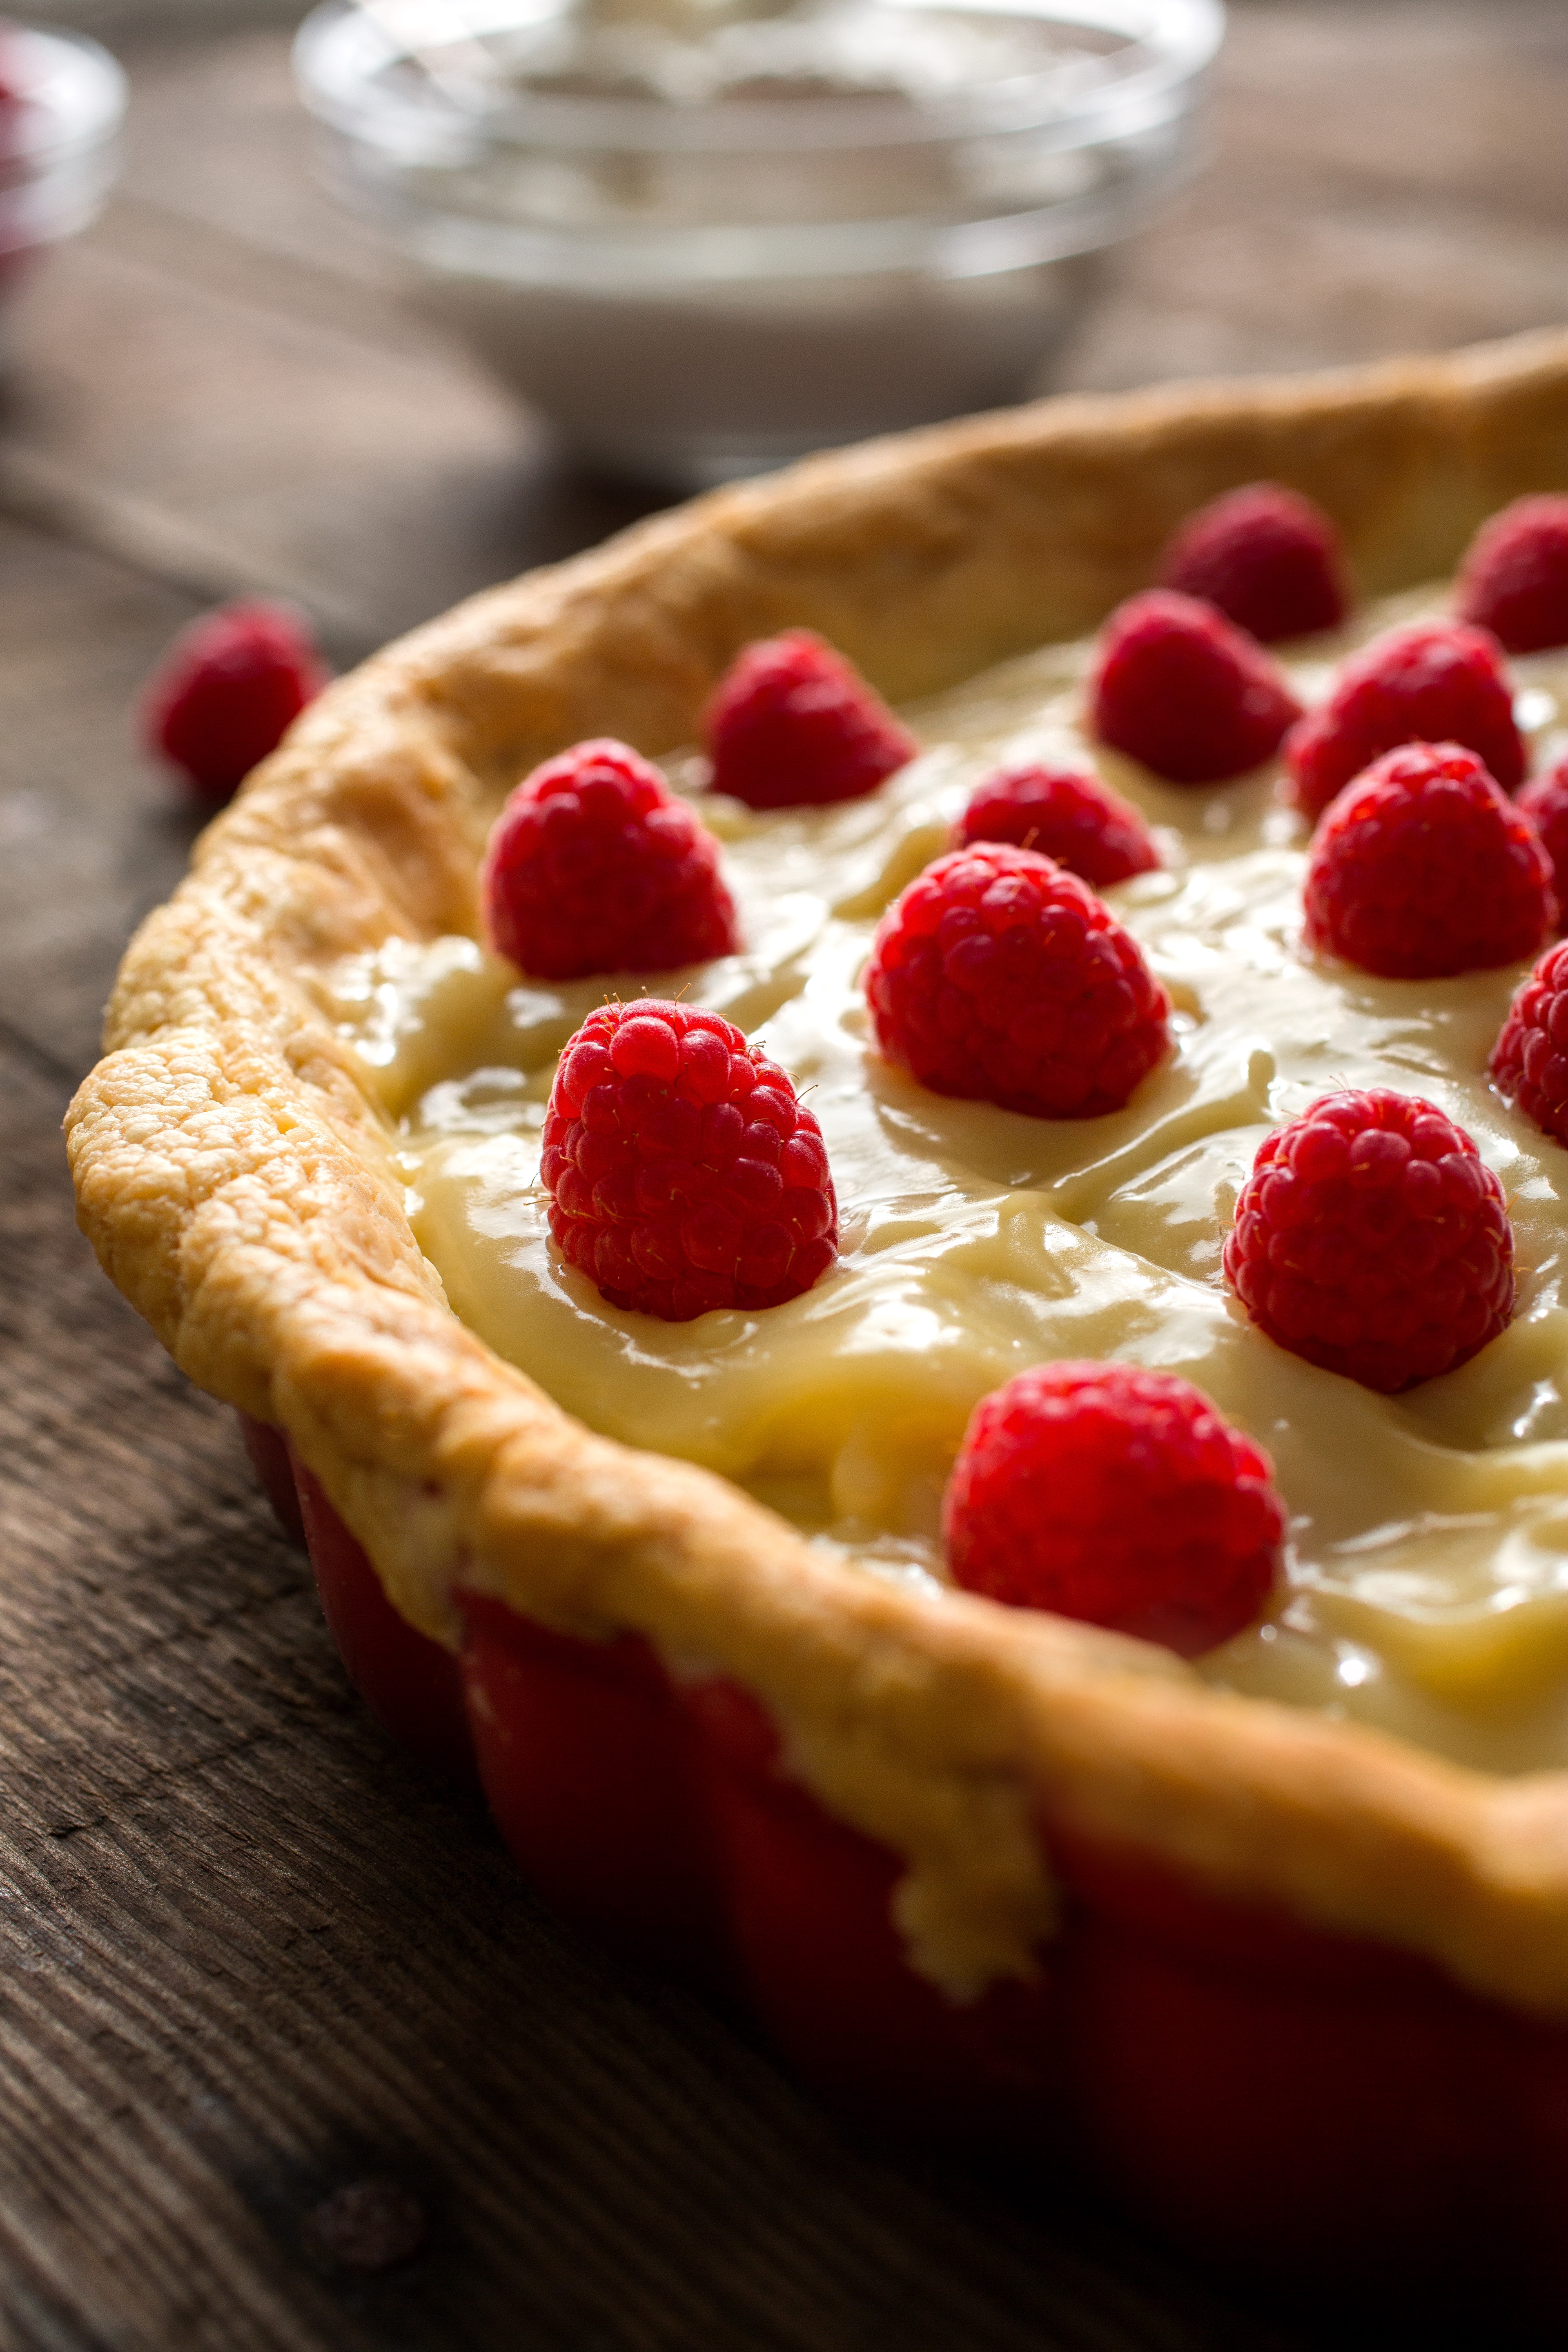
 All photos by Andrew Scrivani
Ready to learn the ins-and-outs of getting into the food photography industry? Join Andrew Scrivani to learn about the Business of Commercial Food Photography. Check it out today!
Image via Andrew Scrivani for The New York Times[/caption]
The ubiquity of Instagram and other photo-sharing apps has brought new attention to the medium of food photography, making it more accessible and popular than ever. But not all pictures of food are created equal; shooting food photography, like any photography style, requires a bit of technical know-how, as well as a critical eye. The New York Times food photographer and CreativeLive instructor Andrew Scrivani has helped many aspiring creatives hone their skills, by offering great food photography tips and information on food styling and photo editing in Photoshop or Lightroom.
With that in mind, here are a few basic food photography tips for beginners that can really help get the food look you want to achieve and get you on your way to becoming a professional food photographer:
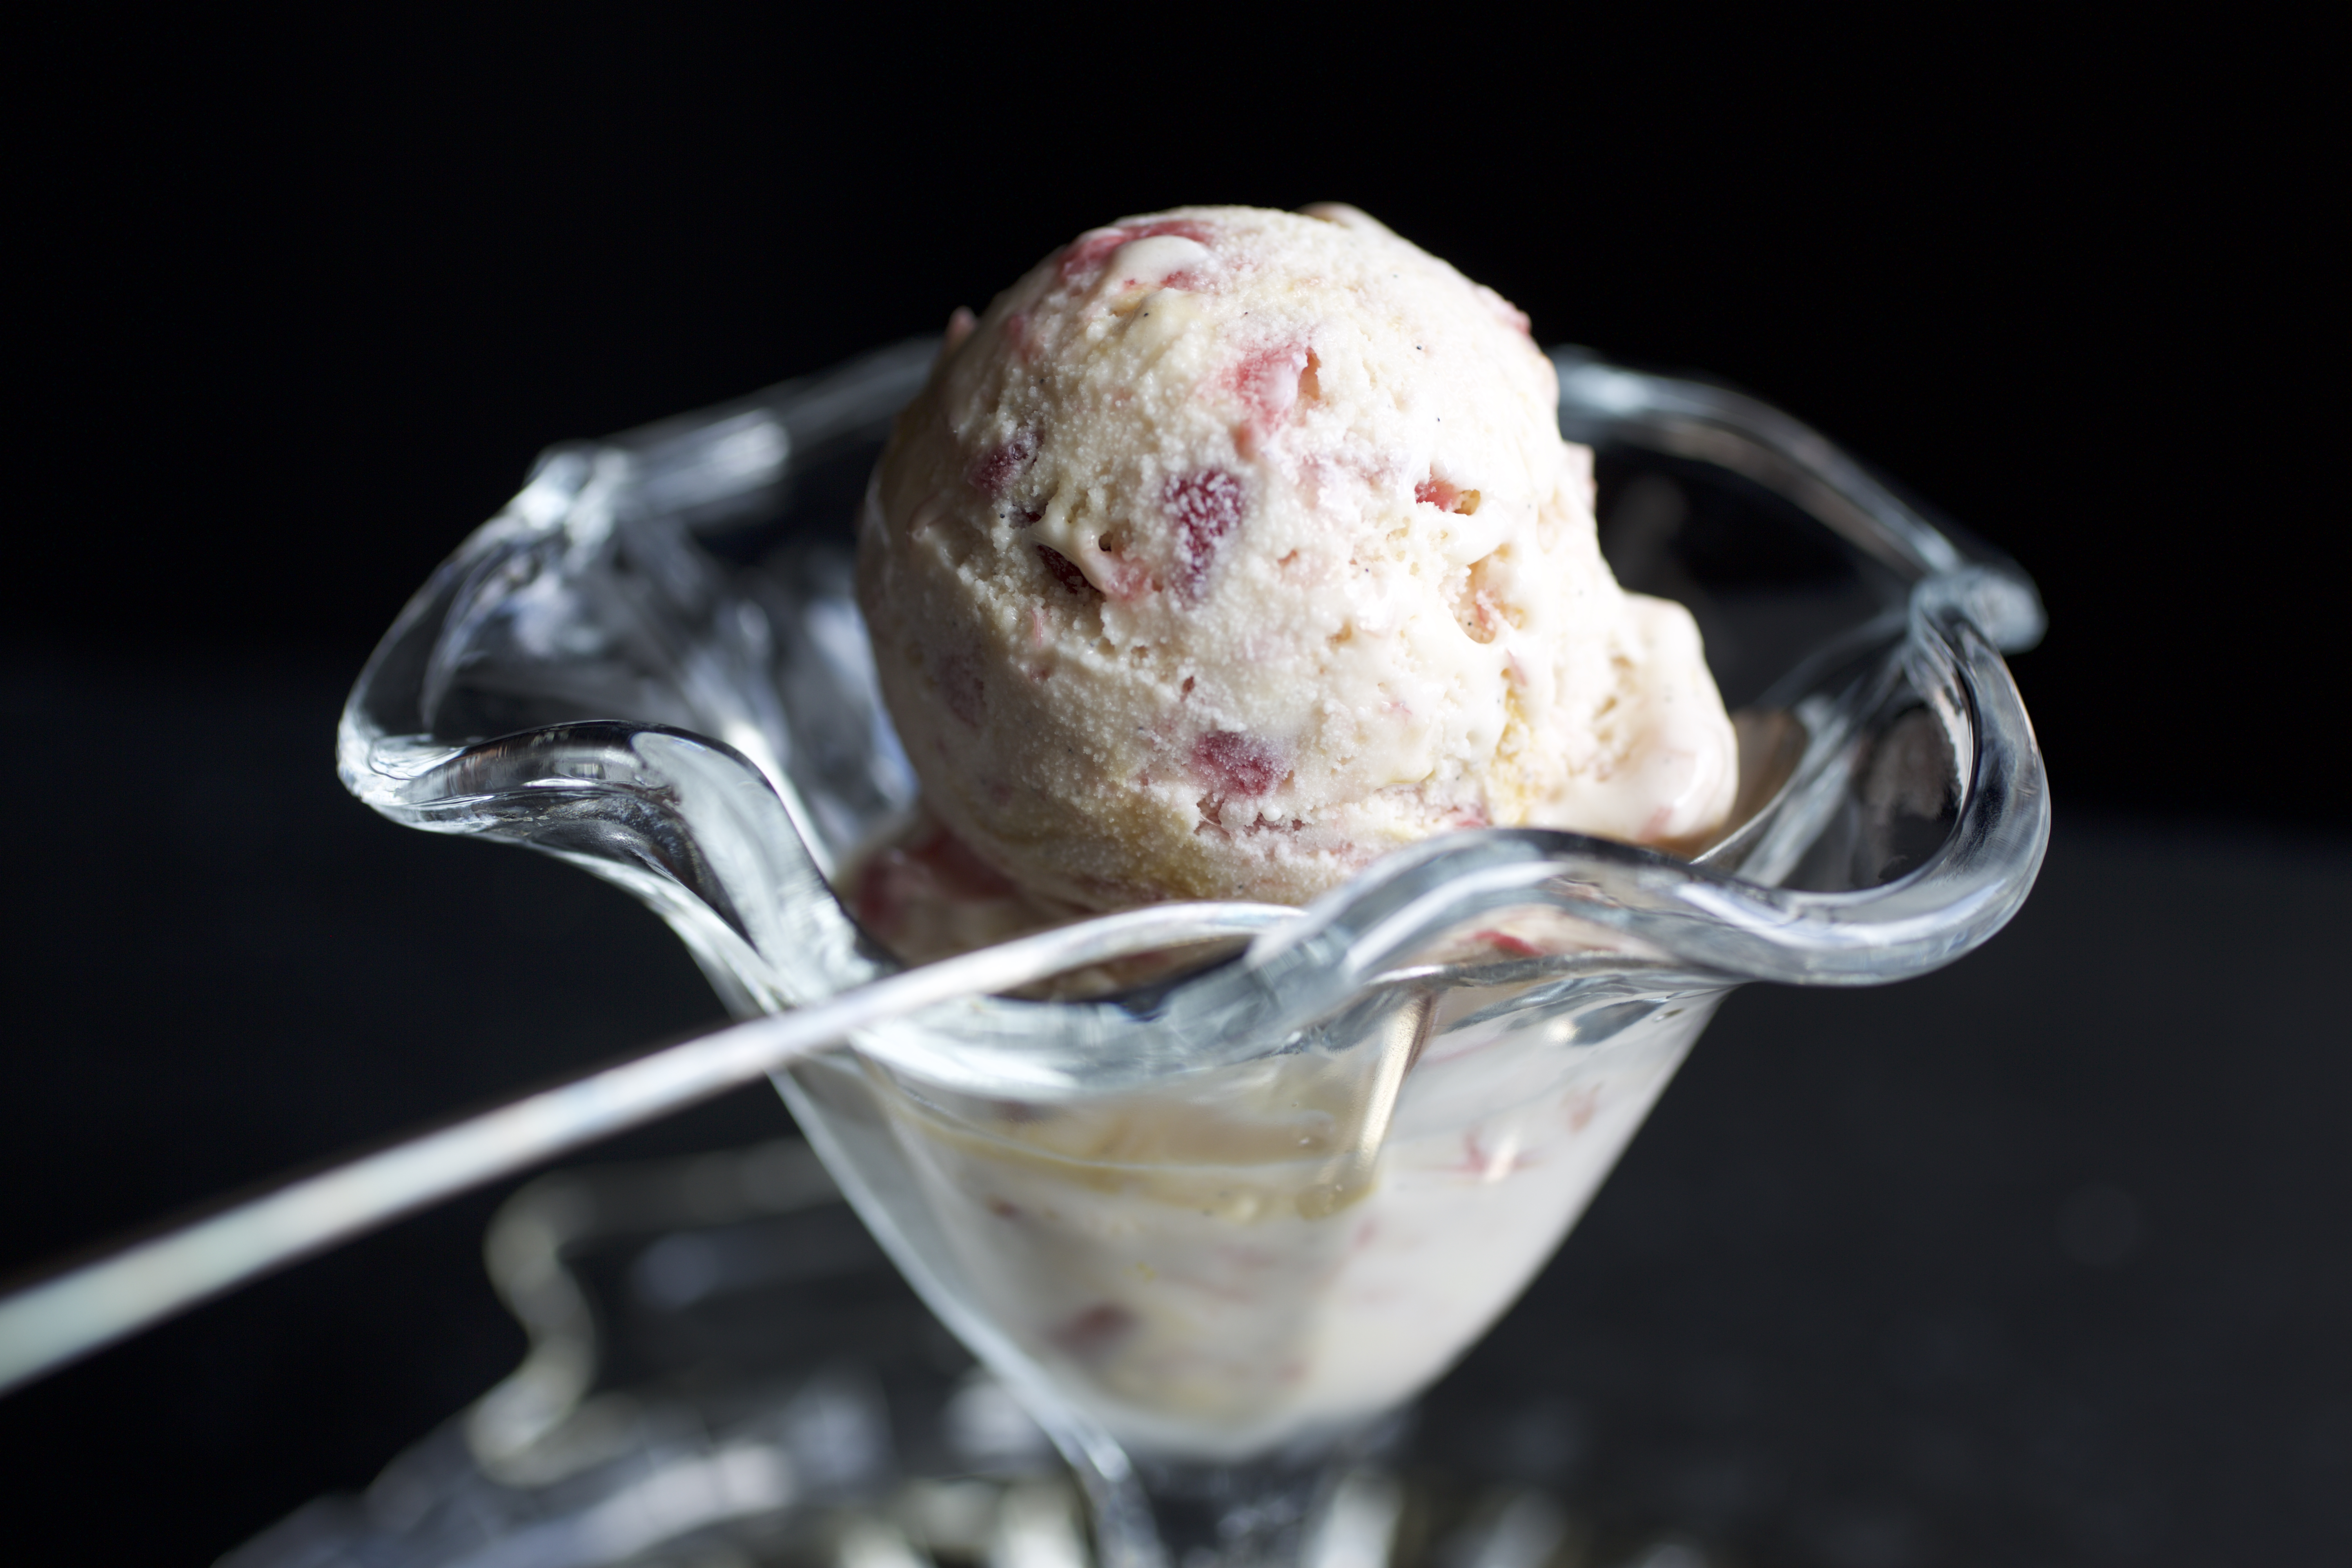
Natural light vs artificial lighting
“Looking at light, in general, is what photography is all about,” says Andrew, who says the idea is to bring the entire world into your workspace. Andrew says the key to figuring out the best light is to practice and experiment, then figure out how to recreate a flattering style over and over again. This includes playing with styles like backlighting and studio lights and shooting against dark backgrounds. You can also try to add a light source with window light or a diffused light. Natural lighting will be your best friend but keep in mind there are other ways to produce a similar effect in a food shots.Ready to learn the ins-and-outs of getting into the food photography industry? Join Andrew Scrivani to learn about the Business of Commercial Food Photography. Check it out today!
Don't be afraid to take some bad photos
When photographing an object, you may be drawn to only snap the best light. But, says Andrew, it’s a good learning tool to “stalk that [good] light,” then go around to the other side and find the bad light. “Notice the difference,” he advises because sometimes, highlighting the less-good shot can help you see what the real treasure is. Don't be afraid to capture different angles and get close-up to low light.
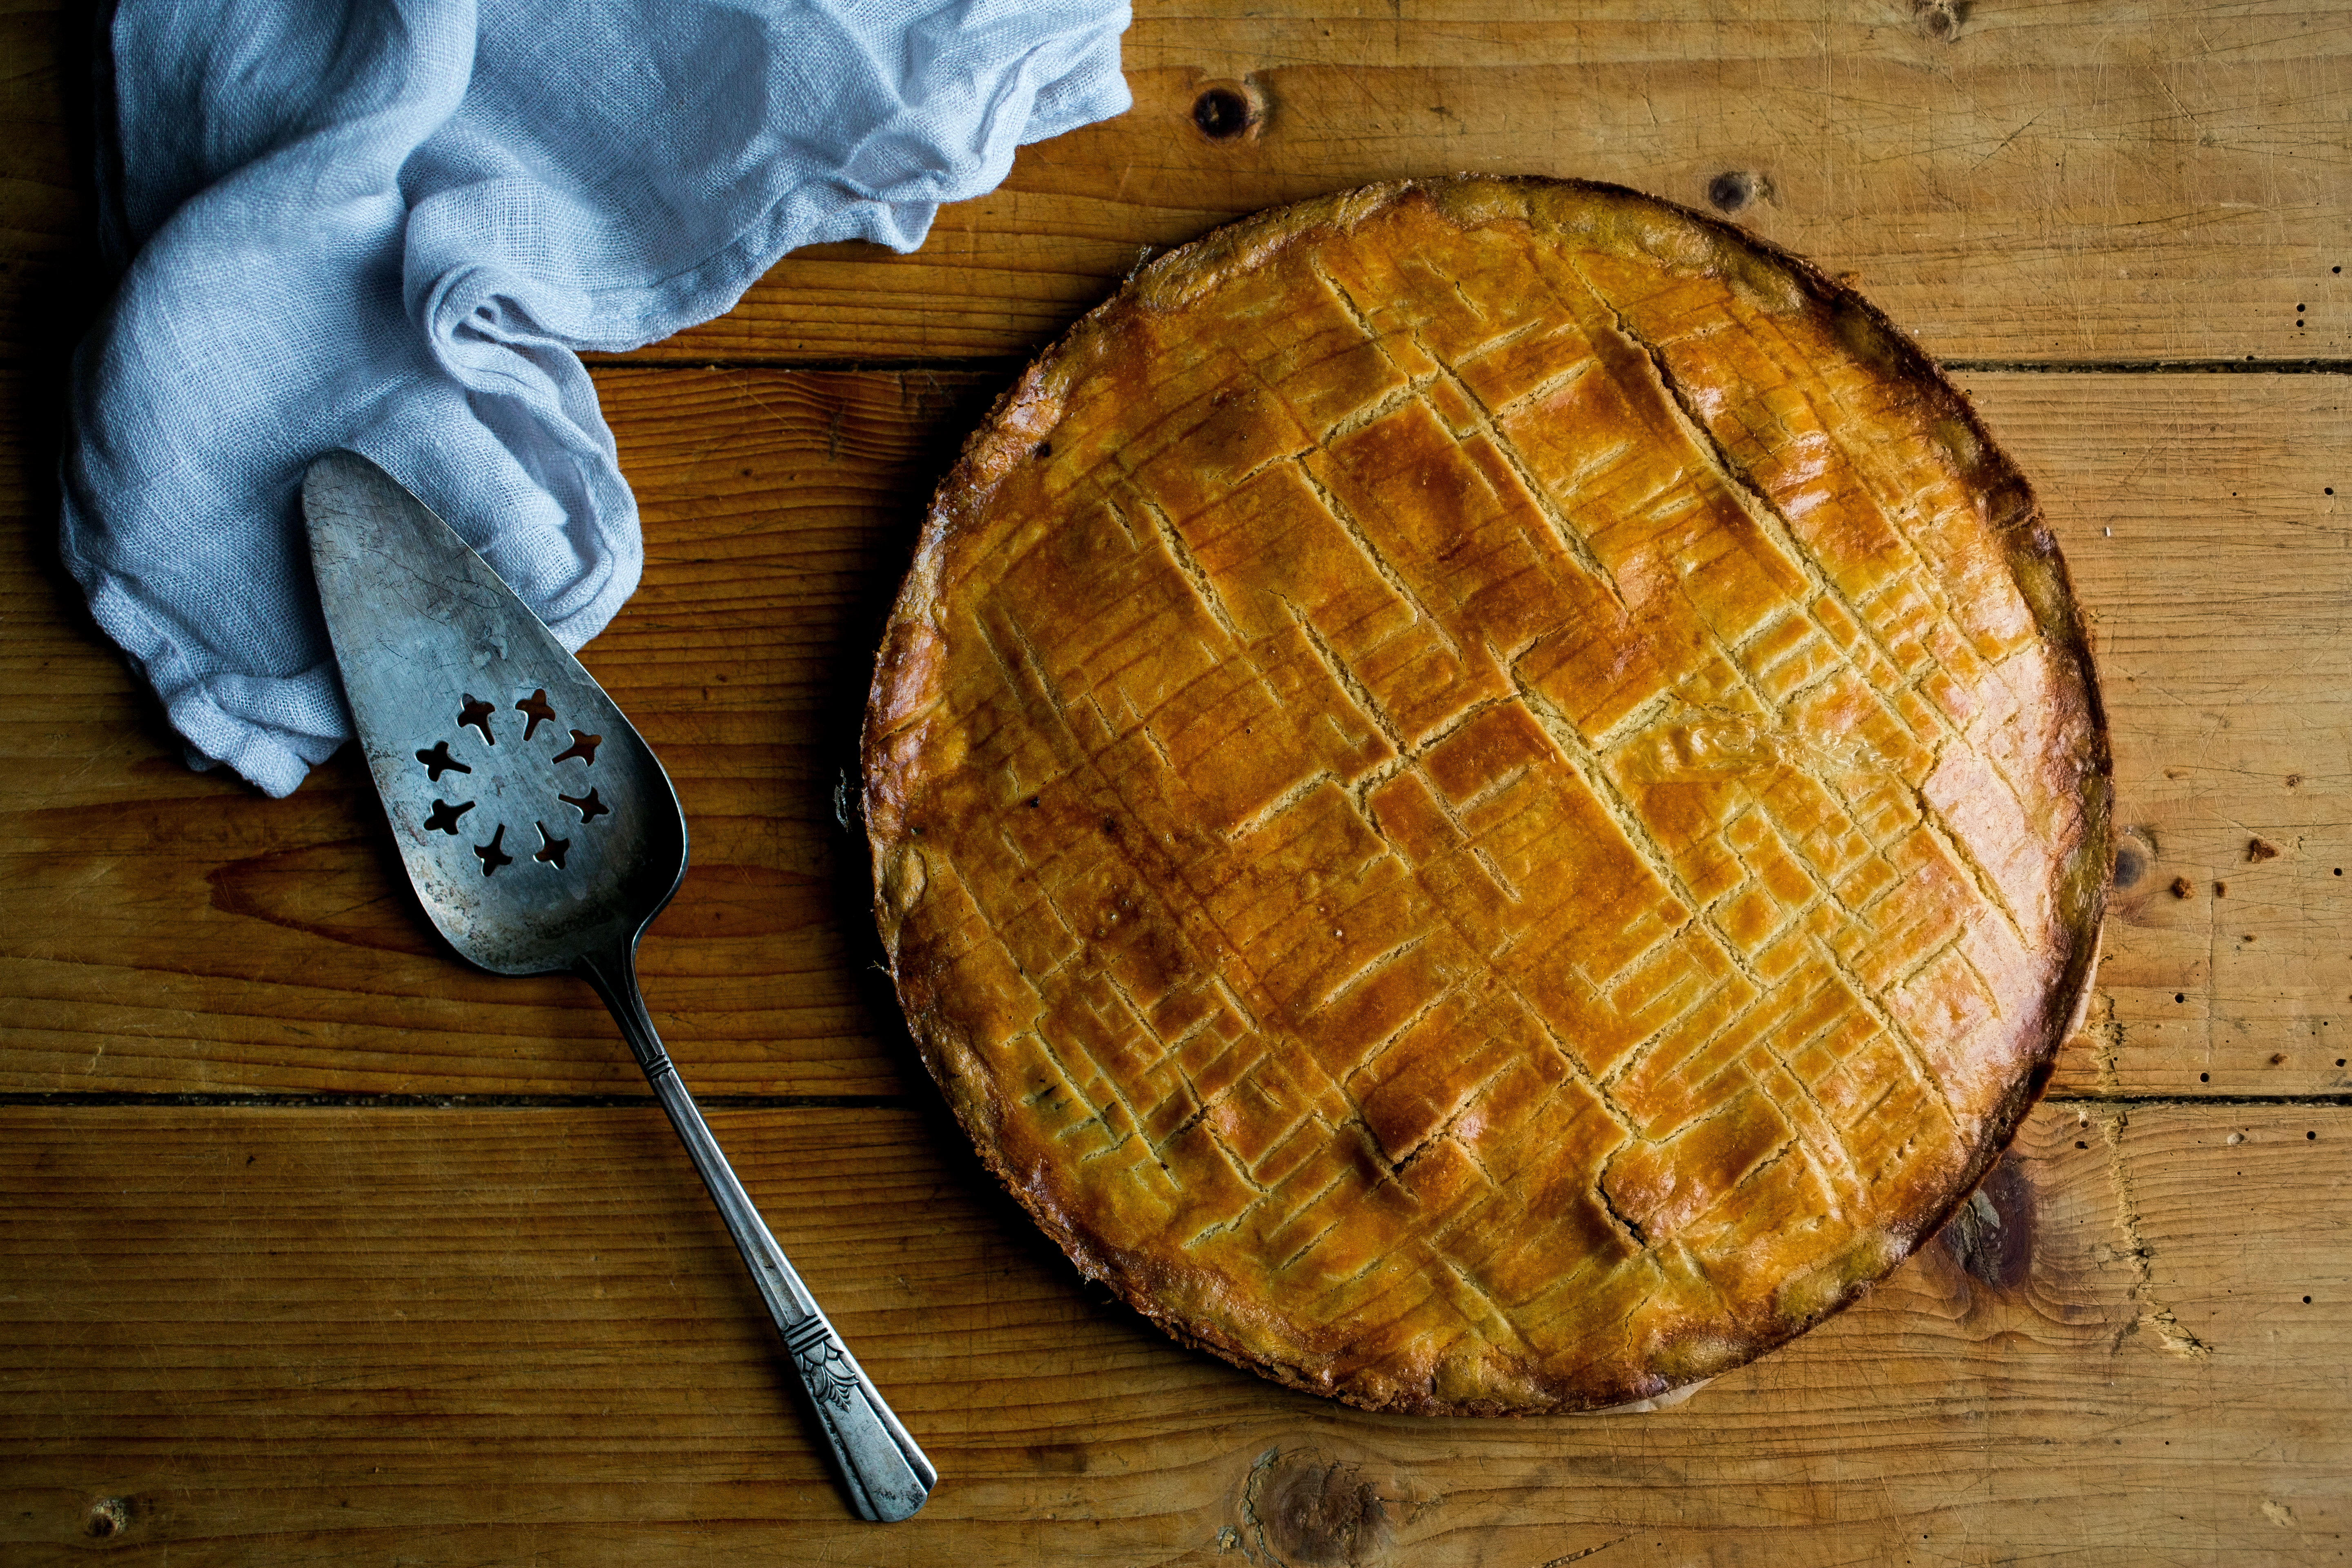
Keep it simple
Taking a great food photo is about more than just snapping the ingredients — like all photography, it’s about perspective and composition. One way to construct a beautifully-composed food photo, says Andrew, is to keep the plate or cutting board simple. “The less you put on the plate, and the less complicated it is, the easier it is to take a good picture.” Food will look especially mouth-watering against stark, white plates.
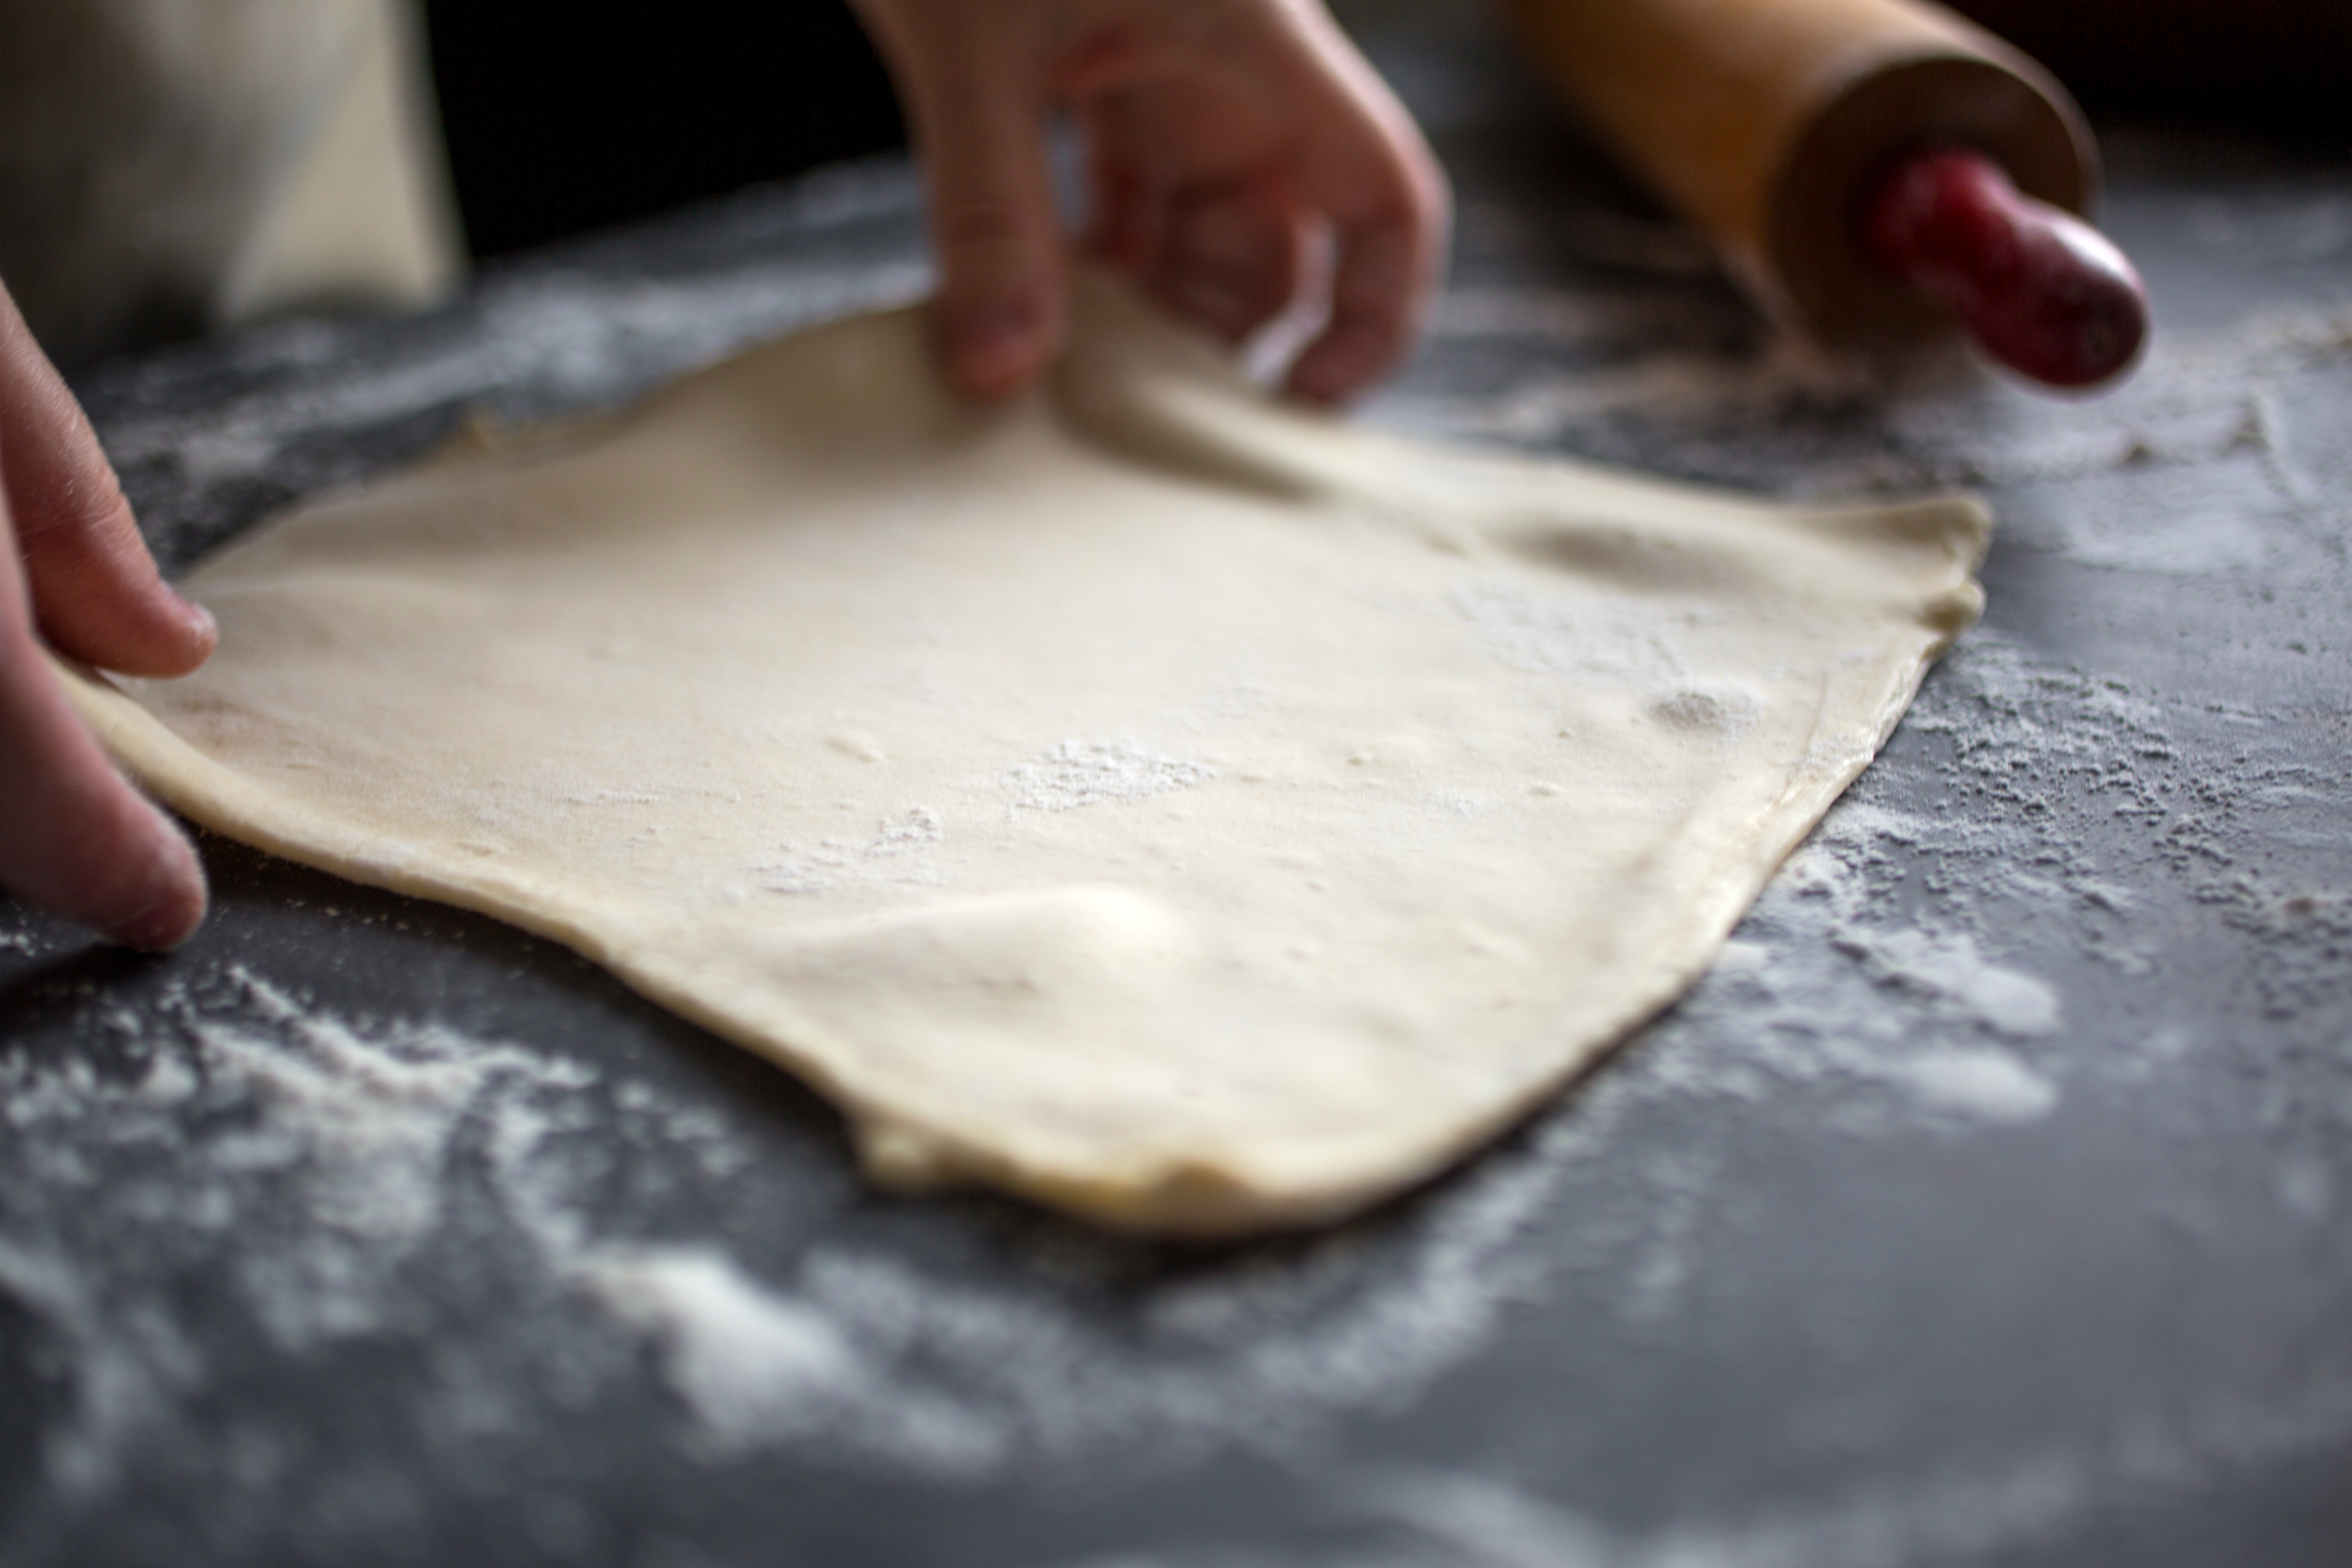
Get your hands dirty
“These are the best styling tools you own,” says Andrew about his own two hands. “Because you have control where you might not normally with a utensil.” Of course, this isn’t a great tip if the dish you’re snapping will be served to someone else in the future, but if you’re just taking pictures to experiment or as a product photo, don’t be afraid to get in there. Placing a hand in a photo adds a distinctly human element that might not be achieved simply by using cutlery.
All photos by Andrew Scrivani
Ready to learn the ins-and-outs of getting into the food photography industry? Join Andrew Scrivani to learn about the Business of Commercial Food Photography. Check it out today!