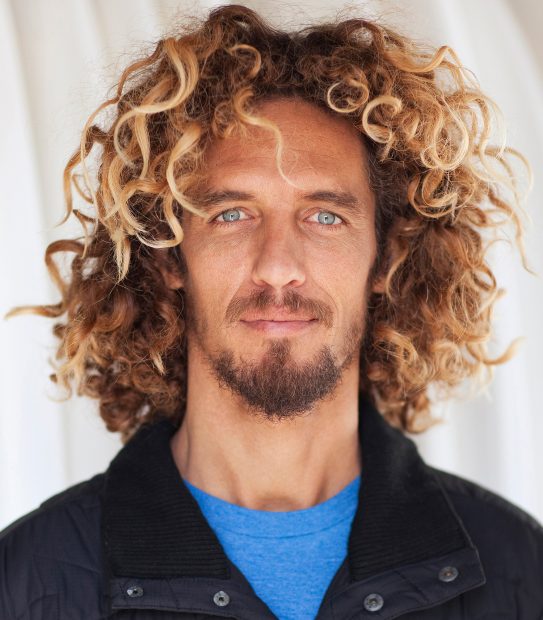
Learning how to fix flyaways in Photoshop is something any photographer can greatly benefit from. They’re nearly inevitable during shooting – but also extremely distracting in finished products. Flyaways, or those single strands of hair that you might find crossing your model’s face or straying off into the empty space can be a huge nuisance.
Flyaways are especially tricky because, unlike a lot of other elements on a shoot — like lighting, wardrobe issues, or posing — they’re nearly beyond control. No amount of hairspray can totally fend off the wind, which means if you’re going to take portraits outside, this is just something you’ll need to deal with.
Fortunately, it’s easier than you think to fix flyaways in Photoshop.
“There are so many ways to deal with flyaways,” says photographer and teacher Chris Orwig. Here’s how he handles them.
First, create a new layer. It’s always a good idea to begin a new layer when editing your photos, to ensure you’re not damaging your original files. You might want those back at some point!
Second, test out your spot healing brush. Sometimes, “you get lucky,” he says, and that’s enough to just erase them right out.
Third, to help taper out the hair, create another layer and use the same brush, but drop the opacity. This is a small detail, but it can make the image look more natural.
The goal, says Chris, is to make the subject look their absolute best, but to still “make them look real.” Don’t get too over-zealous with the healing brush; the goal is to reduce distractions, not erase them altogether. Just remember to create a new layer, and you’ll be able to play with the image as much as you want.
Are you ready for the biggest Photoshop event of the year? Join CreativeLive for Photoshop Week 2018 to learn how to produce professional quality photos and reach your full creative potential. RSVP Today.


