 Image transfers
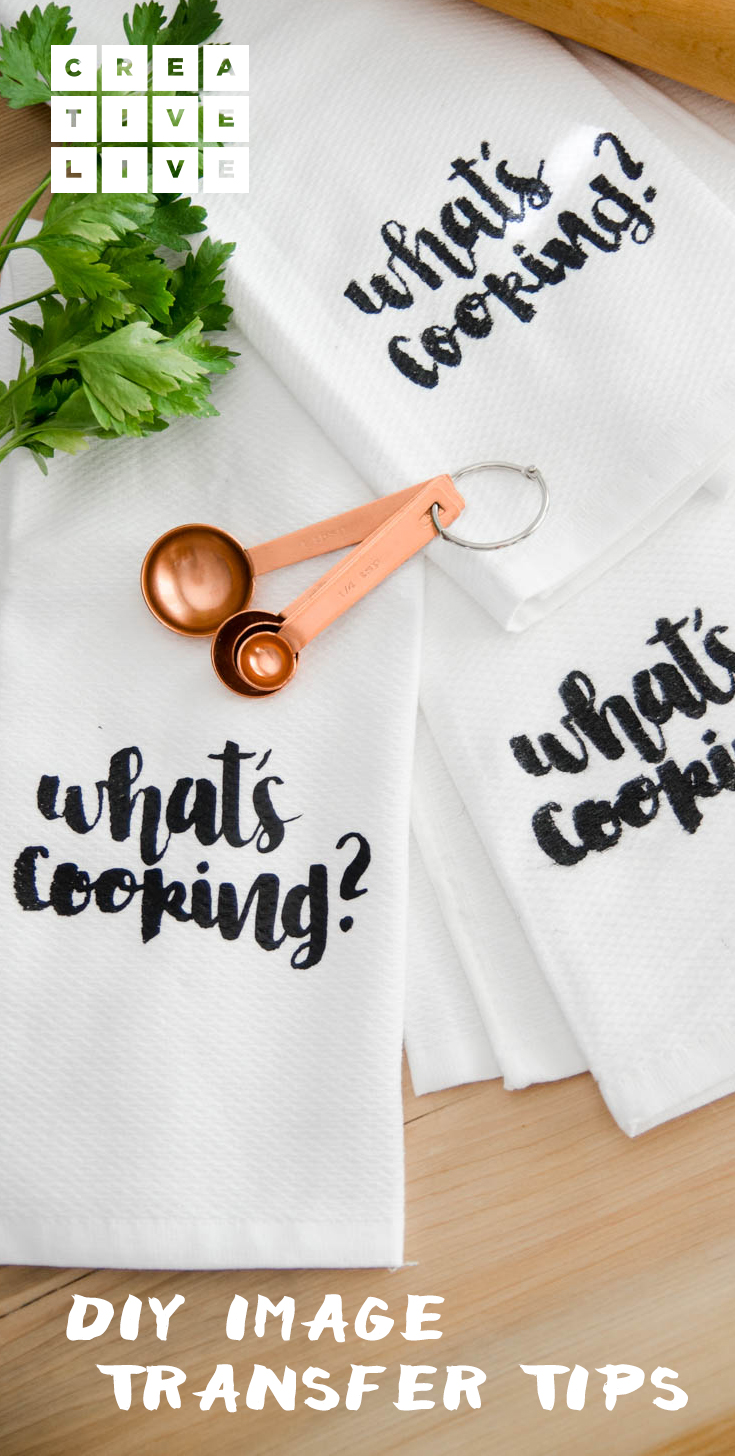
 are a handy way to add a little artfulness to ordinary items and when it comes to transferring images to fabric, there’s more than one way to get the look you want to create.
Without a doubt, you remember the classic printable image transfer sheets you can iron on- and the inevitable cracking with use that the image suffers. Not to mention the semi-translucent shadow you see around your image (your cut lines). If you’re looking to craft for yourself, others, or as a business- today we’re sharing three more transfer methods to transfer images, plus the pros and cons of each.
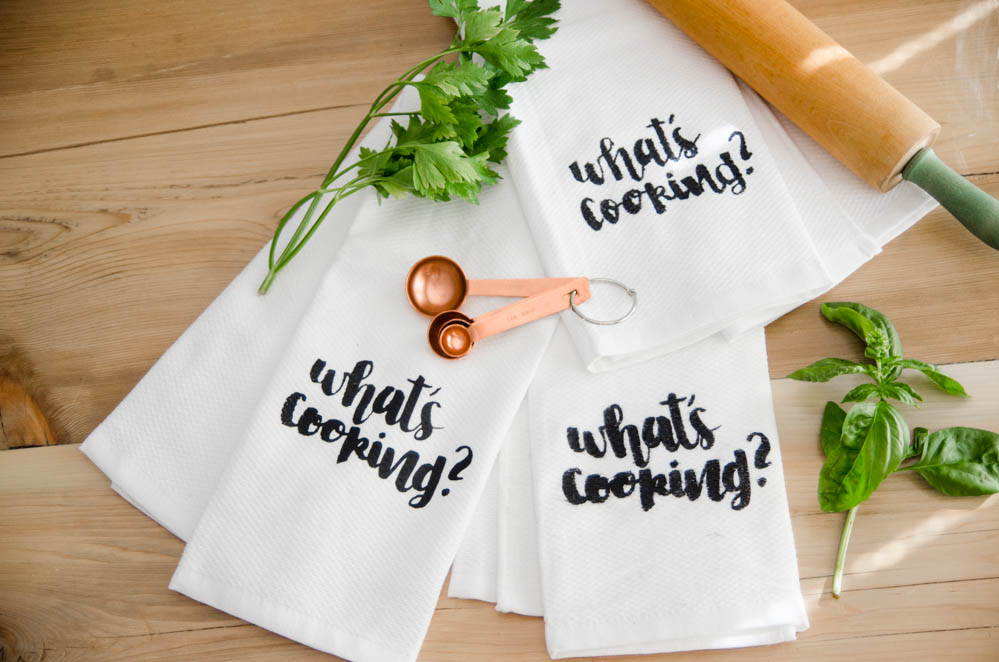
To illustrate the how-to and show the different finishes, these step-by-step instructions for transfer methods are demonstrated on tea towels as opposed to mixed media. These tea towels have a very thick weave for reference. As a bonus, that lettering from Lemon Thistle, ‘What’s Cooking?’
can be downloaded below so you can make one of these tea towels for yourself!
Read on for image transfer techniques and creative ideas for all your DIY projects:
1. Heat Transfer Vinyl
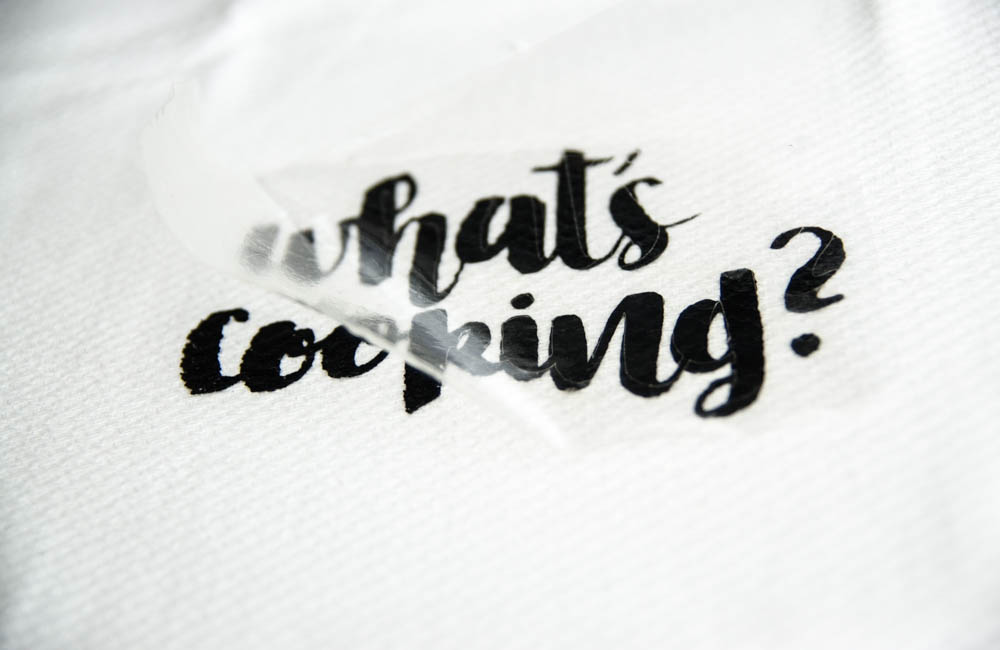
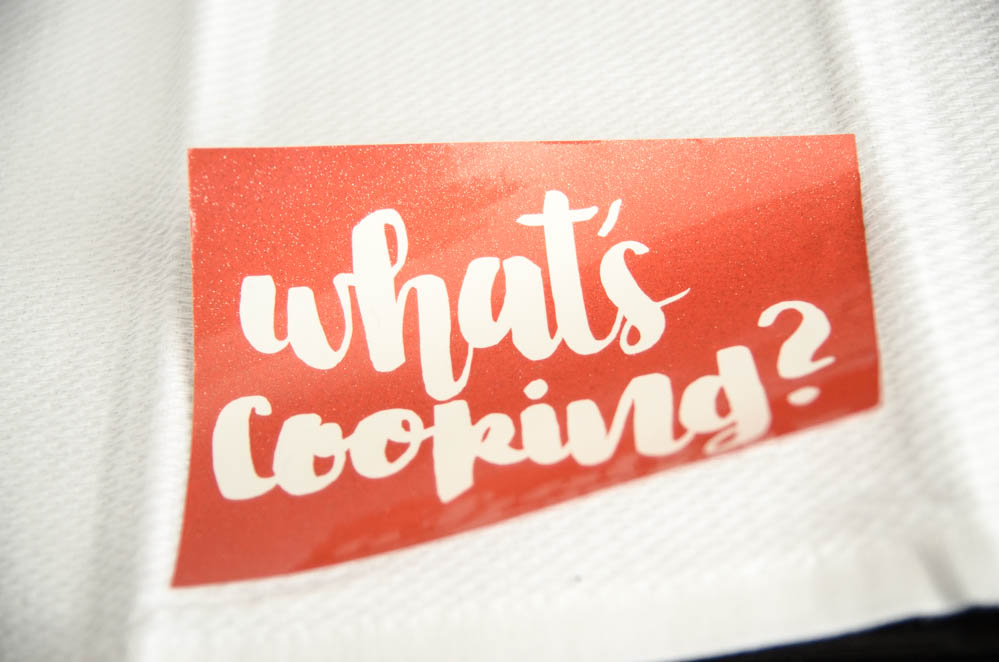
This transfer method is by far the most professional looking with precision lines and shine. It’s also the least time-consuming. But it’s the most costly. For this method, we used heat transfer vinyl, a cutting machine (
Cricut was used here), the printed image or template, and iron. If you are looking to make a tea towel for yourself and maybe one friend but don’t have any of this equipment, this transfer method will probably be too costly to bother (although check out Amazon.com or other craft supply stores for sales). But if you have a cutting machine or if you plan to make more than a few designs, this method will be your favorite.
*You can use heat transfer vinyl cut by craft knife as well. This is not practical for an intricate design as shown, but is a great option for a simple designs.

Load your design into your cutting machine’s software. If you’re using Cricut Design Space, select, ‘Upload Image’, ‘Simple Image’ (if your design is PNG) and ‘Cut Only Image’. Stretch to resize to your preference, then adjust your settings for ‘Iron-On’. The most important step on this is to hit 'Reverse Image.' Since you’ll be ironing it on, it needs to be reversed, especially if it’s wording like this design.
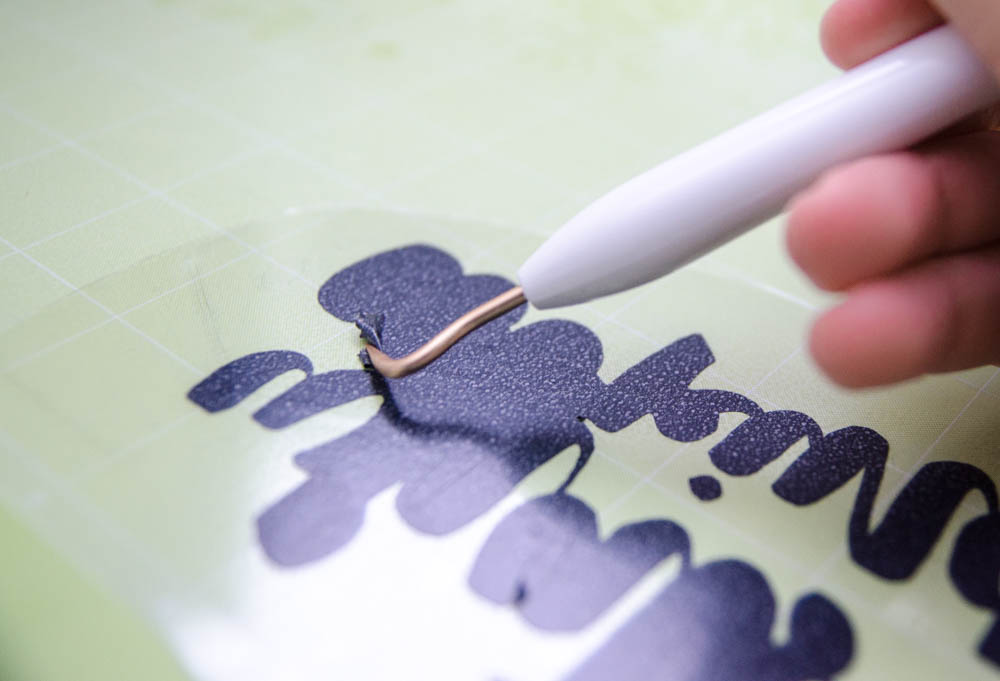
The best advice we’ve ever gotten on heat transfer vinyl is to iron it longer than you think you need to (until the clear plastic separates on its own). Then let cool and you’re done!
2. Stenciling
This method is the second most professional looking. It works amazing on fewer plush materials like the tea towel used for this transfer tutorial. This wouldn’t happen on a classic grain sack tea towel.
We cut our stencil using a cutting machine but you could cut a stencil with a craft knife and some patience out of almost any material. We’re fans of adhesive stencils (we used vinyl for this) as it minimizes paint bleed.
To cut a stencil with a cutting machine (or by hand), the weeding is opposite, taking away the design and leaving the ‘white space’. To transfer a vinyl stencil, use transfer tape to pick up all the pieces (including the dots in the middles of your letters) at once. Press the stencil down firmly before painting.
Painting fabric, especially such thick fabric, is best done by dabbing rather than dragging your paint brush. A stiff brush is best to get into all the nooks and crannies. The fabric paint we used is called Tulip Soft Matte (the farthest thing from 90’s puffy fabric paint). When your design is dry, peel back the vinyl to reveal your art.
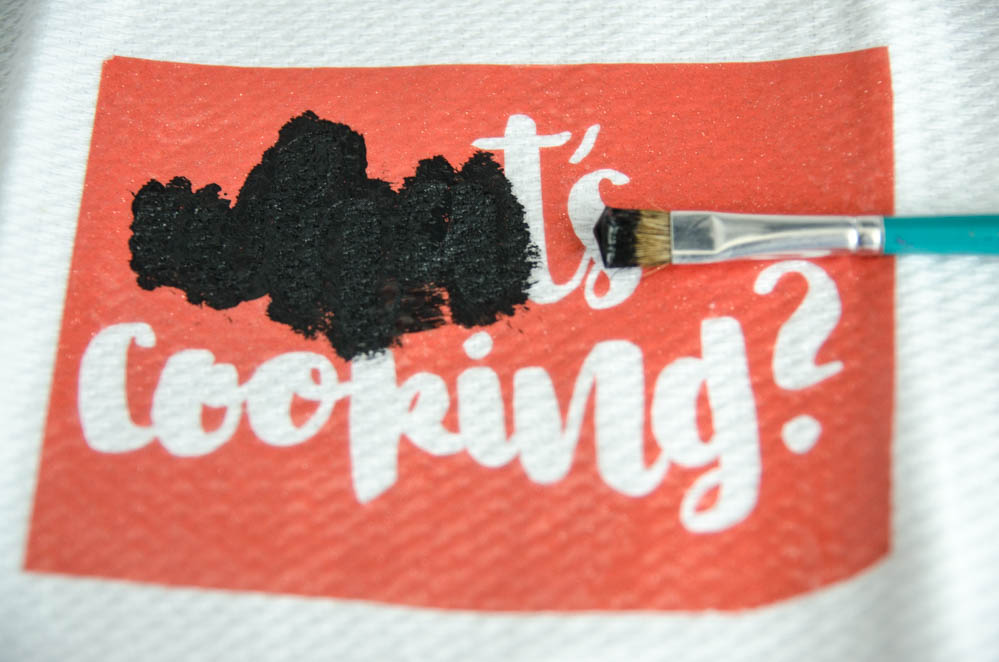
The white almost fuzzy looking edges on this design is due to the adhesive stencil being pulled away. The paint lines are clean and that fuzz would disappear after a few washes, but if you’re gifting it or selling it, that’s something to consider. Again, choosing a tight weave (such as grain sack) would have eliminated this.
3. Hand Painting
Lastly,
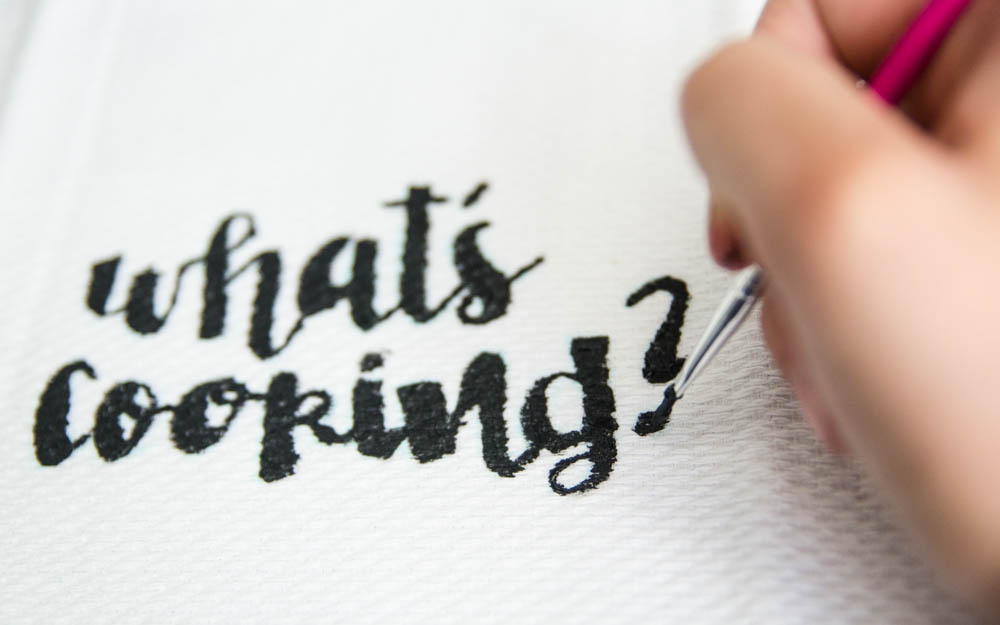
classic hand painting. This is the least costly method, but also the most time-consuming craft project. It can also be the most inconsistent. The image is transferred to the tea towel using transfer paper (sold in art stores) layered underneath your printed image. Trace firmly over the design to press a faint outline onto your surface.
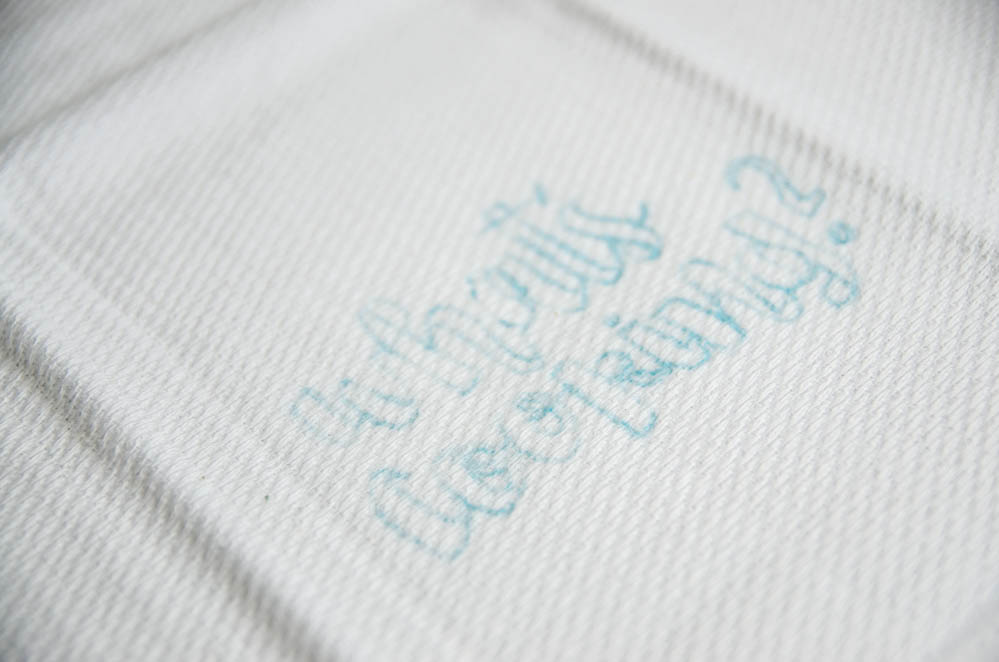
You will need a thin detail brush for this. Fabric paint is much thicker than standard craft paint, so it will need frequent reloading. To prevent the fabric from getting ‘fuzzy’, try to dab your brush strokes rather than dragging them.
If you're looking for other creative ideas and art projects that incorporate medium transfers (anything from photo transfers or contact paper to packing tape transfers), check out other image transfer methods in
Photo Transfers for Mixed Media Collage Work.