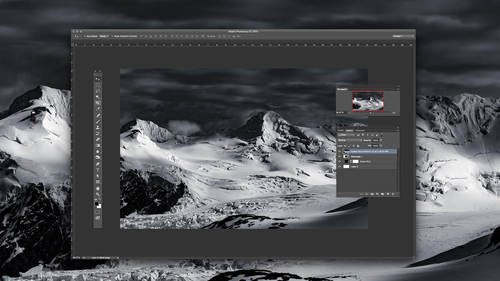
 Hotspots are hard to avoid when shooting in the summertime, but they can creep up on you almost any time of year. Even harsh winter light bearing down on your subject can leave your photos with a few shiny spots that end up erasing essential detail or making skin look sweaty or overly-pale. And sometimes, even when you think you’ve got it right in camera, you’re still disappointed to see flaws once you get your images on a larger screen. Which is why photographers often thank their lucky stars for photo-editing software.
With a few simple steps, you can remove hotspots in Photoshop in a matter of minutes.
In his class The Art & Business of High-End Retouching, professional retoucher Pratik Naik covers his favorite approaches for re-creating texture and erasing bright light. As with all things in Photoshop, there’s more than way to tackle a hotspot — and Pratik reveals two.
Check out the clip below to see how Pratik uses a high frequency layer and a mask to quickly remove hotspots without leaving the subject’s skin looking unnatural, and how a clone stamp and a new layer can do the same.


