
 I own, as far as I know, at least eight functioning cameras. They all have their appropriate uses, their strengths, and their weaknesses. One is for when I need really high resolution. One can fly in the air. One can attach to my bike helmet, and one can shoot at 11 frames per second. But the one camera that I pretty much always have on me, of course, is the one in my cell phone. It’s not the best camera, but it sure is handy.
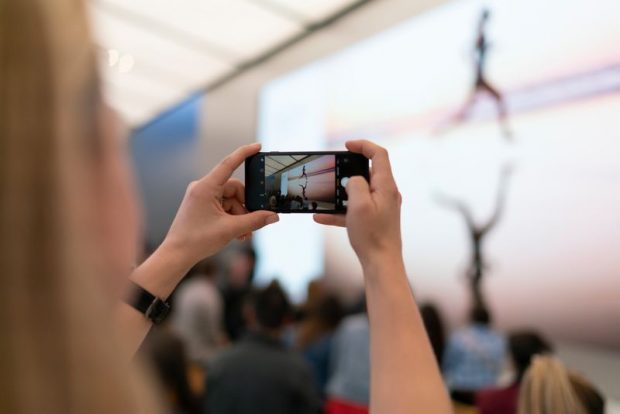
This is the time of year when most people are spending time with friends and family and taking a lot of photos with their phones. Whether it’s photos of your kids on Christmas day, a selfie of you kissing your boyfriend when the ball drops on New Years Eve, or just grabbing a quick shot of a plate of cookies your grandma made, here are some mobile photography tips on how to get the best photos with your phone during the holidays.
I own, as far as I know, at least eight functioning cameras. They all have their appropriate uses, their strengths, and their weaknesses. One is for when I need really high resolution. One can fly in the air. One can attach to my bike helmet, and one can shoot at 11 frames per second. But the one camera that I pretty much always have on me, of course, is the one in my cell phone. It’s not the best camera, but it sure is handy.
This is the time of year when most people are spending time with friends and family and taking a lot of photos with their phones. Whether it’s photos of your kids on Christmas day, a selfie of you kissing your boyfriend when the ball drops on New Years Eve, or just grabbing a quick shot of a plate of cookies your grandma made, here are some mobile photography tips on how to get the best photos with your phone during the holidays.
Look for good light for a great image.
This is, of course, the biggest aspect of photography, so it’s the first on the list. No matter where you’re taking photos, and no matter what camera you’re using, the first thing you should do is look around you and look at where the natural light is coming from. It could be from lamps, or a window, from a ceiling fan overhead, or even just direct sun. Once you know the direction and quality of this light, you’ll already be on a path towards taking better photos.Learn how to create the best images on your phone and get them noticed on social media from acclaimed mobile photographer Pei Ketron. Learn more.

When light is mainly coming from the top down, and isn’t diffused well (such as from a “can light”), you can get dark circles around the eyes from shadows coming from the person’s eyebrows as well as an overall dark face. Sometimes it’s hard to avoid, but can often be fixed by just having the subject take a couple of steps backwards to put the light in more in front of them, or even have them angle their faces up a little bit. If this is the only light around, using the phone’s flash might be your only recourse. (The following snapshots were taken quickly on an iPhone 6 and are unedited.) [caption id="attachment_41522" align="aligncenter" width="1200"]
 Directly under a ceiling fan light. The effects would be worse with lighting that’s higher up or more directed, such as with a can light.[/caption]
[caption id="attachment_41523" align="alignnone" width="1200"]
Directly under a ceiling fan light. The effects would be worse with lighting that’s higher up or more directed, such as with a can light.[/caption]
[caption id="attachment_41523" align="alignnone" width="1200"] Moved back about 2 feet so that the light from the ceiling fan is in front of the subject.[/caption]
Another thing to remember to avoid is your subject being backlit. Unless you’re going for something artsy like a silhouette, you should generally never take a photo of people with their backs to the main light source. This gets rid of so much of the detail in the faces that it’s usually not even worth it to take the photo! When in this situation, just have them turn to face the light (put your back to the light!). It’s that simple.
[caption id="attachment_41525" align="alignnone" width="1200"]
Moved back about 2 feet so that the light from the ceiling fan is in front of the subject.[/caption]
Another thing to remember to avoid is your subject being backlit. Unless you’re going for something artsy like a silhouette, you should generally never take a photo of people with their backs to the main light source. This gets rid of so much of the detail in the faces that it’s usually not even worth it to take the photo! When in this situation, just have them turn to face the light (put your back to the light!). It’s that simple.
[caption id="attachment_41525" align="alignnone" width="1200"] Be sure to look at where the light is coming from and how it’s hitting your subject. Even just turning around can improve an image dramatically[/caption]
Don’t forget about window light. The two suggestions above are easily fixed by having the subject face a window (during daytime, of course), or even by putting the window to the left or right of them. This is also a great way to get quick phone snaps of food or anything else you want a photo of. Stick it by a window, compose, and shoot. Easy.
[caption id="attachment_41526" align="alignnone" width="1200"]
Be sure to look at where the light is coming from and how it’s hitting your subject. Even just turning around can improve an image dramatically[/caption]
Don’t forget about window light. The two suggestions above are easily fixed by having the subject face a window (during daytime, of course), or even by putting the window to the left or right of them. This is also a great way to get quick phone snaps of food or anything else you want a photo of. Stick it by a window, compose, and shoot. Easy.
[caption id="attachment_41526" align="alignnone" width="1200"] Back-lit.[/caption]
[caption id="attachment_41527" align="alignnone" width="1200"]
Back-lit.[/caption]
[caption id="attachment_41527" align="alignnone" width="1200"] Side-lit.[/caption]
[caption id="attachment_41528" align="alignnone" width="1200"]
Side-lit.[/caption]
[caption id="attachment_41528" align="alignnone" width="1200"] Front-lit.[/caption]
Chase Jarvis goes in-depth on using your iPhone to capture amazing portraits, action, landscapes, and video. Learn more.

Know when (not) to use flash.
Unless there’s no other option for light, you should usually avoid using your phone’s flash. While newer phones have color-balanced flashes that do a pretty good job, using existing light almost always a better option. I leave my flash off by default and only turn it on when I know I’ll need it. If you leave it in Auto, it’s only a matter of time until it goes off when you don’t want it to. [caption id="attachment_41529" align="alignnone" width="1200"] With flash.[/caption]
[caption id="attachment_41530" align="alignnone" width="1200"]
With flash.[/caption]
[caption id="attachment_41530" align="alignnone" width="1200"] Window light, without flash. Much more appealing.[/caption]
A selfie isn’t always best.
While even a three year old probably knows what a selfie is these days, it isn’t always the best option. If no one else is around, then sure, reach your arm out and grab a selfie with grandma. But if anyone else is around, don’t be afraid to ask if they’ll take your portrait. It will look more natural and maybe just feel a little more timeless than seeing the upper half of your arm sneaking into the picture. You can also get a tiny tripod you can stick your phone on, such as this one.Learn how to create the best images on your phone and get them noticed on social media from acclaimed mobile photographer Pei Ketron. Learn more.
If you must take a selfie, there are ways to make the photos better. You can use a camera app with a timer, such as Camera+, so that you can take the photo without having to use your fingers to push the shutter button. You can also crop in a little bit to get that pesky arm out of the shot. And first and foremost, don’t forget to look at the light around you! [caption id="attachment_41531" align="alignnone" width="1200"]
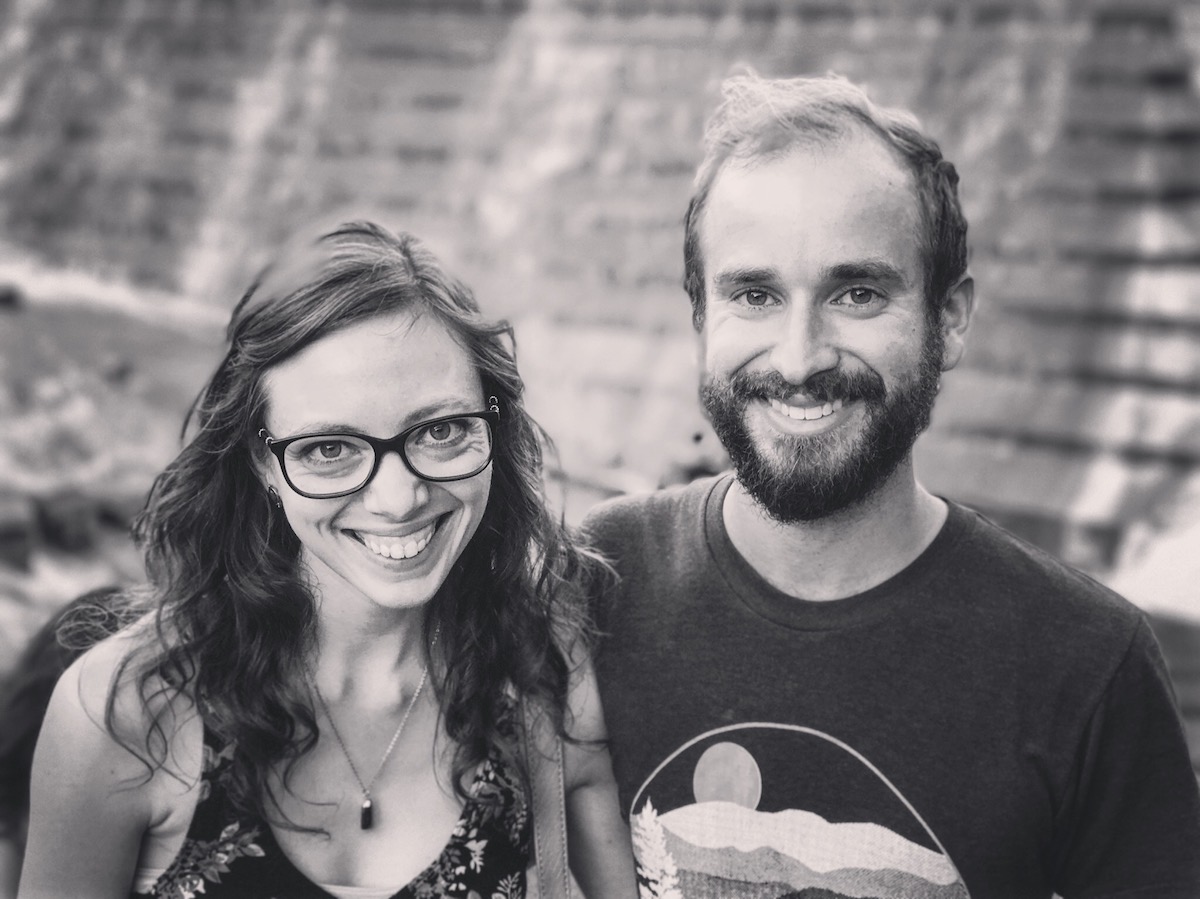 Could we have taken a selfie? Sure. Is this image, taken by a friend, better? Of course. (A fancier new iPhone with portrait mode.)[/caption]
Don’t zoom. Ever.
“Zooming” on (most) cell phone cameras isn’t the “zoom” you might think it is. While some cell phones do have an optical zoom function, the majority of them don’t, and any zoom built in is called “digital zoom.” In these cases, there are no lenses moving inside adjusting the field of view; instead, the only thing that is “zooming” is the software cropping the image down to a smaller size. You can do this yourself later while you’re editing the photos so you don’t lose valuable resolution; you might need it later! [caption id="attachment_41533" align="alignnone" width="960"]
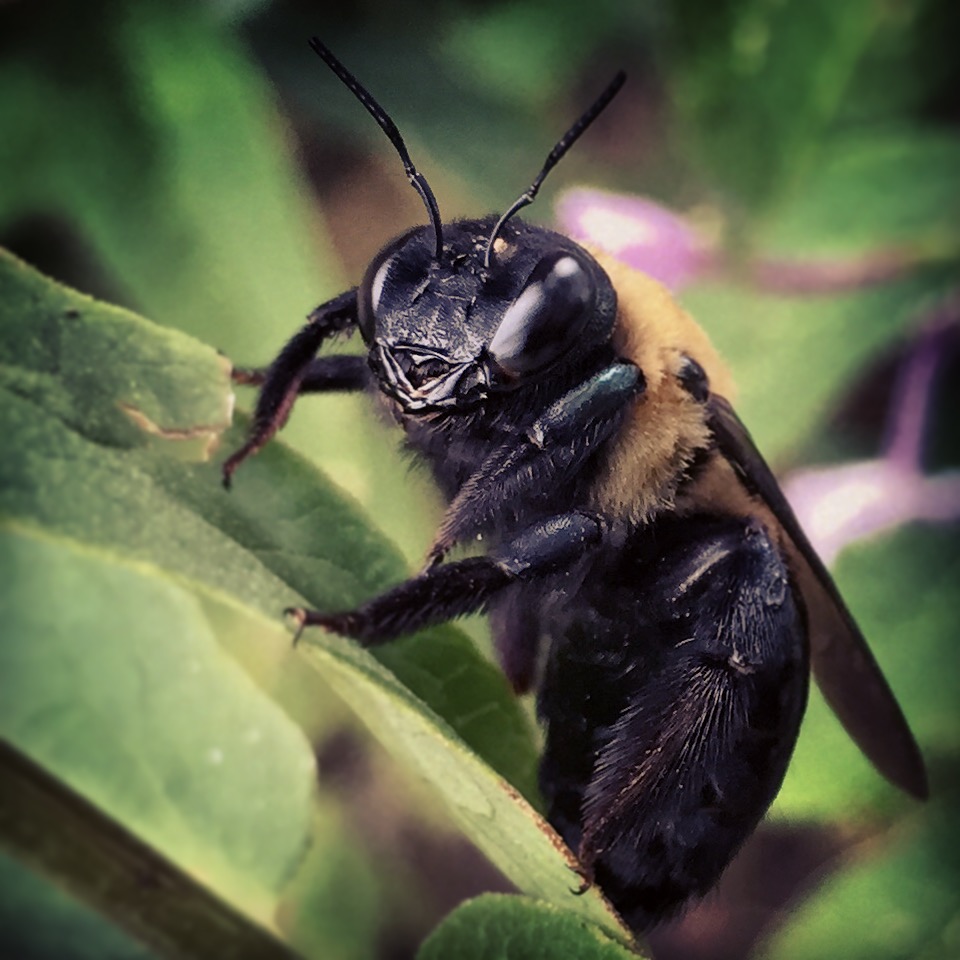 Instead of zooming “in camera,” I cropped down in post so I can still have the wider image if I need it.[/caption]
Be steady.
Shaky hands are just as bad for cell phone images (especially in low light) as they are for larger cameras. When in doubt, take multiple photos or even a burst. You can use the physical shutter button, if you’d like — just press the volume buttons, or even the buttons on your headphones (or if you’re fancy, use a Bluetooth shutter release), and you’ll be a little steadier than lifting your finger to tap the screen. There are even some camera apps, like Camera+, that take the photo only when the phone detects that you are being still.Don’t forget to focus.
Tap. Focus. Just don’t forget. You can also get camera apps that allow you to focus manually, which is really handy in cases where the autofocus just can’t get it right.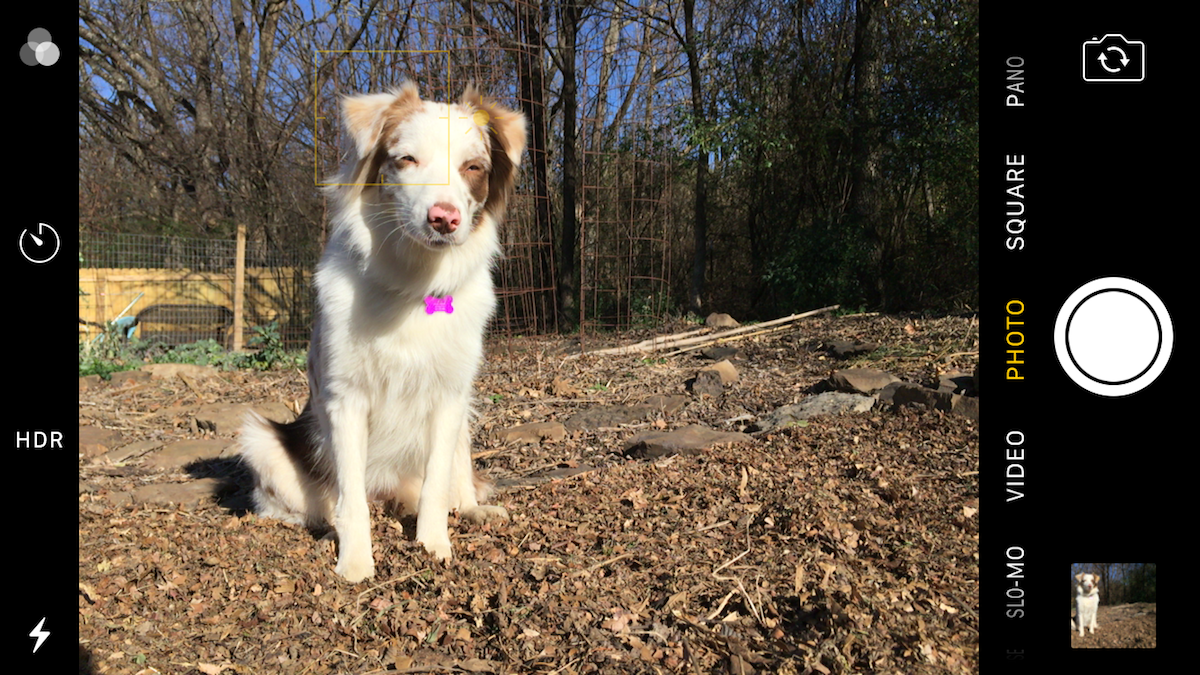
Adjust the exposure manually.
This is more important than you might think. Most people just point the phone at the subject, tap to focus, and hit the shutter. They don’t usually think about adjusting the exposure of their phone images. Just like with a larger camera, the exposure is one of the most critical elements of a successful image. It’s usually pretty easy. I can’t speak for Android, but on an iPhone, once you tap and focus, you can just slide up or down on the image and it adjusts the exposure accordingly. There’s no histogram to help you, and hopefully your screen brightness is set properly, but doing this should help get you going in the right direction and give you more control over your images. [caption id="attachment_41535" align="alignnone" width="1200"] The image was darkened manually to bring down highlights in the pup’s white fur. You can bring the shadows back up when editing the image.[/caption]
Experiment with third party camera apps.
The built-in camera apps on phones is generally okay, but there are better ones out there. I use Camera+ on my phone when I want to use a timer, or adjust the white balance, or set my own shutter speed/ISO. It even has a macro button, and I can dial in and fine tune the focus manually. I use the standard built-in camera app for quick shots, but when I have more time, other apps can be more useful.Learn how to create the best images on your phone and get them noticed on social media from acclaimed mobile photographer Pei Ketron. Learn more.
Don’t forget your rules of composition.
Even if these shots are just “on your phone,” that doesn’t mean that the standard rules of composition don’t apply. You can even turn on a grid so you can more accurately use the rule of thirds if you want. Symmetry, leading lines, colors, textures, and all of the other standard composition techniques still apply for mobile phone photography. And remember: it’s not always about what you include in the image, but rather what you leave out!

Clean that lens!
You might think this is obvious, but really. You keep your DSLR lenses clean, so why wouldn’t you keep the lens on the camera you keep in your pocket or purse — places where there is a ton of dirt, lint, etc. — even cleaner? In reality a little dirt isn’t going to hurt your images too much, but oil smudges or a lint buildup might. Just check it every so often, okay?Learn how to create the best images on your phone and get them noticed on social media from acclaimed mobile photographer Pei Ketron. Learn more.
[caption id="attachment_41538" align="alignnone" width="1200"]
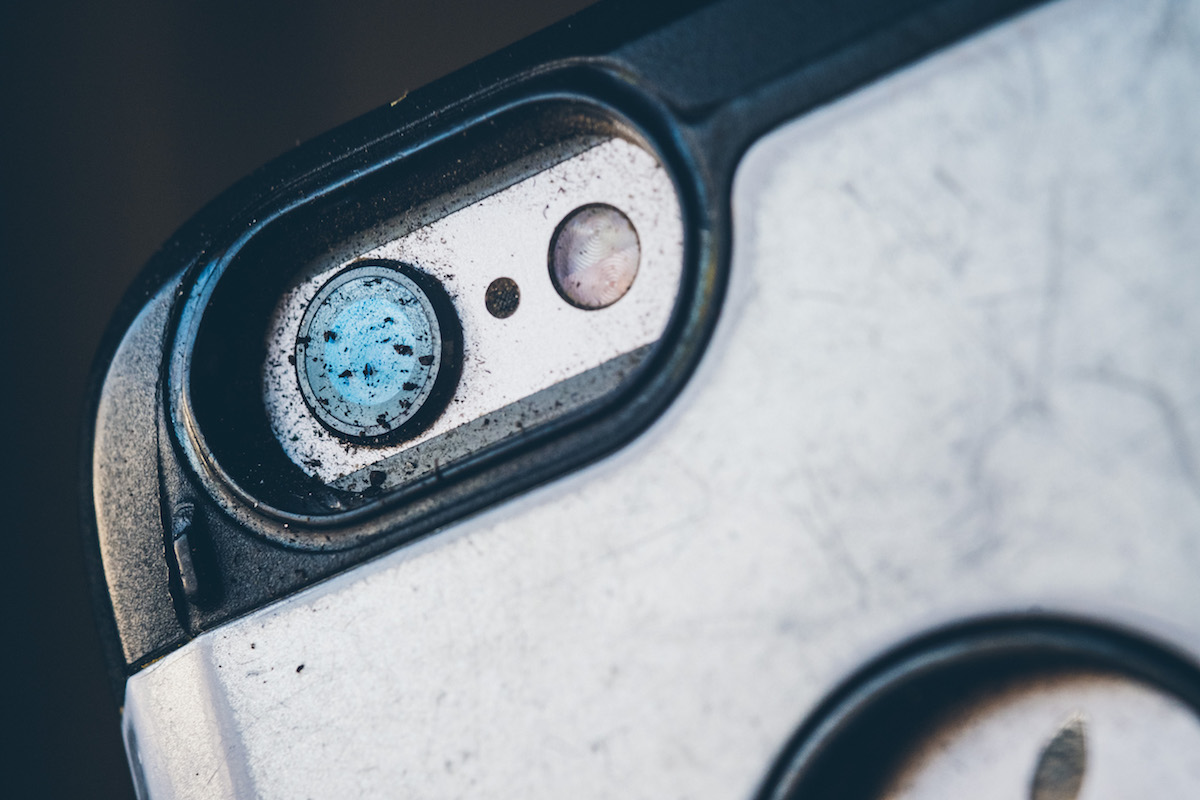 My actual iPhone 6 after working in the garden. Don’t be “that guy.” Wipe it.[/caption]
Edit!
There are plenty of photo editing apps that can make good images better images — Adobe Lightroom Mobile, Snapseed, VSCO, etc. — but you can also download and edit the images on your computer for full control (in Photoshop or other photo editing programs). Some cameras even shoot DNG or some other raw format. If yours can do it, and you’re not using that feature, you can stop reading this now, because I’ve lost all faith in you.


 An Instagram filter will do – but be adventurous, and try some new apps!
Obviously, there are more ways to get great photos from your phone. But by looking for light and following some of these simple tips, I think you’ll start to see your images improve quickly. While the holidays are a wonderful time of year, they can also be challenging – and the last thing you need to be doing is fighting your phone to get good photos to capture the memories you’re making with friends and family. If you have any other tips, let us know!
For more mobile photography tips and tricks, join Elise Swopes, well-known Instragramer and commercial photographer as she shows you the best ways to work with you iPhone for personal and professional success.
https://www.youtube.com/watch?v=SOKmJb3YDG8&feature=youtu.be
An Instagram filter will do – but be adventurous, and try some new apps!
Obviously, there are more ways to get great photos from your phone. But by looking for light and following some of these simple tips, I think you’ll start to see your images improve quickly. While the holidays are a wonderful time of year, they can also be challenging – and the last thing you need to be doing is fighting your phone to get good photos to capture the memories you’re making with friends and family. If you have any other tips, let us know!
For more mobile photography tips and tricks, join Elise Swopes, well-known Instragramer and commercial photographer as she shows you the best ways to work with you iPhone for personal and professional success.
https://www.youtube.com/watch?v=SOKmJb3YDG8&feature=youtu.be