
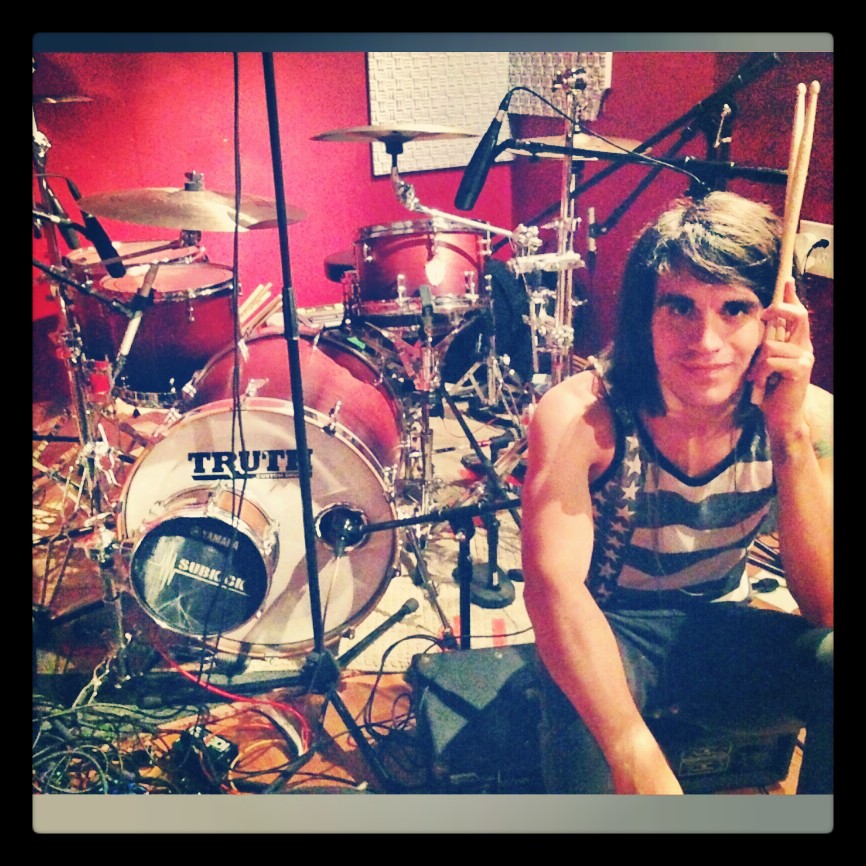
 While you wait for your carefree rockstar dream to arrive, you're going to have to struggle with the daily grind of setting up, caring for, and troubleshooting your gear yourself. Over the years, I’ve dealt with it all — and have learned invaluable lessons from working for established artists. These small but crucial bits of knowledge have saved me a lot of frustration, embarrassment, and perhaps the most important to us all, money.
Some of what you’ll read below may seem like common sense, but you would not believe how often I see the complete lack of care when it comes to drummers and their gear, especially on tour. Some drummers don't care, and others don't know. I hope that as you read this you will end up caring, or end up knowing. At the end of the day it's your career you're investing in, so it's all a matter having the time, energy, and enthusiasm to take care of what you, supposedly, love to do.
Basic Drum Maintenance
This is probably the simplest when it comes to keeping your kit functional, which is why it upsets me so much when I see great drummers playing on broken down kits.
- Check your gear often: This is a tough one when you’re in a band that’s on tour. You will most likely be tired, hungry, and dirty, but save time to check your gear. Be sure to inspect tension rods, lugs, bass pedals and all hardware every couple days, especially if you are playing in a place where you have the ability and time to setup your drums comfortably. Set them up so that you can walk completely around your kit and examine it.
- Keep it clean: Many drummers fail to realize how important it is to keep their gear (and hardware) clean. Do you ever wonder why sometimes your drum set totally falls apart on stage? A lot of hardware failure has to do with all the grime that collects overtime.
If you're on tour and you don't have brand name drum cleaner, Windex happens to be great for most drum shells out there. Try to use a thick cloth like a small towel or a microfiber cloth. For cymbals, I highly recommend any brand name store bought cymbal cleaner (buy whichever one you prefer, I’m not about to get into a big product preference argument here). If you are on tour and can’t get to a music store, brass polish will work well with light application and a tiny amount of water.
- Electronics: Unfortunately, when you are touring, 90% of the "venues" you'll be playing won’t have the capability to use triggers, in ears, sample pads, and all the modern electronic tricks that make your band sound slightly more professional than your average DIY touring band usually sounds. When you are playing a place that actually can accommodate your electronics, there is nothing worse than having an issue that could potentially derail you mid song. It sucks, but it happens, and without someone that understands your system (AKA a drum tech) you will have to maintain all of it yourself.
- Triggers: The triggers I see used most often on tour are ddrum and Roland brand triggers. Never keep a trigger on a shell; throw it on after setting up your drums and take if off when you're finished. Unless you throw your trigger at a wall, there is no quicker way of breaking it. Always try to keep your triggers in a safe location where there is plenty of padding to protect it. Triggers are very delicate objects and unless you take an active role in caring for them they will malfunction or fail. They are costly, but if you're going the trigger route, have a secondary trigger on your kick right next to your primary trigger. If there are problems midset, all you have to do is unplug from one and plug into the other.
- Sample pads: Like other electronics, keep the pad in a safe location during transport. Plug in your sample pad before the set and run through each sample to make sure that the pads haven’t lost sensitivity.
- Cables: Always have your primary and spare cables rolled properly and available in the event that you would have to swap any midset.
Spare everything, all in one place.
Set Troubleshooting
You should always try and have the following pieces of equipment within arms reach during your set. Nothing is worse than needing the right equipment and not having it readily available.
Basic Troubleshooting
- drum key ( to tune/adjust hardware)
- flashlight ( to see when you are blind on stage)
- Gaffers tape ( Never know when it will come in handy)
- setlist (laminated if you want to be super pro)
- (1) pair backup drumsticks (refer to "advanced troubleshooting")
Advanced Troubleshooting
As tough as it can be financially, especially with DIY touring where you are more than likely not making any personal money (or even much band money), having spares and secondary backups for as much of your setup as possible is crucial. In any touring environment gear breaks down, gets lost, and having to replace it on the road can prove difficult. Trust me, it sucks big time when your band is looking back at you dumbfounded while you crawl all over the place trying to fix something that could have easily been avoided.
Spare sticks: When your musical abilities are basically using things to hit things in rhythmic patterns, guess what? things tend to break. Most commonly, your drumsticks will be the first thing to go out on you. Having something nearby to grab a backup stick in this situation is crucial. Whether you have a stick bag on your floor tom or a stick holder on your hi hat stand (or both) it’s a small formality to make sure you are covered if a stick breaks. In the average tour you will be playing 5 to 6 days a week for a 3 to 6 week period of time, so purchase the appropriate amount for that duration. 4 bricks ( or 16 pairs) is a decent estimate to start at.
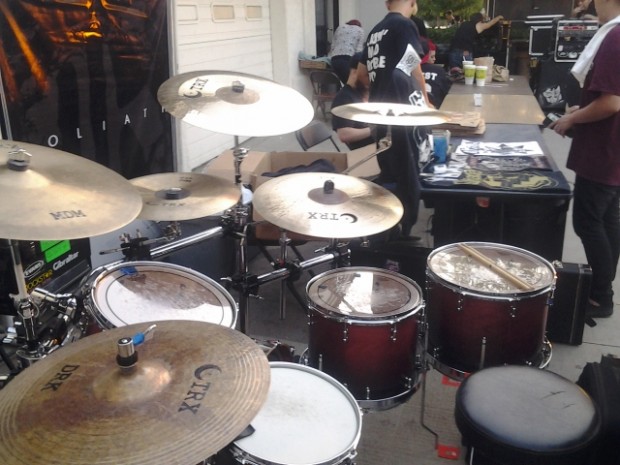
Spare cymbals: Crash and china are the most common cymbals to fail on stage. having a spare right next to you is a huge bonus!
Backup snare: Snare heads breaking mid set are a huge nightmare, and a priority 1 emergency. Having an extra snare parked near you can save you from the inevitable outcome of having a terrible set. Just terrible. Don't forget to have your backup tuned!
Head dampeners: Moongels, drum clips, even Gaff tape can help get rid of the nasty overtones or odd frequencies that resonate off your drums in a live environment. You may not notice it, and the crowd most likely won’t notice it, but there are people out there (called musicians and sound engineers) with finely tuned ears that will notice a flat sounding drum set. Why does your rack tom sound like a basketball and your floor tom sound like a paper bag being opened into the wind? Who knows, but throwing something on the floor tom to dampen it will help make your drum set at least sound chromatically decent. Do the best you can to tune your kit in between songs when your vocalist is telling all the kids to buy your merchandise because you need the gas money.
Spare cables: If you’re using electronics, having spare cables can help if there are issues with any of your equipment. It depends on what you are running, so whatever you are using having a spare to switch out is a help when it comes to troubleshooting. If you want to be more efficient, looming the spare to your main makes switching that much easier.
Stage water/stage towel: No one likes sweat in their eyes, and dehydration sucks. With any liquid, make sure its room temperature. Cold beverages cause cramping during extraneous muscle use, and cramping up mid set is not fun.
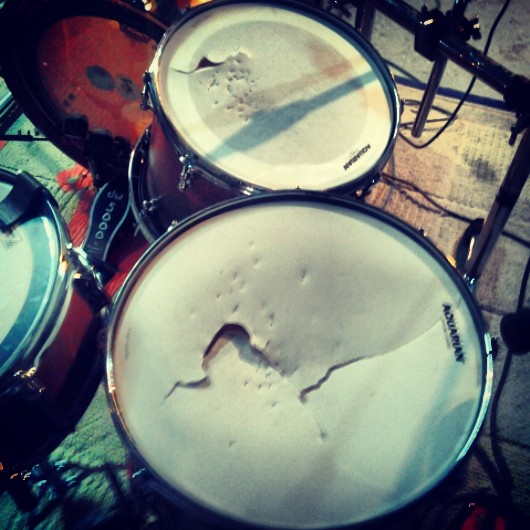
This is why you need spare heads on hand at all times
Pre-show Preparation
Being a performing musician can and will take its toll on you physically and mentally. Remember, above anything else, being in a band is supposed to be FUN!!! So make it easy on yourself and prepare the best way possible to have a great time on stage connecting with people and rocking out with your fellow band members.
- Stretching: Everyone is different physically, both in performance and figure, so how you stretch and what you do is entirely based of what you feel is appropriate. At least 30 min. of stretching about an hour before hitting the stage is a great place to begin at. Don’t overstretch your arms or your legs; just enough to feel loose and get the blood flowing.
- Practice pads: Having a practice pad with you to warm up your hands can prove to be a vital asset in getting your hands ready to perform. Starting an hour before you go on is a great place to begin. Start with some basic single strokes, then move to double strokes, then try some basic paradiddles to warm up your dexterity. Using a metronome is a huge help; start anywhere from 100 to 150 bpm. Every 5 minutes increase the BPM about 5 or 10. If you have a practice pad for your feet, then simply follow each beat and alternate between your right and left foot, and continue to speed up and try out different rhythmic patterns. Close your eyes and focus on your breathing and the consistency of each hit.
-Stage your drumset: In a professional touring environment, your changeover (the time when one band gets off stage and your band gets on stage) should take no longer than 5 to 10 minutes. Regardless of having a big metal kit or a small rock kit, its your responsibility to make sure you get what you need on and off stage in the appropriate time allotted to you. Having extra hands to help you is a privilege, not a right. Figure out a way to pre stage your kit that best suits you and put it in that order (usually when the band before is on) that you like and stick to it!
The following order is a rough order that seems to be the average staging setup. Everyone has a different way of setting up, so use this list as a rough platform for placing your gear however you see fit to.
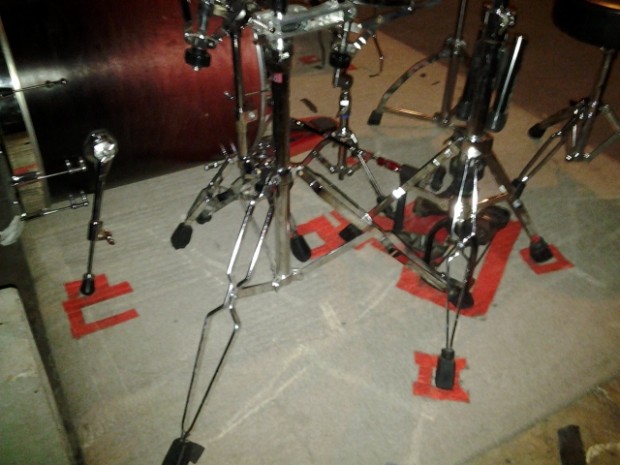
Carpet/electronics: Having a carpet is awesome. Having a carpet that is taped off the way your drumset will sit on stage live is not only beyond awesome, but professional standard. It will save time, energy, and frustration. Electronics (such as a drum module or mixer) should go first. Then, think about:
- kick drum
- drum throne
- bass pedals
- snare
- toms ( rack and floor, may vary depending on your own setup)
- hi hat stand (keep your hi hats closed until you are set up on stage)
- ride
- crashes, china, and various auxiliary cymbals (splashes, filters, bells, etc)
- Drum racks: If you use a drum rack while you play and not cymbal stands, split your rack into however many compartments you think it needs to be split into. Basically, if you have left, middle, and right arms, split them into individual pieces so that they can be brought on stage easily and not as one individual unit. Start with the stage left side (the side with your hi-hat if you are right handed) and work your way to stage right. Take off the ride cymbal and the heavier toms (14" or bigger) to help reduce the weight of carrying it. Having an extra hand to help you is highly recommended, but remember you are a DIY drummer, so get used to the idea of it being just you dealing with your rack.
ConclusionDiscovery and innovation are part of growing up as a musician and a drummer. If you read this and took it seriously, then you should have no problem figuring out the rest. Every time I play a show I find new ways to improve my abilities, minimize errors and ultimately maximize my performance.This article is strictly a matter of opinion based on what I have seen in my travels. I may be right or I may be wrong, but every night my drums look and sound great and I play with confidence, which is what I want for every drummer out there. If you know anything else that helps, other ways of doing something, or something that I haven't heard about, please share it!! The DIY touring world is a tough one to navigate, but knowledge is a weapon and the more you have the more you can focus on being a great drummer. And hey, maybe one day you’ll have a drum tech that will take care of your totally sick kit while you handle "important" matters. Good luck, and stay safe!