
 Architecture is art -- but pretending that photographing a building is simple will only result in lackluster architectural shots. From slanting lines that should be straight to finding the right light, photographing architecture can be challenging -- no matter if your capturing modern buildings or older buildings. To create images with enough awe to fall under fine art, architectural photography requires pre-planning, thought, and a few tried-and-true tricks. Here are a few architecture photography tips to push your photos from snapshots to fine art buildings.
Pre-plan for the best natural light
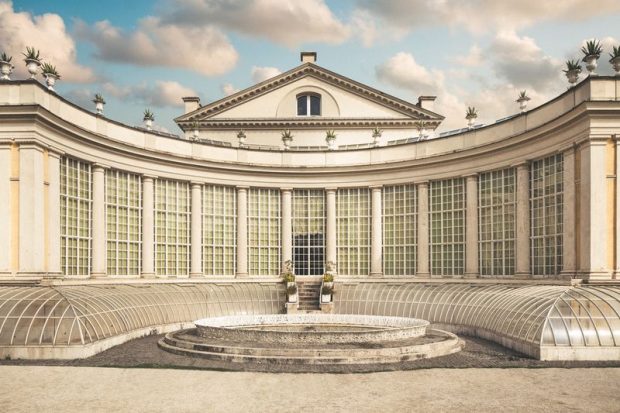
Light is essential to every photograph, in any subcategory. In architecture photography, light can add drama, obscure details or create flattering lines. Getting the shot means finding the right light, whether you want a moody silhouette, a nighttime long exposure or an old building against a bright blue sky. Time of day makes a big difference in how the photo is lit -- understanding where the sun will be when you head to the building allows you to choose the best type of light for the shot. If the sun is behind the building or you have low-light conditions, you’ll either get a silhouette or overexpose the sky. With the sun in the front or towards the side, the building can be photographed with an evener exposure and ambient light. Of course, this directional light requires the sun to be lower in the sky, which means heading out in the morning or evening, not in the middle of the day.
If you are traveling and have limited time to photograph the building, find the building’s orientation so you know whether to visit in the morning or evening. For buildings that you have more time to explore, try visiting during different times of day to find the best light.
Explore different angles
One of the easiest ways to differentiate your architecture photography from a snapshot is to stop taking images like everyone else takes images -- and that means stop defaulting to taking every image from eye level. The height you take an architectural image from matters. Taller heights will help minimize distortion, looking down on a building can emphasize shapes, while looking up a building can make that structure look even more dominating.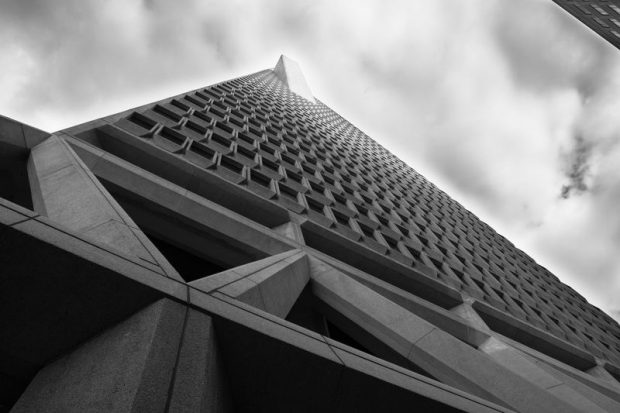 Along with considering the angle you take the shot from, explore all angles of the building as well. Look around every side, not just the highly-Instagrammed front of the building. Look up for interesting ceilings, down for artistic staircases and around for anything that embodies the overall feel of the architecture.
Look for lines and shapes
Architects know the importance of lines and shapes -- and so do good architectural photographers. Keep an eye out for horizontal, diagonal or vertical lines to move the eye through the image. Leading lines can point to a structure to draw attention to the subject. Lines also have emotional associations as well -- diagonal creates a feeling of movement, horizontal a sense of calm, vertical a sense of power or growth. Curved lines aren’t as common in architecture, but create a more natural feel since these types of lines are more commonly found in nature than man-made structures. Going hand-in-hand with lines, shapes also add interest to architectural images. Once you spot a shape in a structure, use angle and composition to emphasize that shape. For example, minimize the distractions and fill the frame with the shape.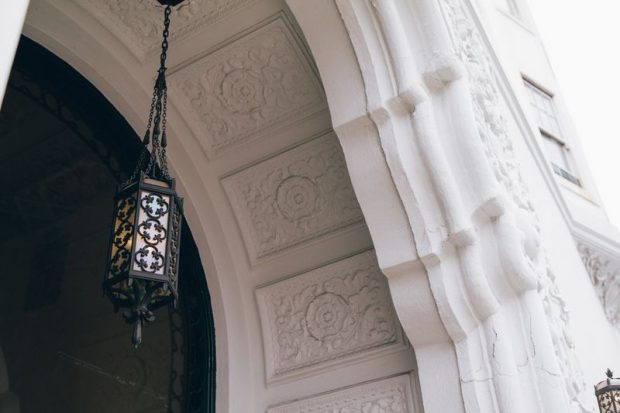
Use a polarizing filter for exterior architectural photography
A polarizing filter is an inexpensive accessory that can make a much bigger impact on your images than your wallet. Polarizers control reflected light, which means easily controlling reflections off windows or water in architecture. Even without the obvious reflective light effects, polarizers will also help make the sky appear bluer. Just remember to take the polarizer off if you don’t need to control the reflected light, particularly indoors or at night -- these filters will reduce the amount of natural light coming into your photos.Keep it sharp -- and try a tripod
In architecture photography, detail is essential -- which means keeping the shot sharp. Use a narrower aperture to keep the details of the building in focus, like f/8 or even a higher f-stop. With that narrower aperture, motion blur can start to pose a problem (yours, not the building’s, of course). Using a tripod will help keep the shot sharp, especially when shooting towards the end of the day or when photographing a building’s lights at night. A wide-angle lens can also be useful for your architectural photography, particularly if you're working with fairly tall buildings.
Don’t forget to head indoors
Exterior architectural photography is often the first thing that comes to mind when considering a structure, but a building’s interior can offer just as much creative fodder. In public buildings or with permission to photograph an interior, many of the same tips apply. Available light, however, is different with interior shots because of a mix of window light and overhead lights. HDR or an off-camera flash can help prevent windows from being exposed in interior architectural photography.Prevent or correct converging lines.
Optics don’t capture everything exactly the way it exists in real life. Converging lines are when a straight line appears to curve -- it’s a perspective distortion that’s often exaggerated with cheap lenses. To prevent the buildings from looking like it’s about to tip over, architecture photographers can either prevent it with tilt-shift lenses or correct the distortion in post-production with Photoshop. Tilt-shift lenses will save avid architecture photographers a lot of time, but the lenses are cost prohibitive for photographers that just want to experiment with architecture while traveling. Fixing perspective distortion in Photoshop requires more time, but less investment using the perspective warp tool.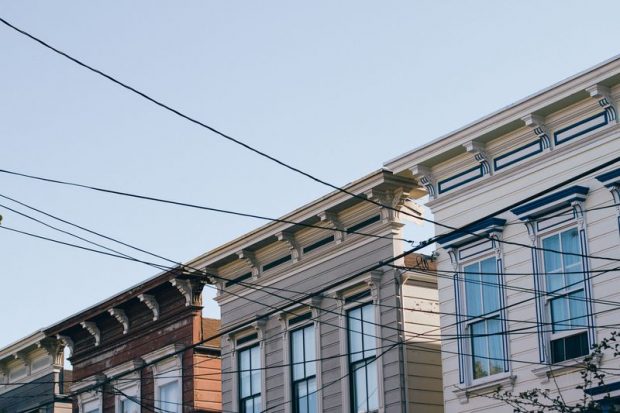
Perfect with post-processing
Photoshop isn’t just good for fixing perspective distortion. Use the RAW file format and retouch images in Lightroom or another photo editor for the best results. With software, correcting white balance is no problem. Frequent edits for architecture photography also include adding contrast, jazzing up the sky, or stitching HDR photos together. Taking a snapshot of a building is as easy as pulling out a smartphone -- but to truly move from a quick snapshot to fine art architectural photography, you have to capture the essence of the building. And that requires some pre-planning, the right light, the proper tools, compositional strategies and editing techniques.