Lessons
Lesson Info
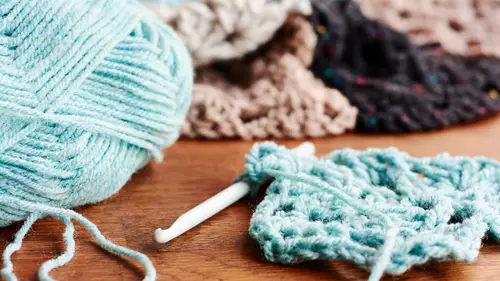
How to Puff Stitch
One of the stitches that's been super successful for me, not that I created it but whenever I've done videos or designed projects is the puff stitch. The project in particular that I was just kind of floored by, you just never know what's gonna take off or not is this, the slouchy beanie. It had something like 50 thousand downloads on Ravelry it's nuts, I don't even, puff stitches make people happy. It's my producer Sarah's favorite stitch. So I know that she's up in the booth, super excited to learn how make it right now. Gonna make her a crochet maker as well but also after you learn, you'll be able to make this hat and we'll bring it on over so you can see. That uses ribbing that you totally are gonna know how to do already and then is all puff stitch. Super fun, really nice and warm. It takes a lotta yarn but it's pretty worth it 'cause it's adorable. So this is bonus material you can just download that pattern through the course materials. Now I'm gonna show you how to get your pu...
ff stitch on. Okay, so I've already done some establishing rows. All that you need to know about this, I'm just gonna show you how to do this stitch. This stitch pattern is worked alternating the puff stitches. So, there's chain ones in between and that gives you the space to work in and I'll show you what I mean by that. Alright, so to do the puff stitch, you're going to yarn over, insert the hook through that space yarn over, pull through so now you have three loops on. So now you're gonna do that same thing three more times. Yarn over, pull through one. Two, three. Alright, so now we've done it a total of four times and that is a fully loaded hook right? You couldn't really hold too much more on that. So now from here, you wanna yarn over again and you wanna pull through all but the last stitch or the last loop rather so that you have two loops left here. And then last, you're gonna yarn over and you're gonna pull through those last two loops and that kinda puts a little hat on top of your little nugget right there. That seals it off. And that is the puff stitch. So let's go ahead and chain one, just to move over that other stitch and let's do it again. Alright, so we're gonna yarn over, insert the hook through that space. Pull the yarn through and then we're gonna do that three more times. Yarn over, yarn over, yarn over. So we have, one, two, three, four, five, six, seven, eight, nine loops on that hook at one time. We're gonna yarn over and you're gonna pull through all but one. Leaving you with two loops because that yarn over becomes a loop. You can see all of those are kinda hanging loose on this working yarn. It's almost like it's a clothes line holding them. Well now we gotta seal 'em off so they don't go any place. So we're gonna yarn over, pull through two. And because I like things in odd numbers I'm gonna show you one more time. Alright, yarn over. Insert hook, pull that through. And we're doin' that again. And again, and again. Yarn over, pull through all but the last loop. We've got a little belly. And now we're putting a hat on it. Why you put a hat on a belly, I have no idea but you get the picture. And that is how you do the puff stitch.
Class Materials
Bonus Materials with Purchase
Ratings and Reviews
Leposava Trickovic
Student Work
Related Classes
Crochet