Lesson Info
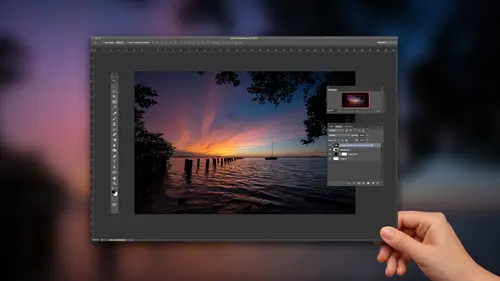
6. Use Brushes in Your Landscapes
Lessons
Lesson Info
Use Brushes in Your Landscapes
So this is in the this in the great Smoky Mountains, right at no fall fall color and just reset it. Start from zero. Sometimes you know it's a good one. Just kind of bounce around on the workflow precept. That's the camera landscape profile. That was the shortcut for going down there. That actually looked pretty good. That's before that's after. That's not a bad one. Cloudy white balance, um, darker little bit shadows. So I just created all these ones just so I can kind of click through, um, if that's not the way you're gonna go if you want to, just do it from scratch on this. Come up here and let's go to exposure. I think we're pretty good. Um, highlights. I actually want to make the water a little bit brighter so much you're gonna boost the highlights a bit. Shadows. Not too much detail in the shadows that I think I know. There's shadow detail down there. I just don't think it needs to come out. Whites and blacks option are all click. Get a white point option. All click. Get a black ...
point. OK, hide the panels. Get us some more room for the photo. Ah, what's next here? Let's do a little cropping. So crop in a little bit. And then there's some kind of look at the vertical trees. Just rotate just a hair just so some of those trees don't look like they're leaning over. It's tough because some of them look like some of them are leaning over. So it's a kind of ah, give and take situation for that. Ah, let's see here a little bit of clarity. Give us a little bit more contrast, saturation. We can use it in this one. Someone saturated, a little bit more. Go down here HS l. There's not too much I'm gonna do for hue and saturation to the colors. It's fall colors. I'm gonna probably boost some of the oranges and reds because you can see some of them are starting to fade a little bit to hear. All right, then, detail. I'll just zoom into part of the photo crank up my sharpening 1.5 again. I don't have a flat sky or anything so I can get away with a lot of detail in the photo, and I don't even have to mask it away and then come down here lends corrections that was already turned on. So looking pretty good, we're going to Ah, we're gonna get stylistic with this one. So I want that end with this because I think it's a good opportunity toe create the feeling I had when I was there. So I'm gonna head over. I don't even need There's nothing really worth going a photo shop for. I mean, I don't know that I need to clone anything out of this, so I'm gonna go straight into the the effects theon one effects plug in that I mentioned earlier, and a couple things that I want to do to it. Color. So there was son like you saw the back the back corner of the photo. It was kind of atmosphere. There was a little bit of hazers, a little bit of fog, and there's a little bit of sun coming through. It just looks flat to me. So I want to bring out some of that son and I want to add to the effect a little bit. So that's the first thing that I'll do. What will do here is we'll go into I've got all these filters. I'm gonna use my adjustment brush, and I'm going to go to Glow. And then what I'll do is I'm gonna brush a glow back here a little bit of a hazy feel as I go down and look at the settings that came along with that. One of them is a warming setting, so I'm gonna warm it up. Okay, Not gonna be a huge change. She had the back Slaski. That's before. That's after. Probably been cranking up more and even a little bit brighter. Okay, next thing that will do is let's go add another filter to this one. And one of the ones that I like is also under sunshine, and that's going to give me an overall warming type of effect. Here. There's one called Sun Glo. I'm gonna go with sunshine, okay? And that will finish that up with because I'm here. It doesn't matter. Um, vignettes have been yet. I kind of like the ones here as you saw my earlier photos. I'm not gonna make a special trip into here just to add a vignette. I'll do it inside a light room, but I do like the way that this adds vignettes a little bit better. There's a vignette section down here, and there's one called The Big Softie that like it's a preset. So I just like the way it fades out a little bit better on the photo. So let me hide that. Just give you an idea that's before that's after before. After, so will hit apply. I will take us back over to photo shop members a raw file. So just like Photoshopped, um, whatever plug and you use makes a copy of it. And then we'll bring you back over to like, room and I'll go to the original will hit Reset and eso That's our before photo and that was the after. But when you think about what I did to it, you're the light room. Changes exposure, highlight shadows, blacks and whites. I mean, most of it was in the basic panel, um, a little bit of sharpening lens correction and then just artistically painting in some warm highlights to the photo on a vignette. So it kind of seems like a lot, But when you if you go back and think of the way we build things up, a lot of it's a formula, right? The basic panels, most of what we're going to do. Basic panel sharpening vignette. Basic panel sharpening Vigna Once in while. Do you want to brush something in Go to the brushes. But a lot of this, really Ah, lot of this really does become a formula.
Class Materials
Bonus Materials with Purchase
Ratings and Reviews
Alex
One thing which does not quite work for me - final edits in last lesson look a bit oversaturated. But still good course for beginners.