Lessons
Color Introduction
06:25 2How to Apply Color Using Watercolor
11:42 3How to Apply Color Using Gouache
07:06 4Color Materials & Setup
04:33 5Color Style #1: Pen and Watercolor sketch
06:05 6Color Style #2: Doodle style using Pen
07:01 7Color Style #3: Brushpen
06:26 8Color Style #4: Chalkboard Technique
15:23Color Style #5: Spot Coloring Book
07:44 10Color Style #6: Add Color with Your Background
03:07 11Color Style #7: Create Color Combinations with Metallics
07:01 12Color Style #8: One Color Value Study
06:25 13Using Multiple Colors for Shading & Highlights
19:56 14Develop your Style by Showing Your Work
06:04 15Ways to Display Your Art
22:03 16Turn Your Drawing into a Digital Product
09:16 17Paper Crafts with Your Drawings
15:50Lesson Info
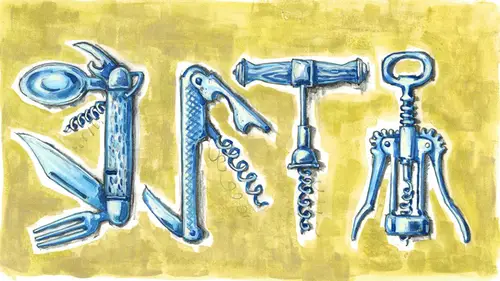
Color Materials & Setup
Class Materials
Bonus Materials with Purchase
Ratings and Reviews
marcelle gray
I love this class!!! Cleo is such a natural, enthusiastic and funny teacher. She shares her ideas very freely and makes learning so much fun. She likes to explore her materials by experimenting and also making charts. In art school I always thought this was a little boring, but Cleo makes it fun. It is a good way to warm up and prepare to draw and then begin paint. I have learned to enjoy this process so much by taking this class. I would recommend this class to both beginners and experienced artists.
user 43495d
Cleo does start quite nervous, and not very clear in her explanations. Thanks to the guy asking the questions throughout the class…I guess he was as confused as us in the beginning. BUT…the class does get better!! She gets more confident and does give good examples to take your simple drawing to a colorful piece of art you can sell on products or share on social media. I really enjoyed later lessons. And I always say-if I can get a least ONE good advice or trick – then it was not a waste of my $20.