The Ultimate Guide to Learning Photography: Camera Raw
The Advantages of Shooting in Camera RAW vs. JPEG Format
Every new photographer feels the same confusion when hearing about the differences between shooting images in RAW vs. JPEG (or JPG). In the past, most photographers used JPEG because you could get more images on your memory cards and the photos looked good. But now all DSLRs, many point and shoot cameras and even smartphones are giving you the option to shoot in RAW. And if you want to be able to do more in post processing with your images, then you might want to consider using that option. JPEG mode allows the camera to run the images through its image processor, which varies with each camera brand.
To put it simply, this processor, based on the settings that the photographer chooses, makes the decisions on white balance, contrast, color space and sharpening. This limits your ability to modify the image after the fact. With a RAW image, all of the data for the image is saved so you can make all of the adjustments in post. Of course, RAW images take up more space because of the amount of available data, but if you want more flexibility when creating the final image, this may be the format to use.
In this guide, you’ll learn:
- What is RAW?
- How to shoot in RAW
- How to process RAW Images
- What are Bits, and how do they affect image quality?
- 4 tips for editing RAW in Photoshop and Lightroom
What is RAW?
A RAW file is essentially a digital negative. A RAW file is unprocessed, but it also contains more data than a traditional JPEG. Because RAW files contain more data, they have a wider range of possibilities inside Adobe® Photoshop® CC, Adobe® Lightroom® CC or another image editor.
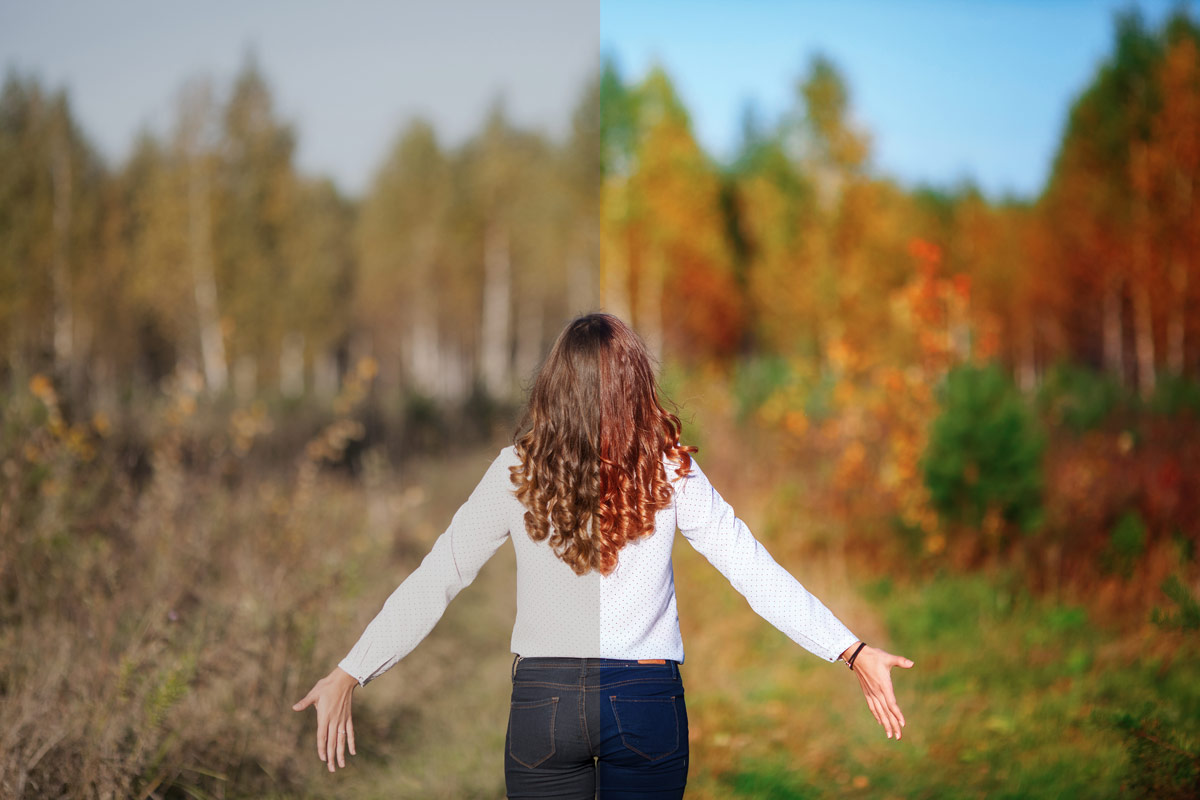
With so much more data than a JPEG, RAW files open up more possibilities during post processing. Correcting the white balance on a RAW file doesn’t harm the integrity of the shot. Exposure errors can be corrected with more accuracy than using a JPEG file. And along with making minor image corrections, RAW files can be adjusted to settings that aren’t adjustable in the camera. For example, a photographer can add more contrast to a RAW photograph by adjusting the highlights, lights, shadows and dark areas of an image separately.
Unlike a JPEG, you can’t immediately pull a RAW file off your camera and upload it to your favorite social network or take it to a printer. RAW files contain more data because the camera hasn’t yet applied any of it’s own adjustments to the file. That means the image hasn’t been sharpened, and if you shot in black and white mode, you still have all the color data inside that RAW shot.
Besides adding another step to the process, why doesn’t every photographer use RAW every time? RAW files are much larger than a JPEG image. That means they take up more space on your memory card and hard drive, but one of the biggest downfalls is recording all that data takes more time than shooting a JPEG. Many modern cameras can shoot RAW files just as fast as JPEG — the maximum burst speed won’t change. But, cameras can’t shoot as many RAW files in a row as they can with JPEG. Because RAW files take more time to record, sometimes photographers revert back to JPEG to get the most speed from their gear.

How to shoot in RAW
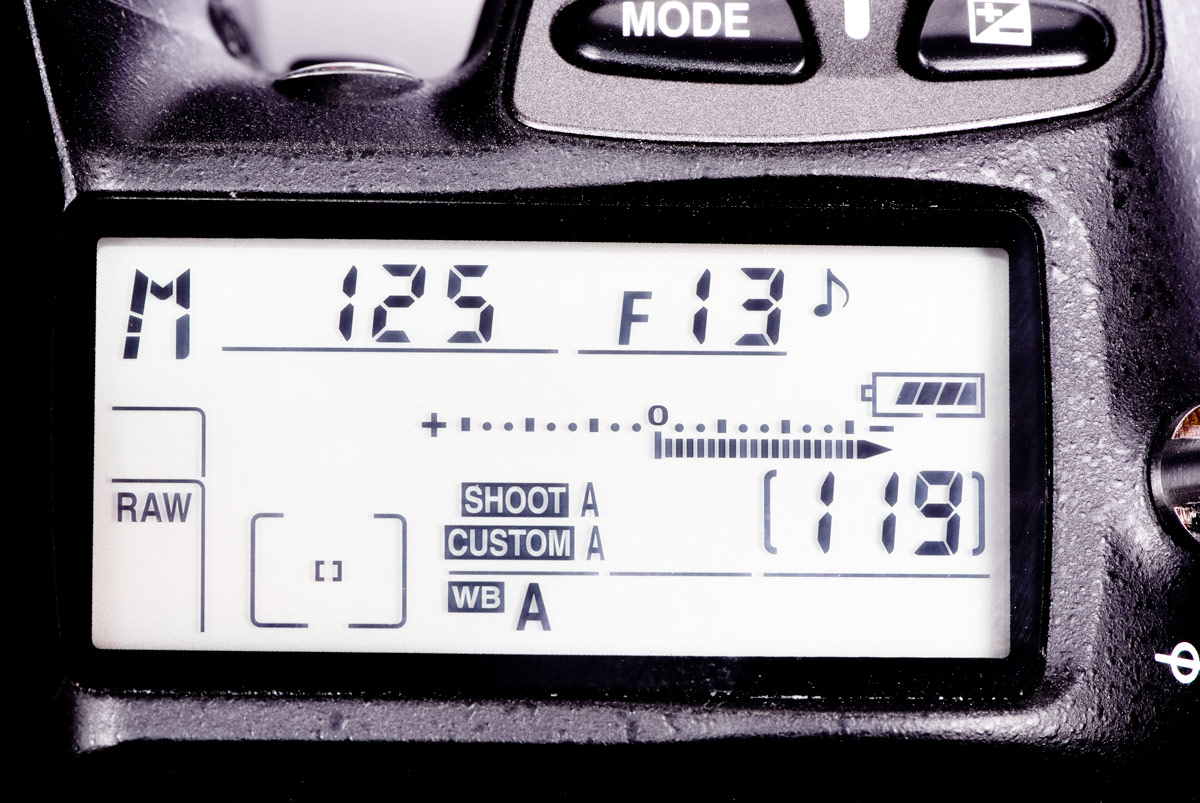
Taking a RAW image is actually pretty easy. Access your camera’s file settings, often in the menu and also sometimes inside a shortcut marked "Quality" or "Qual." Instead of JPEG, select RAW. Or, if you might need access to those files quickly or have no idea if your photo editor can handle the files, choose RAW + JEPG to get both file types.
Once the file type is changed, shoot as you normally would. While RAW offers more flexibility (and more forgiveness for errors), it’s still best to get your exposure as close as possible in camera.

How to process RAW images
Not every photo editor can edit in RAW, but most advanced platforms can. (If you’re not sure what your current photo editor can handle, shoot in RAW + JPEG the first time you try out RAW).
Every camera brand shoots RAW files a bit differently. Nikon users will see a .NEF after each image, while Canon shooters will see .CRW. Even within the same brand, the newest models may have a slightly different file type than older models.
Programs like Lightroom® and Photoshop® are often quick to add compatibility to RAW files from the latest cameras. But, if you pick up a camera just a few days after it was first release, your software might not be compatible with those files yet.
A DNG is a universal RAW file type. Software that can edit RAW will always be able to edit a DNG file. So, if you are shooting with a brand new camera, or if you are using an older version of Photoshop®, you can convert your files to DNG. Adobe offers a free conversion program, Adobe® DNG, exactly for that purpose.
Lightroom® and Photoshop® are two of the most popular RAW editors. Lightroom® can edit (and organize) RAW files directly. When opening a RAW file in Photoshop®, the program will first open Adobe® Camera RAW. This is a like a mini-Photoshop® that holds all the different controls available specifically for a RAW file, including exposure, white balance and sharpening. Once those adjustments are made, the image can be edited will all of Photoshop®’s usual tools.
Be careful though — some RAW photo editors may be reducing the RAW file’s color bit range automatically while opening the file.
What are bits?
One RAW file isn’t always equal to the other — the difference between the options lies in the color bits.
A bit is a techie term for storage. In a RAW file, bit refers to how many colors the image contains. Remember, RAW files contain more data than JPEG files — and color data makes up a big chunk of that difference. With more color data, you have more flexibility over color edits in post.
A 12-bit RAW file can store 68 billion different colors. A 16-bit RAW file can hold up to four trillion (yes, trillion with a t) shades. Since the human eye can only distinguish between 2.5 and 16.8 billion different colors, the difference between a 12-bit and a 14-bit file is much less noticeable than, say an 8-bit and a 16-bit.
Most DSLRs shoot between 12 and 18 bit files. Inside the camera menu, there’s usually an option inside the camera menu that allows you to adjust the file’s bit depth.
But the biggest place to pay attention to bit size is when you open the RAW file in an image editor. A JPEG file is an 8-bit file — some editors will automatically import RAW files as 8-bit (helping the program handle the data faster) instead of the full 14 or 16 bits.
When you import your files, double check to make sure your program isn’t axing half your color data. If you use Photoshop®, Adobe® Camera RAW will list the bit size the file imports underneath the photo — if it says 8-bit, click on the blue link and change that back to a 16-bit file (unless you’re really short on hard drive space).
4 Essential Photoshop® & Lightroom® Edits for RAW
RAW files are untouched by the camera’s built-in processor — which means if you only convert a RAW file to JPEG without making a single change, your photo could look worse than if you had just shot a JPEG in the first place. While the editing possibilities are even wider with RAW, there are a few edits you won’t want to skip out on.
Sharpness — JPEGS are automatically sharpened in-camera. If you shoot RAW, there’s no sharpening applied. A simple slider fixes this and gives you control over just how much you want to sharpen.
Exposure — RAW files are great for fixing exposure errors, but sometimes a good exposure could use some darkening or brightening up to more accurately capture the mood you are going for.
Curves — Boosting contrast to a RAW file is much easier and a big perk. To add in some contrast, brighten the highlights and whites slider and darken the shadows and darks or blacks slider. Alternately, if you are going for more of a matte look, you can do the opposite and darken the lights and brighten the darks.
Color — Correcting white balance, or simply adding a warming or cooling effect, is easy to do with the white balance slider in Adobe® Camera RAW or Lightroom®. Color can also be enhanced with vibrance and saturation sliders.
Shooting in RAW is a simple change inside your camera’s menu — but that simple change opens up a much wider range of possibilities in post processing. If you absolutely need the most speed possible, have limited memory on the SD card (or your hard drive) or don’t plan on editing any of the shots, then shoot in JPEG. But, to get the most flex from your images and the most creative control, head into the camera menu and make that simple switch.
Other Guides
- Photography Guide Home
- Photography Lighting
- Photography Post Processing Techniques
- What is Aperture?
- Exposure Bracketing
- What is Shutter Speed?
- 5 Rules of Photography Composition
- Creating Bokeh Backgrounds
- Focus Stacking
- Hyperfocal Distance
- Long Exposure
- Choosing Photography Subjects
- What Makes a Good Photo
- How Does A Camera Work?
- Composition Techniques
- Aperture & Depth of Field


