The Ultimate Guide to Learning Photography: Long Exposure
The Beginner’s Guide to Long Exposure Photography
Photography captures a moment in time — but who says that moment has to be a split second? Long exposure photography takes a single image over several seconds or even several minutes. Because long exposure photography blurs everything that moves, it’s a popular medium for shooting subjects with consistent movement, like a waterfall or crowd of people. The longer exposure time also makes it a helpful tool for shooting in low light.
But as helpful (and incredible) as long exposure photography can be, it’s also a tricky technique to master at first. Here’s what beginners need to know about long exposure photography.
What is long exposure photography?
Long exposure photography is when you use a longer shutter speed and is usually used to create a specific effect in an image.

— Photo: Casey Cosley
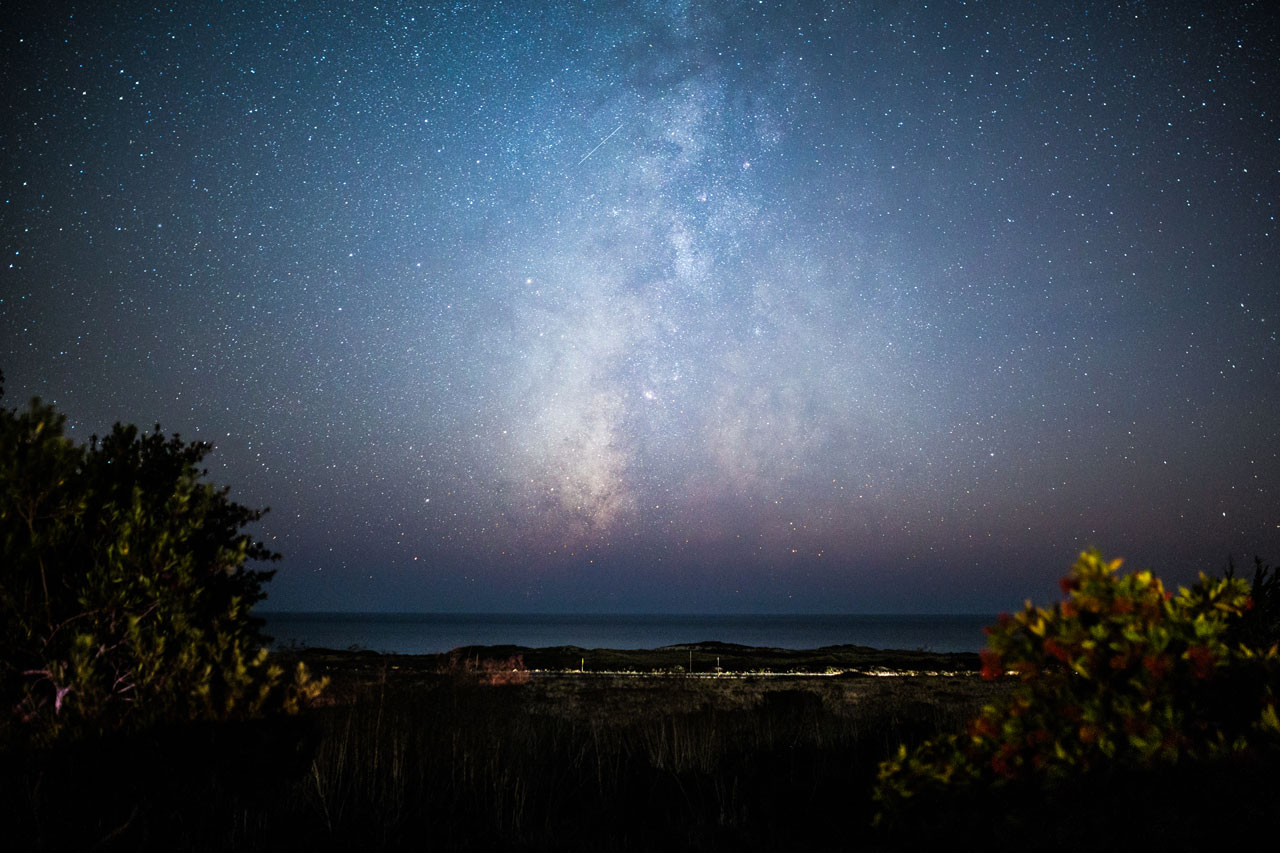
The camera’s shutter opens to expose the sensor (or a strip of film) to light. Most photographs are taken in fractions of a second, with the shutter quickly opening and closing to freeze the moment. Any motion that occurs while the shutter is open creates blur. While new photographers are often frustrated to see blur in their images without knowing why, long exposure intentionally manipulates the shutter speed to create artistic blur, turning the flow of a river milky smooth or creating circular streaks from the stars moving across the sky.
Shutter speed is also one of three different settings that affects an image’s exposure, or how light or dark the image is. A digital camera sensor is essentially a solar panel. If you cover that solar panel with a giant blanket, of course, it’s not going to get any light. But, the longer you leave that solar panel uncovered, the more light rays it will be able to absorb and turn into energy. Shutter speed is the same idea, only instead of gathering light to turn into energy, that “solar panel” is converting light into a digital image.
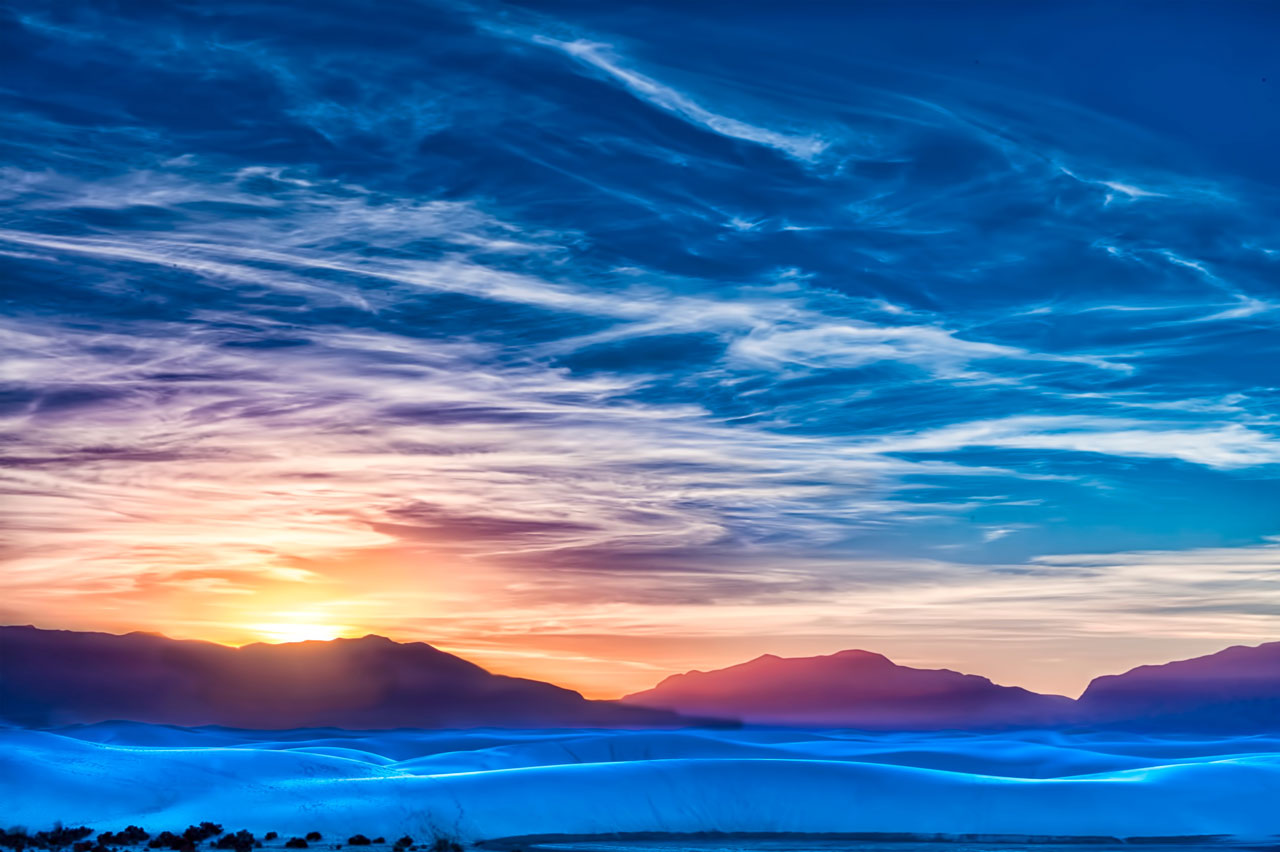
Using a long exposure is a tool photographers use for many different reasons. First, long exposures create an almost dream-like look because of that motion blur. Clouds become misty streaks, waves create a dance of smooth patterns, and night traffic becomes streaks of lights, making the medium popular for landscape photography. People can even become a long exposure subject — moving crowds become smooth streaks while any individuals standing still or moving slowly appear sharper.
Since a longer shutter speed lets in more light, long exposures are sometimes used as a tool to conquer limited light. If a scene does not have any movement — like in food or product photography — using a long exposure allows for low ISOs even if the light is minimal.
The trouble with long exposure photography — and what you need to fix it
Long exposure photography, however, introduces a number of different challenges — but most of these are met with with the help of an accessory.
Since everything that moves during a long exposure blurs, these photographs cannot be shot handheld. Small movements in your hands will move the camera and the entire image will be a blur. Tripods are a necessity for long exposures — you don’t need a $500 outfit, but finding one that’s not going to drop your camera in the dirt or give you an incredible backache on your hike is a good idea.
If you are shooting at night or close to it, you can shoot a long exposure with just a tripod and a camera. But, if you want to shoot during the day, you’ll need a neutral density filter. Remember, the longer you leave the shutter open, the more light that’s let inside the photograph. Even if you compensate with a narrow aperture and a low ISO during the day, there’s still too much light to get a long shutter speed without overexposing the scene into a big white blur.
Neutral density filters (NDs) intentionally block out light so you can shoot that long exposure while there’s still clouds in the sky to blur or while there’s still enough light to safely hike out to that waterfall. NDs are essentially a pair of sunglasses for your lens.
Tip: NDs aren’t just for long exposures — they’re also useful for using a wide aperture (for more background blur) on a bright sunny day.
NDs are rated for just how much light they block out. If you’re shooting at sunset and only need a few seconds, a lighter filter will do. If you’re shooting closer to mid-day, or really want a long exposure time, you’ll need a darker filter. A .6 ND filter will get you four times the light reduction, good for “short” long exposures for fast subjects, like waterfalls. For shooting during the day, a 3.0 ND (with about 1,000x light reduction) or higher is best. ND filters are often sold in sets so it’s easy to experiment (and long exposure photography often takes lots of experimenting). Variable neutral density filters, circular filters that increase in intensity when you turn them, are another option.
How to shoot a long exposure
Shooting a good long exposure starts with analyzing the scene. Identify anything that’s moving and try to picture how that motion would look blurred. Look for less obvious movement too — the wind through the trees, for example, can blur a long exposure. Take note of how that object is moving and how fast. The best long exposure shots tend to have something moving, while still having something completely still to anchor the scene.

— Photo: Mike Stephens, Student
Tip: Avoid shooting long exposures on windy days if you can. The wind can shake your tripod and move around leaves and other things that you may not want to move in your shots.
Once you have your composition in your mind, set up a tripod with your camera to keep the frame still. Switching to the two second timer mode, or using a remote release if you have one, helps prevent any bumps to the tripod, which can manifest as a soft or slightly blurred image. If your camera has a mirror lock up, located in the menu or sometimes designated on a shortcut as “MUP,” turn it on to prevent additional blur.
Turn the mode dial to shutter priority mode, or, if you’re comfortable in manual mode, go ahead and take control of the entire exposure. Set your shutter speed based on how fast the motion is in the image — this will likely take some experimenting, so don’t be afraid to guess, take a shot, then reshoot. A few seconds is often good for fast subjects like waterfalls and traffic. For slower movement, like clouds, 20 to 30 seconds may be necessary to get an obvious blur.
Long exposures aren’t limited to just seconds either —some images are taken over several minutes, such as star trail photography. Most cameras stop at a 30 second shutter speed, however, so to go longer than that half minute, turn the shutter dial until you reach Bulb mode. Bulb mode will leave the shutter open until you press the shutter release again. You’ll need that remote here, since stopping the exposure with that second press tends to introduce camera shake even on a tripod. (Keeping an eye on a stopwatch can also be handy in Bulb mode).
Use the lowest ISO setting available on your camera, and use the RAW or RAW + JPEG setting for more flexibility in post processing later.
With your best guesstimate of how long your shutter speed should be based on the movement in the image, take a look at the light meter and see how far off your exposure is. (If you’re not familiar with shooting in manual modes, the light meter is the little scale on the bottom or side of the viewfinder — aim for the middle of the graph for a proper exposure. In shutter priority mode on many camera models, the shutter speed will also blink if the meter says the image is overexposed.)
If you are significantly overexposed, add your neutral density filter. If you’re still overexposed, you’ll need a thicker neutral density filter (or, with many square filters, you can use two at a time) or you’ll need to turn the shutter speed down a bit. In manual mode, you can also adjust your aperture to correct some overexposure.
Once you’re adjusted for a proper exposure (which, depending on the look you are going for may not be dead center in the light meter), take the first shot, being careful not to touch the tripod while the image is being recorded.
Then, take a critical look at the photo before you pack up and move to the next shot
- Is there enough blur? If not, then turn the shutter speed down.
- Is the image too bright? Then add a (or a stronger) neutral density filter, use a lower ISO or a narrower aperture. If the image is still too bright with your strongest ND filter, narrowest aperture and lowest ISO, you may need to re-plan the shoot to come back at dusk.
- Is the entire image blurred or a bit soft? Try the shot again with the timer and make sure not to touch the tripod while the image is recording. If you’re still getting an issue, make sure the wind isn’t moving your tripod a bit and that the mirror lock up is turned on.
Long exposures often take a bit of experimentation to find the shutter speed that works perfectly with the speed of the motion in your pictures, so don’t get frustrated if it takes you a few shots to get it just right — that’s completely normal. The more often you shoot long exposures, the more accurate your first shutter speed estimate will be as you get an idea for what physical speeds work best with which shutter speeds.
Long exposures require a bit more prep work and a bit more effort in getting that single shot — but often create stunning images that certainly stand out in a world of smartphone snapshots. Learning long exposures can help build your confidence and your troubleshooting skills — and that comes in handy no matter what you shoot.
Other Guides
- Photography Lighting
- Photography Post Processing Techniques
- What is Aperture?
- Exposure Bracketing
- Creating Bokeh Backgrounds
- What is Camera Raw?
- Composition Rules
- What is Shutter Speed?
- Focus Stacking
- Hyperfocal Distance
- Choosing a Photography Subject
- What Makes a Good Photo?
- Long Exposure
- Aperture & Depth of Field
- How Does A Camera Work?
- Composition Techniques